This Classic Vanilla Cake recipe pairs fluffy vanilla cake layers with a silky vanilla buttercream. The perfect cake for birthdays, weddings, and holidays!
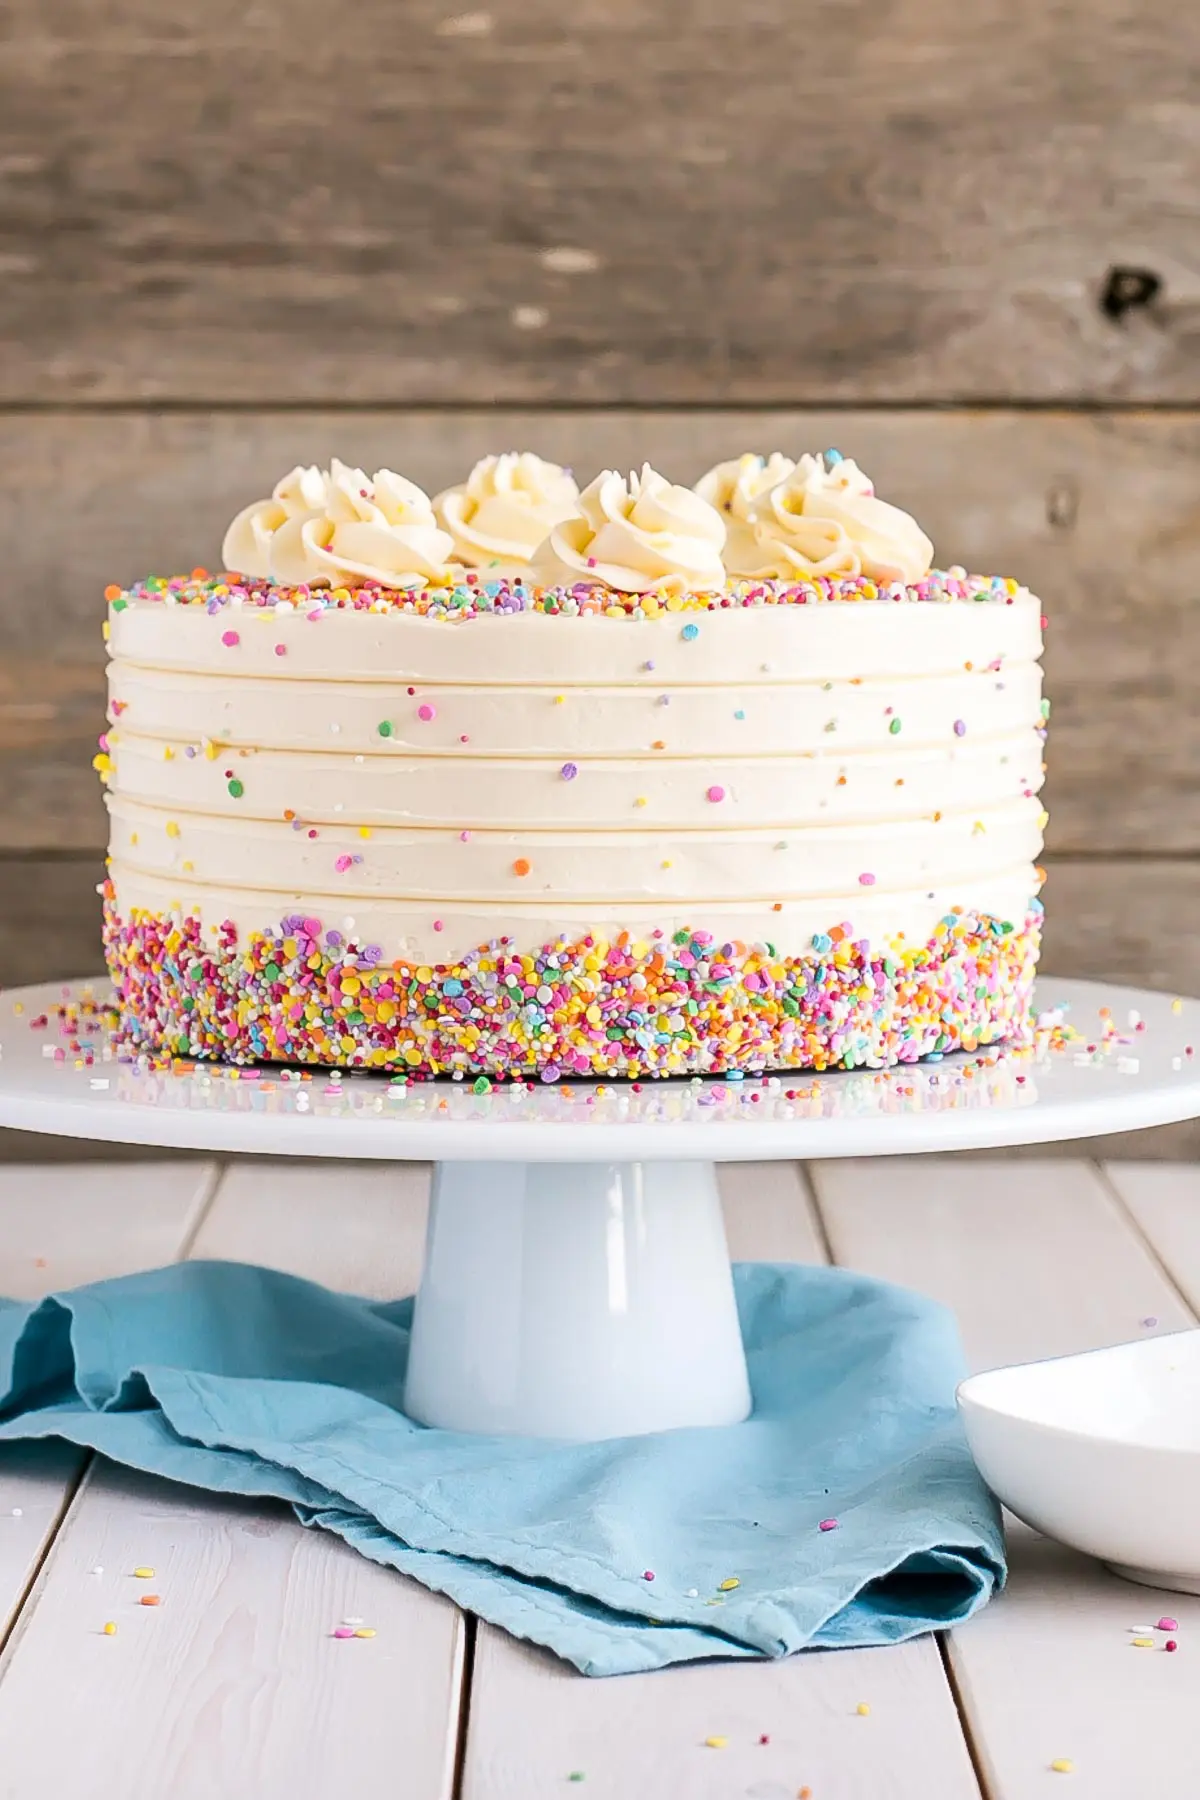
This classic Vanilla Cake is one of the most beloved recipes on Liv for Cake.
I always thought that there were so many of these recipes out there that I’d stick to more unique ones. But really, I think the world needs my version of this simple, classic, delicious flavor combination.
Truthfully, most of my cakes use this vanilla cake recipe, but I’ve never paired it with a vanilla buttercream.
I know it’s easy enough for some people to grab a cake recipe from one post and a frosting recipe from another, but for those of us that are a little less comfortable mixing and matching for fear of epic failures, I’m putting it together for you into one recipe!
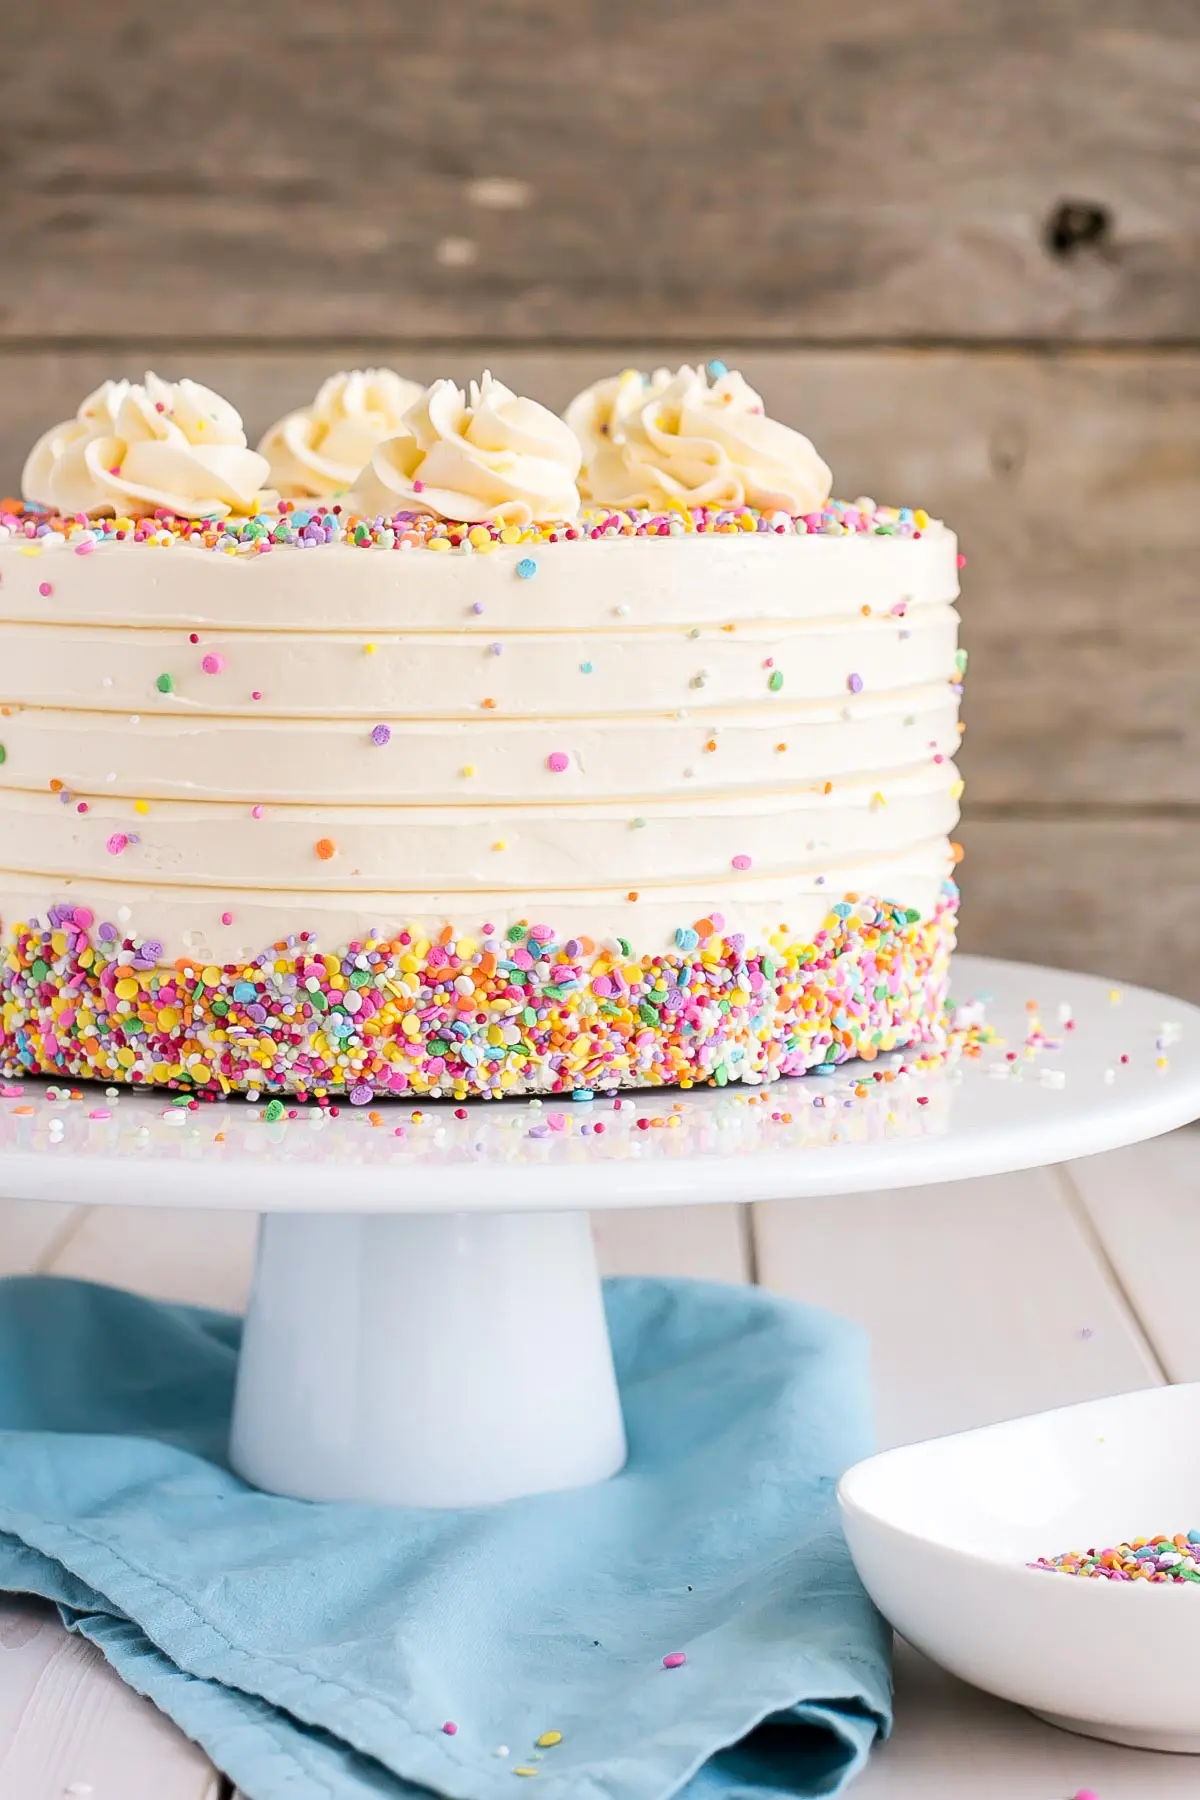
How to Make this Homemade Vanilla Cake
This vanilla cake recipe is the one I use as the base for all of my white/yellow cake-based recipes.
I’ve changed up the liquid like in this Pink Champagne Cake, the butter in this Brown Butter Cake, and sugars in this Chocolate Chip Cookie Cake, etc. to create different flavors. Some recipes require more experimentation, like this Coconut Cake.
Cake Tip!
Modifying cake recipes requires expertise and experimentation, so don’t make changes to a recipe unless you’re confident it will work out. It’s always best to ask if you’re not sure!
I use the creaming method to make this vanilla cake which requires:
- Creaming the butter and sugar
- Incorporating the eggs one at a time
- Alternating adding the flour and liquid
I use buttermilk in this vanilla cake recipe because I love the flavor and texture it gives the cake. The buttermilk in the cake helps ensure that it’s not super sweet, and it works well with any kind of frosting.
If you don’t have buttermilk, you can easily make your own at home:
- Simply add 1 Tbsp of either fresh lemon juice or vinegar into 1 cup of milk. Stir and let sit for about 10mins. The milk will start to curdle and essentially turn into a perfect buttermilk substitute.
That being said, if you don’t have buttermilk on hand and if you prefer a sweeter cake, you can use regular milk instead. Ideally use whole milk, but I never have that on hand, so I use 1% and it works just fine.
Milk substitutes such as almond milk or coconut milk, etc. will work fine too.
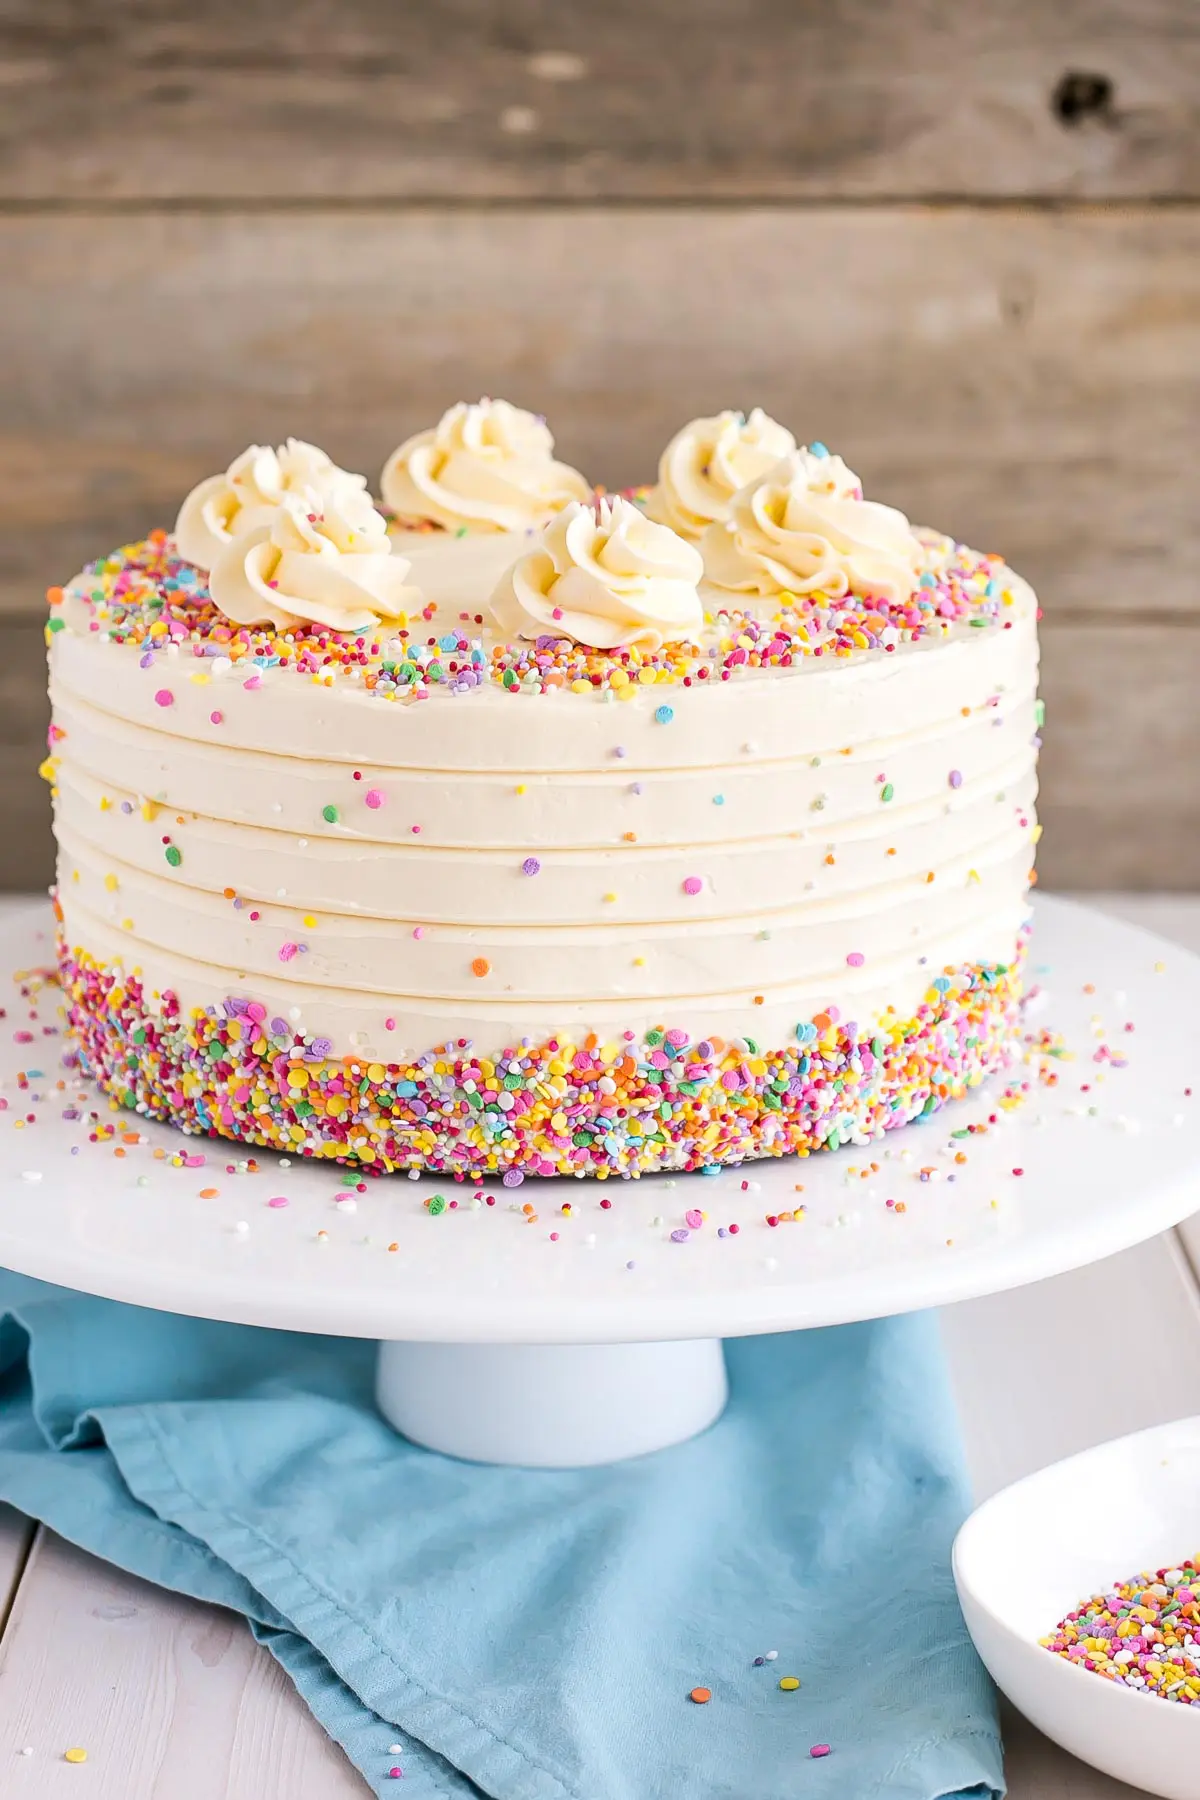
Swiss Meringue Buttercream
I used a Swiss meringue buttercream here because it’s my favorite, but you can use an American buttercream instead if you prefer.
If you’re going to make Swiss meringue buttercream for the first time, have a read through my detailed tutorial so you know what to do and what not to do to make it a success. I provide a thorough step-by-step process as well as tips and troubleshooting.
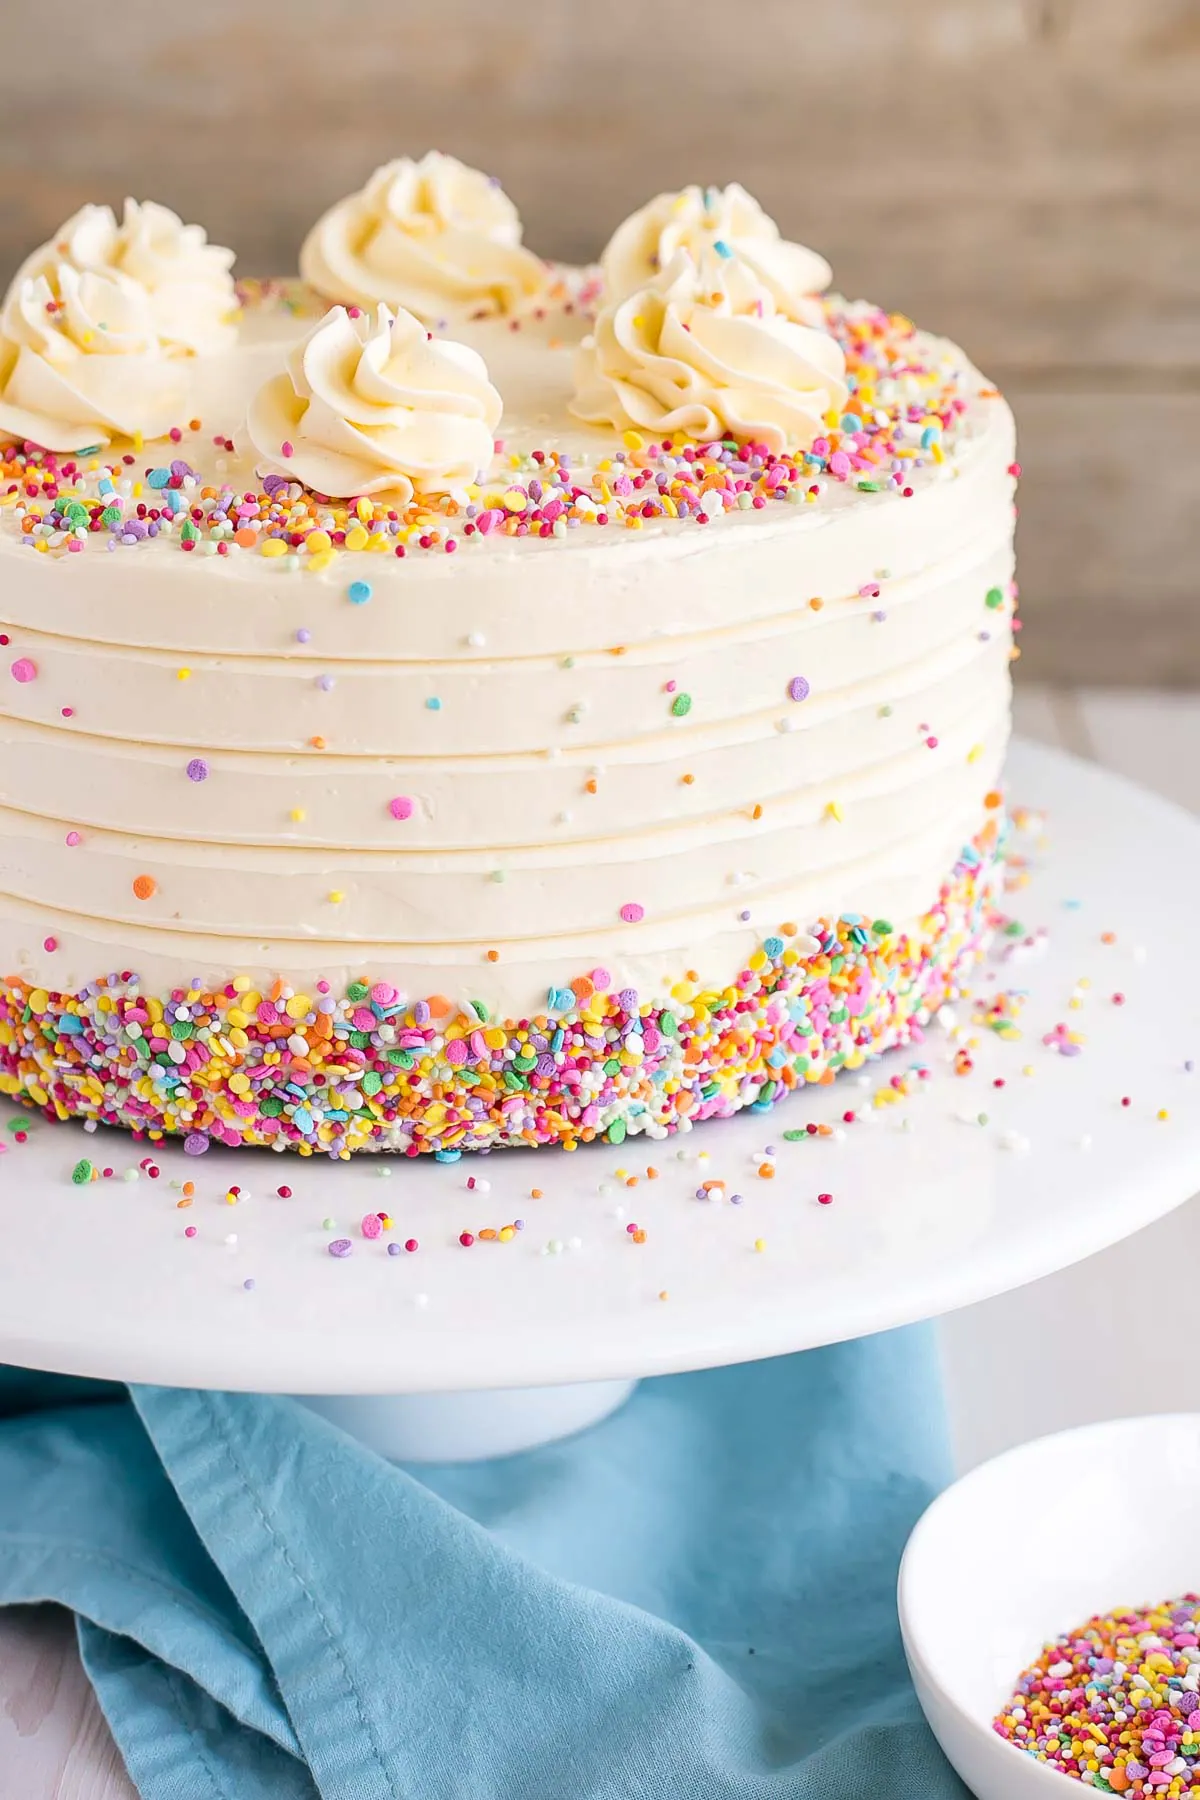
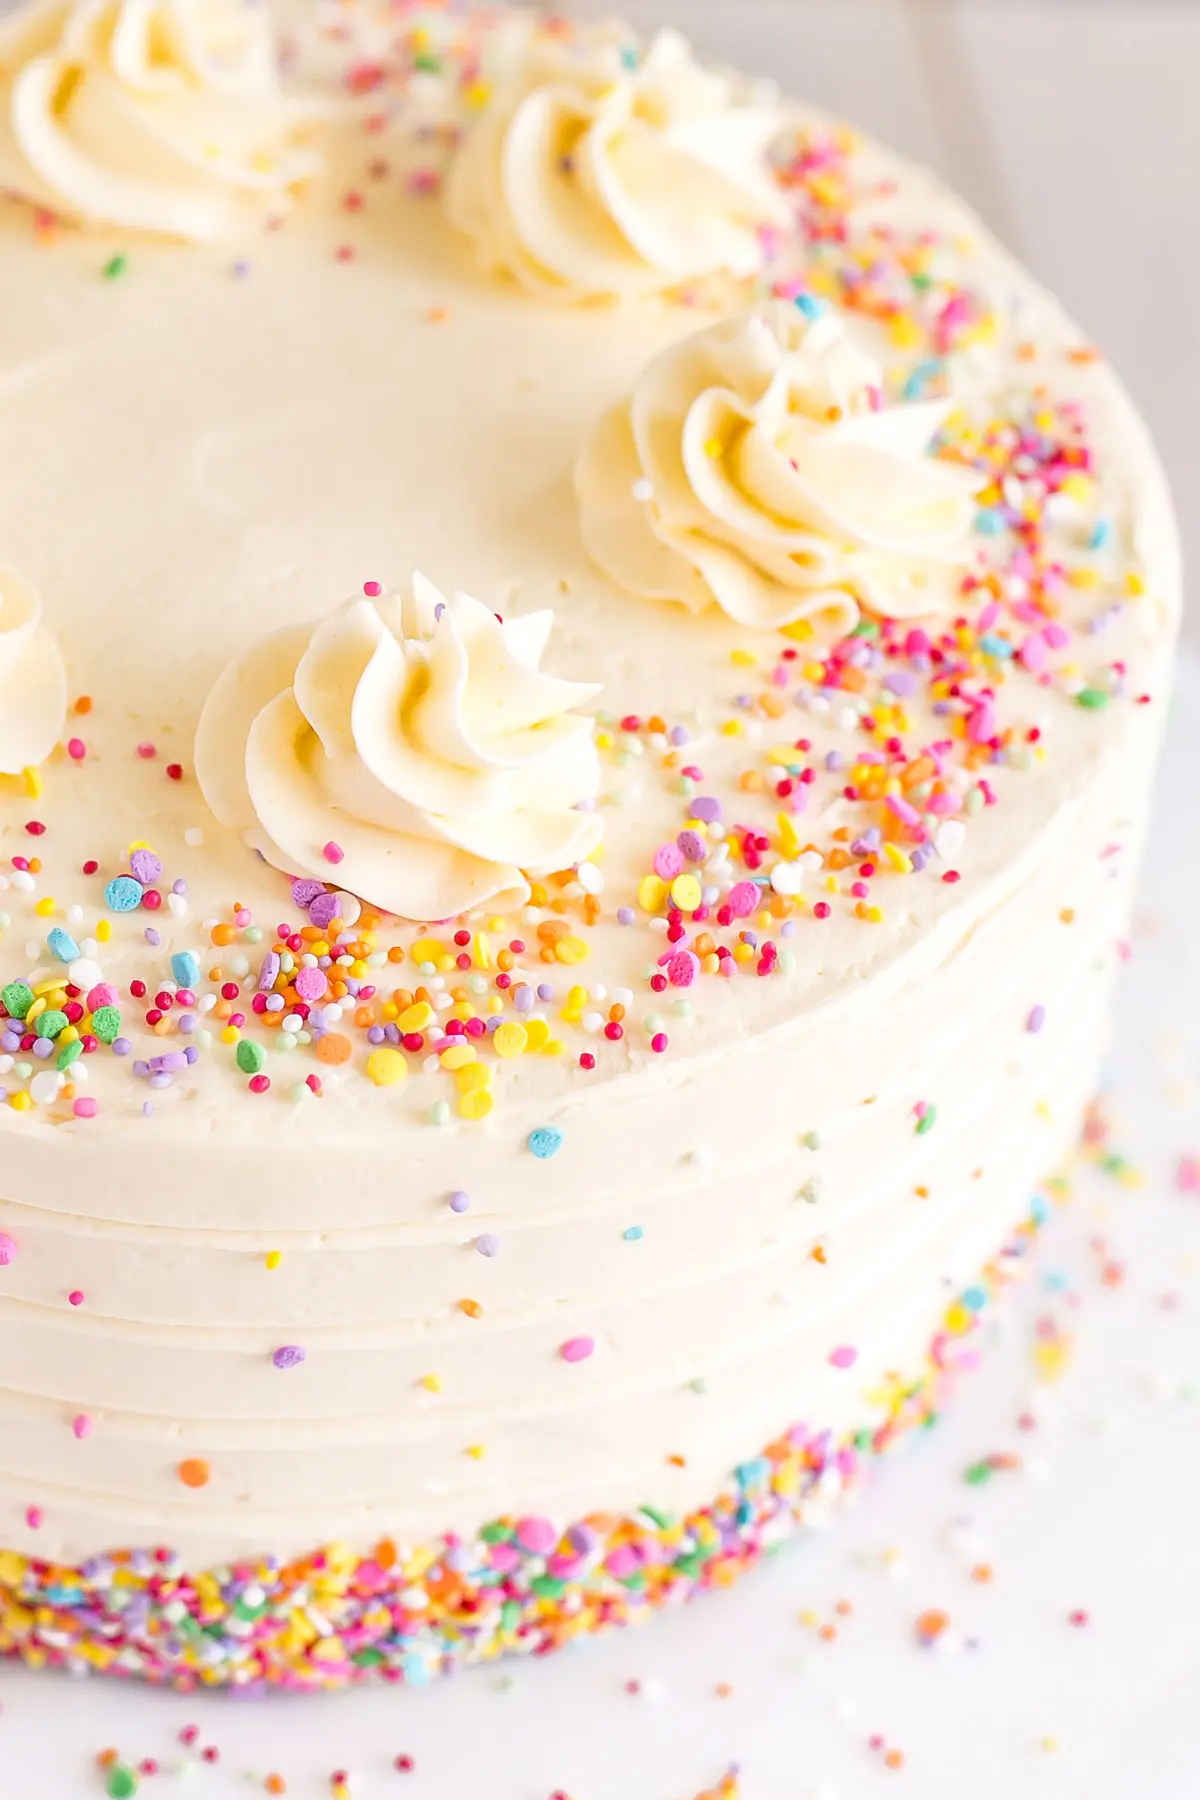
I chose to decorate this classic vanilla cake with simple rosettes and sprinkles. I used a decorating comb to make the lines in the sides of the cake, and I love how it turned out!
Definitely going to be trying the other combs in the set, as it’s such an easy way to give a pretty result.
I typically shy away from decorating combs since they remind me of grocery store cakes (not that there’s anything wrong with that), but this one gives it a particularly modern, clean look.
Keys to Success with this Vanilla Cake recipe
Or any cake recipe, really. When it comes to baking, especially cakes, it’s best not to take shortcuts. You want to follow the recipe exactly as written and pay attention to any notes.
Here are the key things you should keep in mind to help bake cakes successfully:
- Ensure all ingredients are at room temperature. Or whatever temperature is specified in the recipe. This helps make sure everything gets incorporated together properly. Not doing this can result in poor emulsification and a less-than-perfect final product.
- Measure your flour properly. Spoon and level the flour into the measuring cup rather than using the measuring cup as a scoop. The latter packs in the flour and can result in dense and dry cakes.
- Don’t skimp on creaming the butter & sugars. You want to make sure they are pale and fluffy. Beat for at least 2-3 minutes.
- Fully incorporate each egg one at a time. Again, for proper emulsification and to ensure a good texture, add one egg at a time and mix well until adding the next.
- Don’t overmix once you add the flour. Mix on low and only till the flour is just incorporated. Overmixing can cause dense but also fragile and crumbly cakes.
- Grease & flour your pans & line bottoms with parchment. To help ensure cakes come out cleanly.
- Use baking times as a guideline only. Every oven is different. Some run hot, some run cold, some have hot spots. Only you know how your oven bakes and it will require some testing on your part to know what works for you.
- Cool your cakes in the pans for 10mins. Any more and the sugars will start to set and the cakes will stick to the pans, any less and the cakes will be too fragile and might break when you’re turning them out.
- Cool cakes completely before frosting. This is critical or you’ll melt your frosting and have a very hard time of putting the cake together.
Following these steps will really help ensure your cakes are successful. It will also make your life easier and less stressful, trust me!
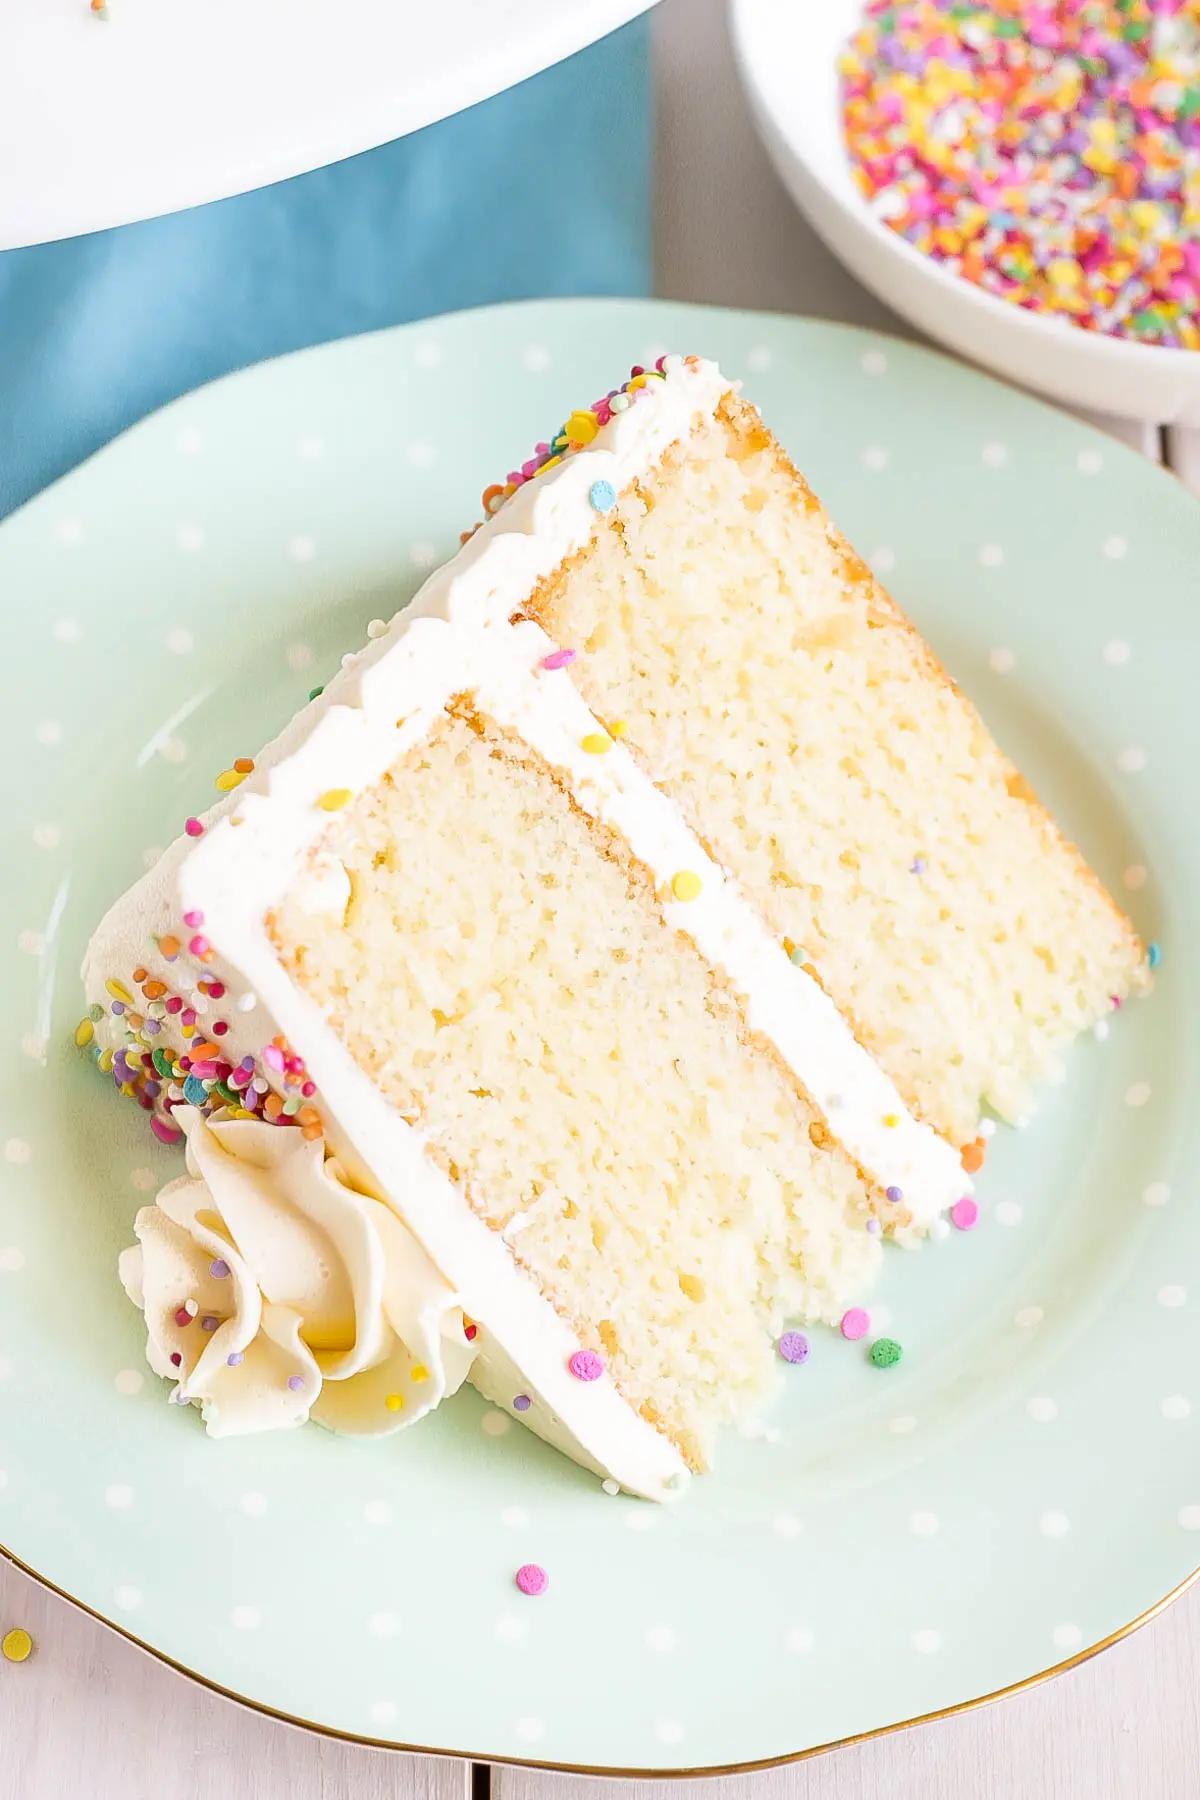
If you’re looking for a delicious vanilla cake recipe, whether it be for a birthday, anniversary, or any celebration (even if it’s just making it through the week), you will love this cake!
Looking for more Classic Cake recipes?
- Classic Chocolate Cake
- Black Forest Cake
- Coconut Cake
- Classic Birthday Cake
- Carrot Cake
- Classic Hummingbird Cake
- Classic White Cake
Frequently Asked Questions
How can I convert this recipe?
- The recipe as-is will also work in three 6″ pans. For three 8″ pans, 1.5x the recipe. Baking time may need to be adjusted. You can use two 9″ as well but the layers will be thinner (reduce baking time accordingly).
- To make cupcakes, all you need to do is reduce the baking time — start checking at 15mins or so. The recipe will make 18-24 cupcakes depending on size.
- You can bake it in a 9×13 pan. Baking time will be slightly shorter.
- You can bake it in a Bundt pan as well but you’ll need to increase the baking time.
- For other conversions go here. Bake time may vary depending on pan size.
- Baking time will vary if you change the pan size. Every oven is different so I can’t say for certain what you’ll need to adjust it to. Be sure to check on the cakes while they are baking.
Can I make it in advance?
- The cooled cake layers can be baked ahead of time, double wrapped in plastic wrap, and frozen for up to 3 months. Take out 2-3 hours before assembly.
- The frosting can be placed in an airtight container and refrigerated for 1 week or frozen for 3 months. Bring to room temp and rewhip before using.
- The finished cake (whole or sliced, stored airtight) can be frozen for up to 3 months.
Can I get the measurements by weight/grams?
- There is a Metric option in the recipe card. If you click it it will convert everything to grams.
- This conversion is done automatically and I cannot guarantee the accuracy but many readers have had success using the metric option on my recipes.
What if I don’t have buttermilk?
- For best results, use actual buttermilk, but if you don’t have any you can make your own at home by combining 1 cup of milk (whole milk ideally, but I often just use 1%) with 1 Tbsp of lemon juice or vinegar and letting it sit for 10mins.
Tips for this Vanilla Cake recipe:
- If you don’t have buttermilk on hand you can make your own (see post for details) or you can use regular milk or milk substitutes instead.
- If you’d prefer to use an American buttercream, you can use one full recipe of Simple Vanilla Buttercream instead.
- Or if you’re looking for a chocolate buttercream version, check out my Classic Birthday Cake.
- If you want a white cake instead of a yellow cake, use this recipe here.
- I used a decorating comb for the texture on the sides of the cake. I used the left side of the one on the left pictured here.
- I prepare my cake pans using Homemade Cake Release and line with parchment paper.
- Be sure to check my Swiss Meringue Buttercream post for tips and troubleshooting.
- Learn how to keep your cakes moist using Simple Syrup.
- To help ensure your cake layers bake up nice and flat, check out my How to Bake Flat Cakes post!
The BEST Vanilla Cake Recipe
Ingredients
Vanilla Cake:
- 2 1/4 cups all-purpose flour
- 2 1/4 tsp baking powder
- 3/4 tsp salt
- 3/4 cup unsalted butter room temperature
- 1 1/2 cup granulated sugar
- 3 large eggs room temperature
- 1 1/2 tsp vanilla extract
- 1 cup buttermilk or whole milk, room temperature
Vanilla Buttercream:
- 6 large egg whites
- 1 1/2 cups granulated sugar
- 2 cups unsalted butter room temperature
- 2 tsp vanilla extract
Assembly:
- confetti sprinkles
- nonpareils
Instructions
Vanilla Cake:
- Preheat oven to 350F. Grease and flour two 8″ cake rounds and line with parchment.
- In a medium bowl, whisk flour, baking powder, and salt until well combined. Set aside.
- Using a stand mixer fitted with a paddle attachment, cream the butter and sugar on med-high until pale and fluffy (about 3mins). Reduce speed and add eggs one at a time fully incorporating after each addition. Add vanilla.
- Alternate adding flour mixture and buttermilk, beginning and ending with flour (3 additions of flour and 2 of milk). Fully incorporating after each addition.
- Bake for 30-35mins or until a toothpick inserted into the center comes out mostly clean.
- Place cakes on wire rack to cool for 10mins then turn out onto wire rack.
Vanilla Buttercream:
- Place egg whites and sugar into the bowl of a stand mixer, whisk until combined.*
- Place bowl over a pot with 1-2″ of simmering water and whisk constantly until the mixture is hot and no longer grainy to the touch or reads 160F on a candy thermometer (approx. 3mins)
- Place bowl on your stand mixer and whisk on med-high until the meringue is stiff and cooled (the bowl is no longer warm to the touch (approx. 5-10mins)).
- Switch to paddle attachment. Slowly add cubed butter and mix until smooth.**
- Add vanilla and whip until smooth.
Assembly:
- Place one layer of cake on a cake stand or serving plate. Top with approximately 1 cup of buttercream. Repeat with remaining layer and crumb coat the cake. Chill for 20mins.
- Frost the top and sides of the cake and smooth with a bench scraper.
- If desired, use a decorating comb to give texture to the sides.***
- Mix confetti and nonpareils in a small bowl. Press sprinkles gently along the bottom of the cake and sprinkle along the top. For the speckled sides, I grabbed a pinch of sprinkles and tossed them randomly at the sides.
- Pipe rosettes using a 1M tip with remainder of frosting.
Notes
This recipe was originally published on June 12th, 2017 and was updated with new content on January 30th, 2023.





Olivia says
This cake recipe was really good it was so easy to follow is so good there was a lot for one batch like I could make 6 inch round cake and I got four layers freezes so fast so I feel inside and entire day normally it takes me two days but this is so good. I definitely recommend this recipe. The only thing is that it has You’re gonna keep it inside the fridge it’s gonna end up like dry so do you have like a simple syrup or like anything more you still putting it inside of the fridge just to keep it fresh ?
Olivia says
Hi Olivia! It will only dry out in the fridge if left longer than 3 days or so. Otherwise if you bring it to room temperature it should be soft again. You can definitely use a simple syrup on it if you like though!
Erica says
How many cupcakes does this recipe make?
Olivia says
Hi Erica! I talk about this in the post.
Tracey Creese says
Does this cake need to be refrigerated because of the frosting!!
Olivia says
Hi Tracey! It will be fine at room temp for a couple days but I tend to refrigerate.
komalpreet kaur says
Use bake in two cake tin or one tin
Olivia says
I baked in two 8×2″ pans.
komalpreet kaur says
Please can i know which pan or tin you use to make this recpies
Olivia says
Hi komalpreet kaur! I use Fat Daddios cake pans and the ones I used here are 8×2″ round.
Papa bob says
I thought the cake didn’t have to cool….i tried stacking the cakes while they were hot……….needless to say-it didn’t go well😅(it crumbled out of my hands) my bad..
Olivia says
Hi Papa Bob! Oh no, you definitely need to let the cakes cool before working with them. I hope you were able to salvage the pieces!
Katie says
I made this in 2 – 9” pans and I thought it turned out good. It was maybe slightly dry but I believe that I just over baked a bit, not an issue with the recipe. Some reviews say it was too dense but I prefer that texture so I was happy with it. Overall I would definitely use this recipe again.
Thanks!
Olivia says
Thank you Katie! I’m glad you like it 🙂
Jenn says
I made cupcakes and wish I read the reviews before making a double batch of batter that I ended up throwing away. Like other commenters said, they didn’t rise in the oven, the texture is odd, it does somewhat remind one of cornbread, and the taste is just fair. Definitely could not serve these to guests.
Olivia says
Hi Jenn! It sounds like maybe a couple things went wrong here. It should not taste like cornbread, but that can happen for a couple of reasons:
1. Too much flour was used — be sure to spoon your flour into the measuring cup and level it off rather than using it as a scoop.
2. The batter was overmixed — once you start adding the flour, mix on low and only just until the flour is incorporated. Overmixing develops too much gluten which can lead to a cornbread taste.
Meg says
I’ve been a home baker for several years now. Baking cakes, bread, and cookies. Over those years I’ve learned a lot, tried new things, and eventually perfected recipes of my own that are beloved by all who eat them.
This recipe is one I had not tried before and upon reading, I felt like something was missing. I made it anyway because sometimes things work out better than you expect. Well, it turned out exactly how I expected. Dense, dry, and not fluffy! It didn’t rise in the oven and no, I did NOT skip steps or forget ingredients or over bake it! It tasted okay but the texture was all wrong. This was my daughters birthday cake and no one ate but one bite.
I’ve read your reviews and they all say the same thing but give you 5 stars still! What is up with that?
I hope you take the time to improve and build your skill becasue this is one cake recipe I would never recommend nor do again.
Olivia says
Hi Meg! I’m sorry you found it too dense. When I took my formal training with Northwest Culinary Academy, this is the standard we were expected to work to. And while I’m not American, I have found that many Americans do prefer a much lighter cake as opposed to other regions. Here are some tips that might help you if you decide to try it again..
My cakes tend to be more on the dense side rather than light and airy but that is how I (and many of my readers) prefer them. It shouldn’t be unpleasantly dense or dry though. Overly dense cakes can be from overmixing the cake batter once the flour is added (it develops too much gluten) or not using room temperature ingredients so the cake batter doesn’t emulsify properly. Another issue could be too much flour. It’s best to spoon the flour into your measuring cup and level it off. If you dip your scoop into your flour sometimes you get more than you need. And finally, dryness can be from overbaking. Baking times are just a guideline as every oven bakes differently. I also use cake strips which extends the baking time. It’s important to check on your cakes while they are baking to make sure they aren’t overbaked. Dry cakes can be saved though by brushing the cake layers with some simple syrup: https://livforcake.com/simple-syrup-recipe/ I hope that helps!
Roni says
I experienced the same thing. The cake was super dense.. more like a corn bread than a cake. It was also really salty and I followed this recipe exactly. The denseness wouldn’t have been bad if it wasn’t so salty.
Olivia says
Hi Roni! It should not taste like cornbread, but that can happen for a couple of reasons:
1. Too much flour was used — be sure to spoon your flour into the measuring cup and level it off rather than using it as a scoop.
2. The batter was overmixed — once you start adding the flour, mix on low and only just until the flour is incorporated. Overmixing develops too much gluten which can lead to a cornbread taste.
Also, I’m not sure why it tasted salty? Did you use salted butter? Or Tablespoon instead of teaspoon for the salt?
Brittany says
I want to make this for my sons birthday tomorrow. I only have a 9×13 pan. Do I split the recipe and bake two of them, or just pour it all in one?
Olivia says
Hi Brittany! The recipe as is should work in a 9×13 pan. Baking time may vary though.
Nicola Doherty says
I have made this cake before for several birthdays, it was delicious. I was just wondering would this cake be suitable for using in a tiered cake of 10″, 8″ and 4″. Would you be able to recommend how I could upscale and downscale this recipe.
Thanks
Olivia says
Hi Nicola! I’m so happy you love it. You can definitely scale it up and down. Converting pan sizes is always tricky. Here are some sites I use as a guideline:
http://www.joyofbaking.com/PanSizes.html
https://www.cookipedia.co.uk/recipes_wiki/Cake_tin_conversion_charts
Holly says
Hello, Made your cake and icing recipes today for my sons birthday. I found the cake tasty but it is more of a dense cake than a fluffy/sweet one.
I’m trying to trouble shoot the icing results, we found it to have a powerful butter flavor – yes I know there’s a lot of butter in the recipe but I was wondering if I mixed it too long? For that to happen?
Thanks 😊
Olivia says
Hi Holly! My cakes tend to be more on the dense side rather than light and fluffy, but it shouldn’t be too dense and should rise almost to the top of an 8×2 cake pan. The frosting will have a very buttery flavour but it should not taste like you’re eating a stick of butter. I have a detailed tutorial with tips and troubleshooting here: https://livforcake.com/swiss-meringue-buttercream-recipe/
Puja says
Holly, I would like to offer a suggestion: I use cake flour (same ratio) instead of AP in this recipe to yield fluffier results. Also makes sure to cream your butter and eggs for a while (5-7mins) before adding the dry ingredients. Hth.
Julie says
I have a question, I want to make a Tres Leches cake. I don’t have a cake mix boxed so ok if I use yours?? Thanks!
Olivia says
Hi Julie! Are you asking if this recipe would work well for a Tres Leches cake? I haven’t made one myself but I believe it should be fine.
Brianne says
Delicious recipe! Can I substitute for cake flour instead? Just to try to get it even softer.
Olivia says
Hi Brianne! Yes, that should work fine 🙂
Bridget Ocean says
I made this cake for my husband’s 60th Birthday. The cake came out so dry. I followed the recipe and I am sorry, but this is not a moist cake.
I was so embarrassed. I will take the blame because I noticed you have told others that they might have mixed the batter to long. Unfortunately, I will not be using your recipe again. Thanks
Olivia says
Hi Bridget! The cake should not have come out dry but this can happen for a couple reasons. Firstly, is it possible the cake was overbaked? Baking times are just a guideline as every oven bakes differently. I recommend checking on the cakes as they are baking. Second, how do you measure your flour? I always recommend spooning flour into the cup and levelling it off rather than using the cup to scoop it. The latter can add too much flour to a recipe. Those are the most common culprits. Dry cakes can be saved though by brushing the cake layers with some simple syrup: https://livforcake.com/simple-syrup-recipe/
Gull says
Hi Olivia I am using this cake recipe for few years and always follow your recipe step by step and my cake always comes out perfectly. I am baking a cake today for my nieces birthday and want to use stork butter this time . Will that be ok or shall I use proper butter.
Thanks
Olivia says
Hi Gull! I think for the cake itself it will be fine. I would not use it for the buttercream though.
Megan says
The cake flavor was perfect but like other reviews, my cake was super dry. I even took it out at 25m. I also wish I would have tried a swiss meringue buttercream before applying it and serving it to a crowd because it wasn’t my favorite. There was nothing wrong with it, it came out great, it just wasn’t for me.
Olivia says
Hi Megan! The cake should not be dry. This can happen if it is overbaked or too much flour is used.
Amanda says
Do you really mean icing sugar instead of regular sugar for your buttercream recipe?
Olivia says
Hi Amanda! No, this type of recipe requires regular granulated sugar. I have a detailed tutorial here: https://livforcake.com/swiss-meringue-buttercream-recipe/
Kechell Munyanyi says
l tried this recipe today and my cake came out perfect it’s moist and soft. l recommend 🫶
Olivia says
So happy you loved it, Kechell!
Julie says
Unfortunately the cake came out super dry and dense. I followed the recipe exactly with room temp ingredients. I did use your American buttercream recipe and was so delicious.
Olivia says
Hi Julie! My cakes tend to be more on the dense side rather than light and fluffy, but it shouldn’t be unpleasantly dense (or dry). Overly dense cakes can be from overmixing the cake batter once the flour is added (it develops too much gluten) or not using room temperature ingredients so the cake batter doesn’t emulsify properly. Another issue could be too much flour. It’s best to spoon the flour into your measuring up and level it off. If you dip your scoop into your flour sometimes you get more than you need. And finally, dryness can be from overbaking. Baking times are just a guideline as every oven bakes differently. Just some possible suggestions as to what may have gone awry. Glad you loved the frosting!
Jessica says
Hey! These came out a lot denser than I was expecting. I had my mixer on low while I was incorporating the milk and the dry. Do you suggest doing this part by hand to avoid over mixing?
Olivia says
Hi Jessica! My cakes tend to be more on the dense side rather than light and fluffy, but it shouldn’t be too dense and should rise almost to the top of an 8×2 cake pan. Overly dense cakes can be from overmixing the cake batter once the flour is added (it develops too much gluten) but also not using room temperature ingredients so the cake batter doesn’t emulsify properly. Another culprit is too much flour. If you dip your scoop into your flour sometimes you get more than you need. It’s best to spoon the flour into your measuring up and level it off.