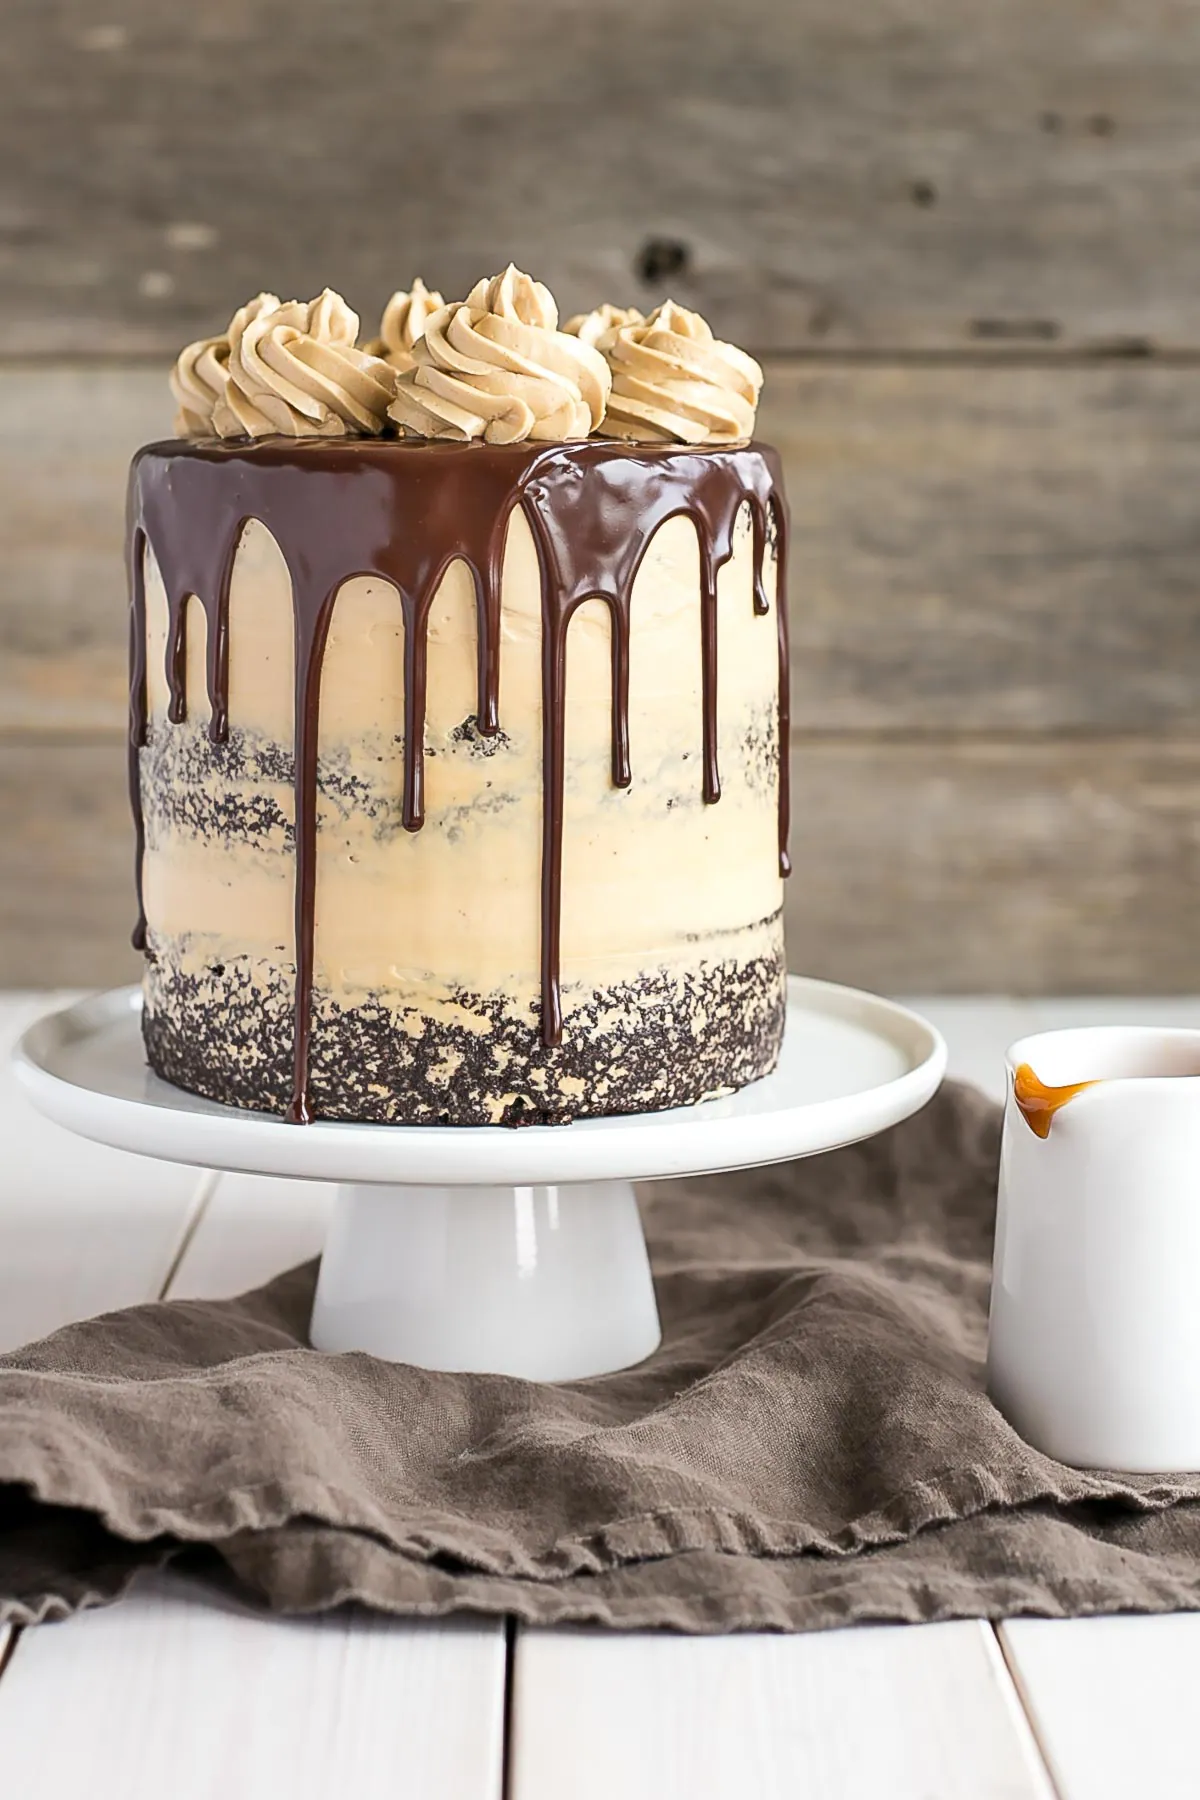
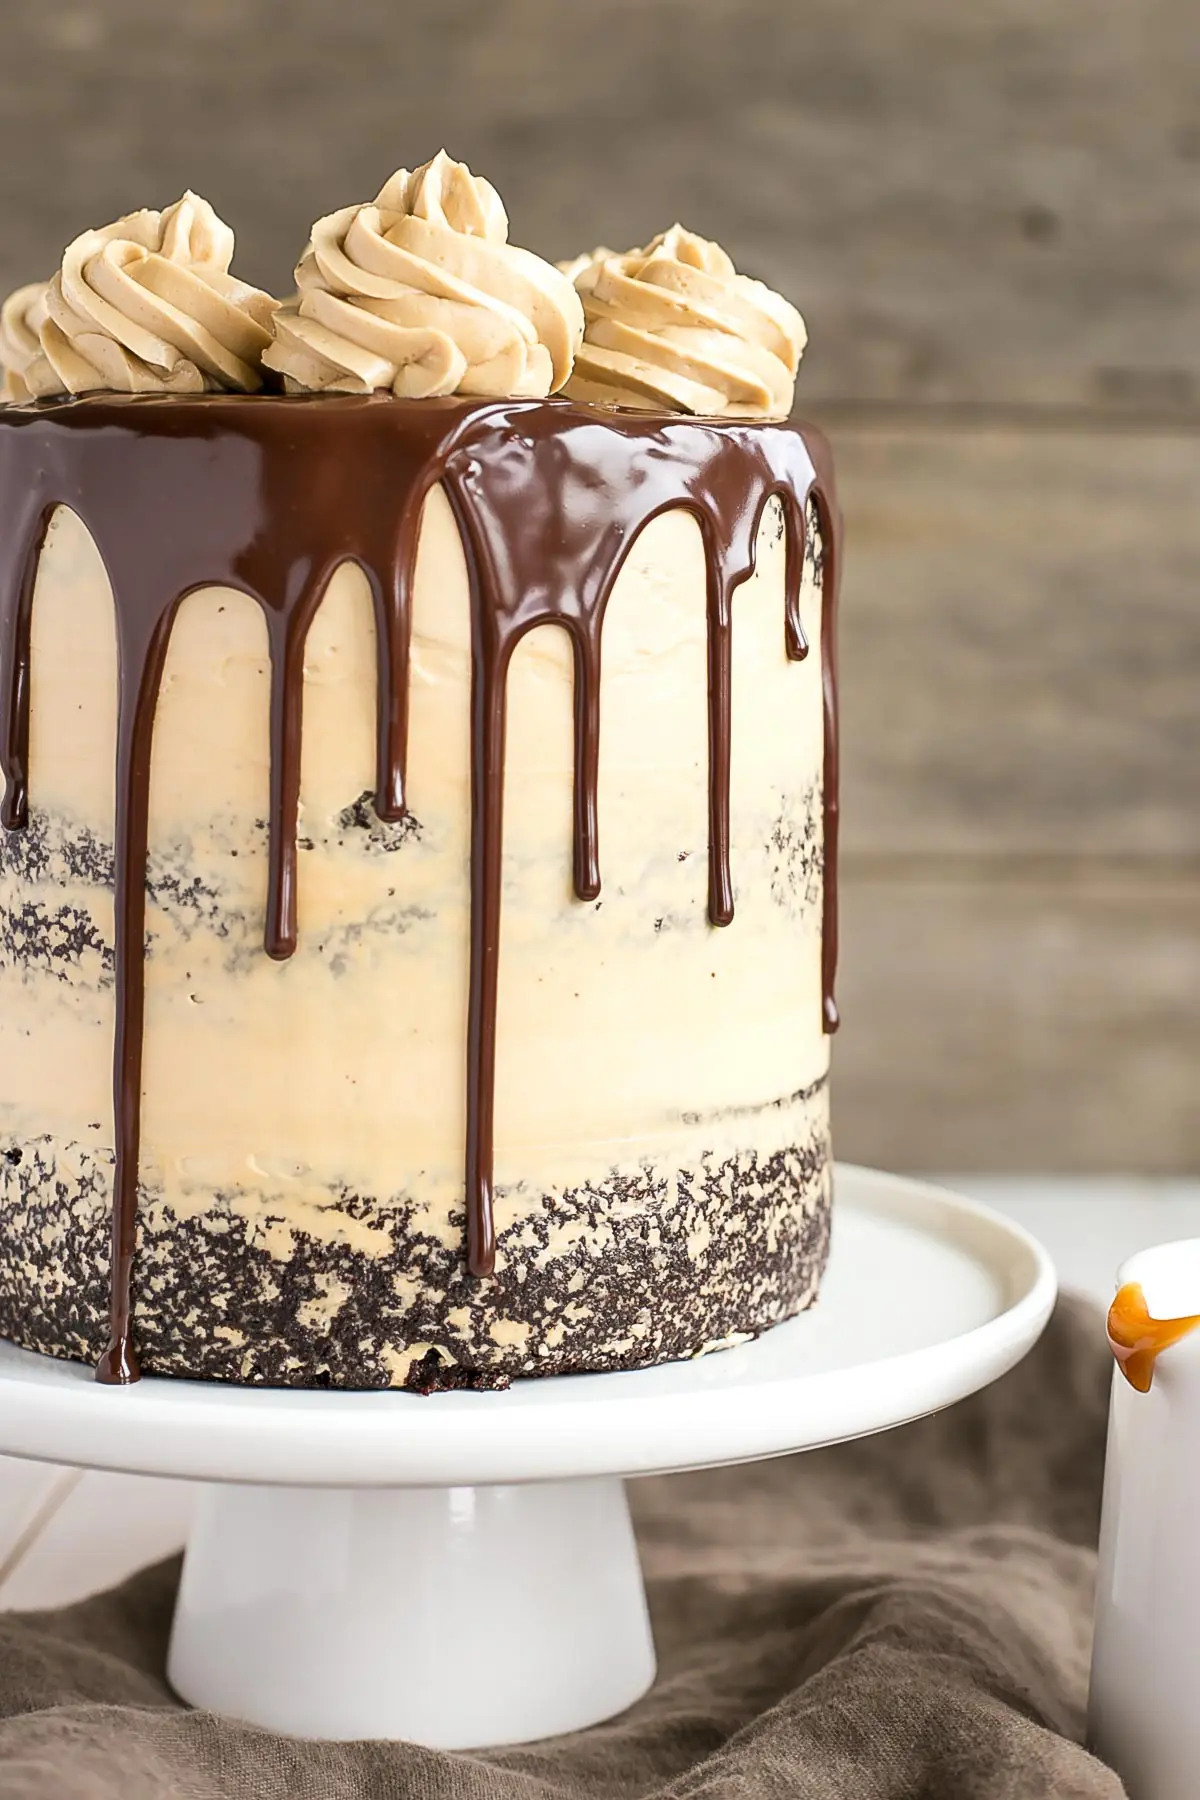
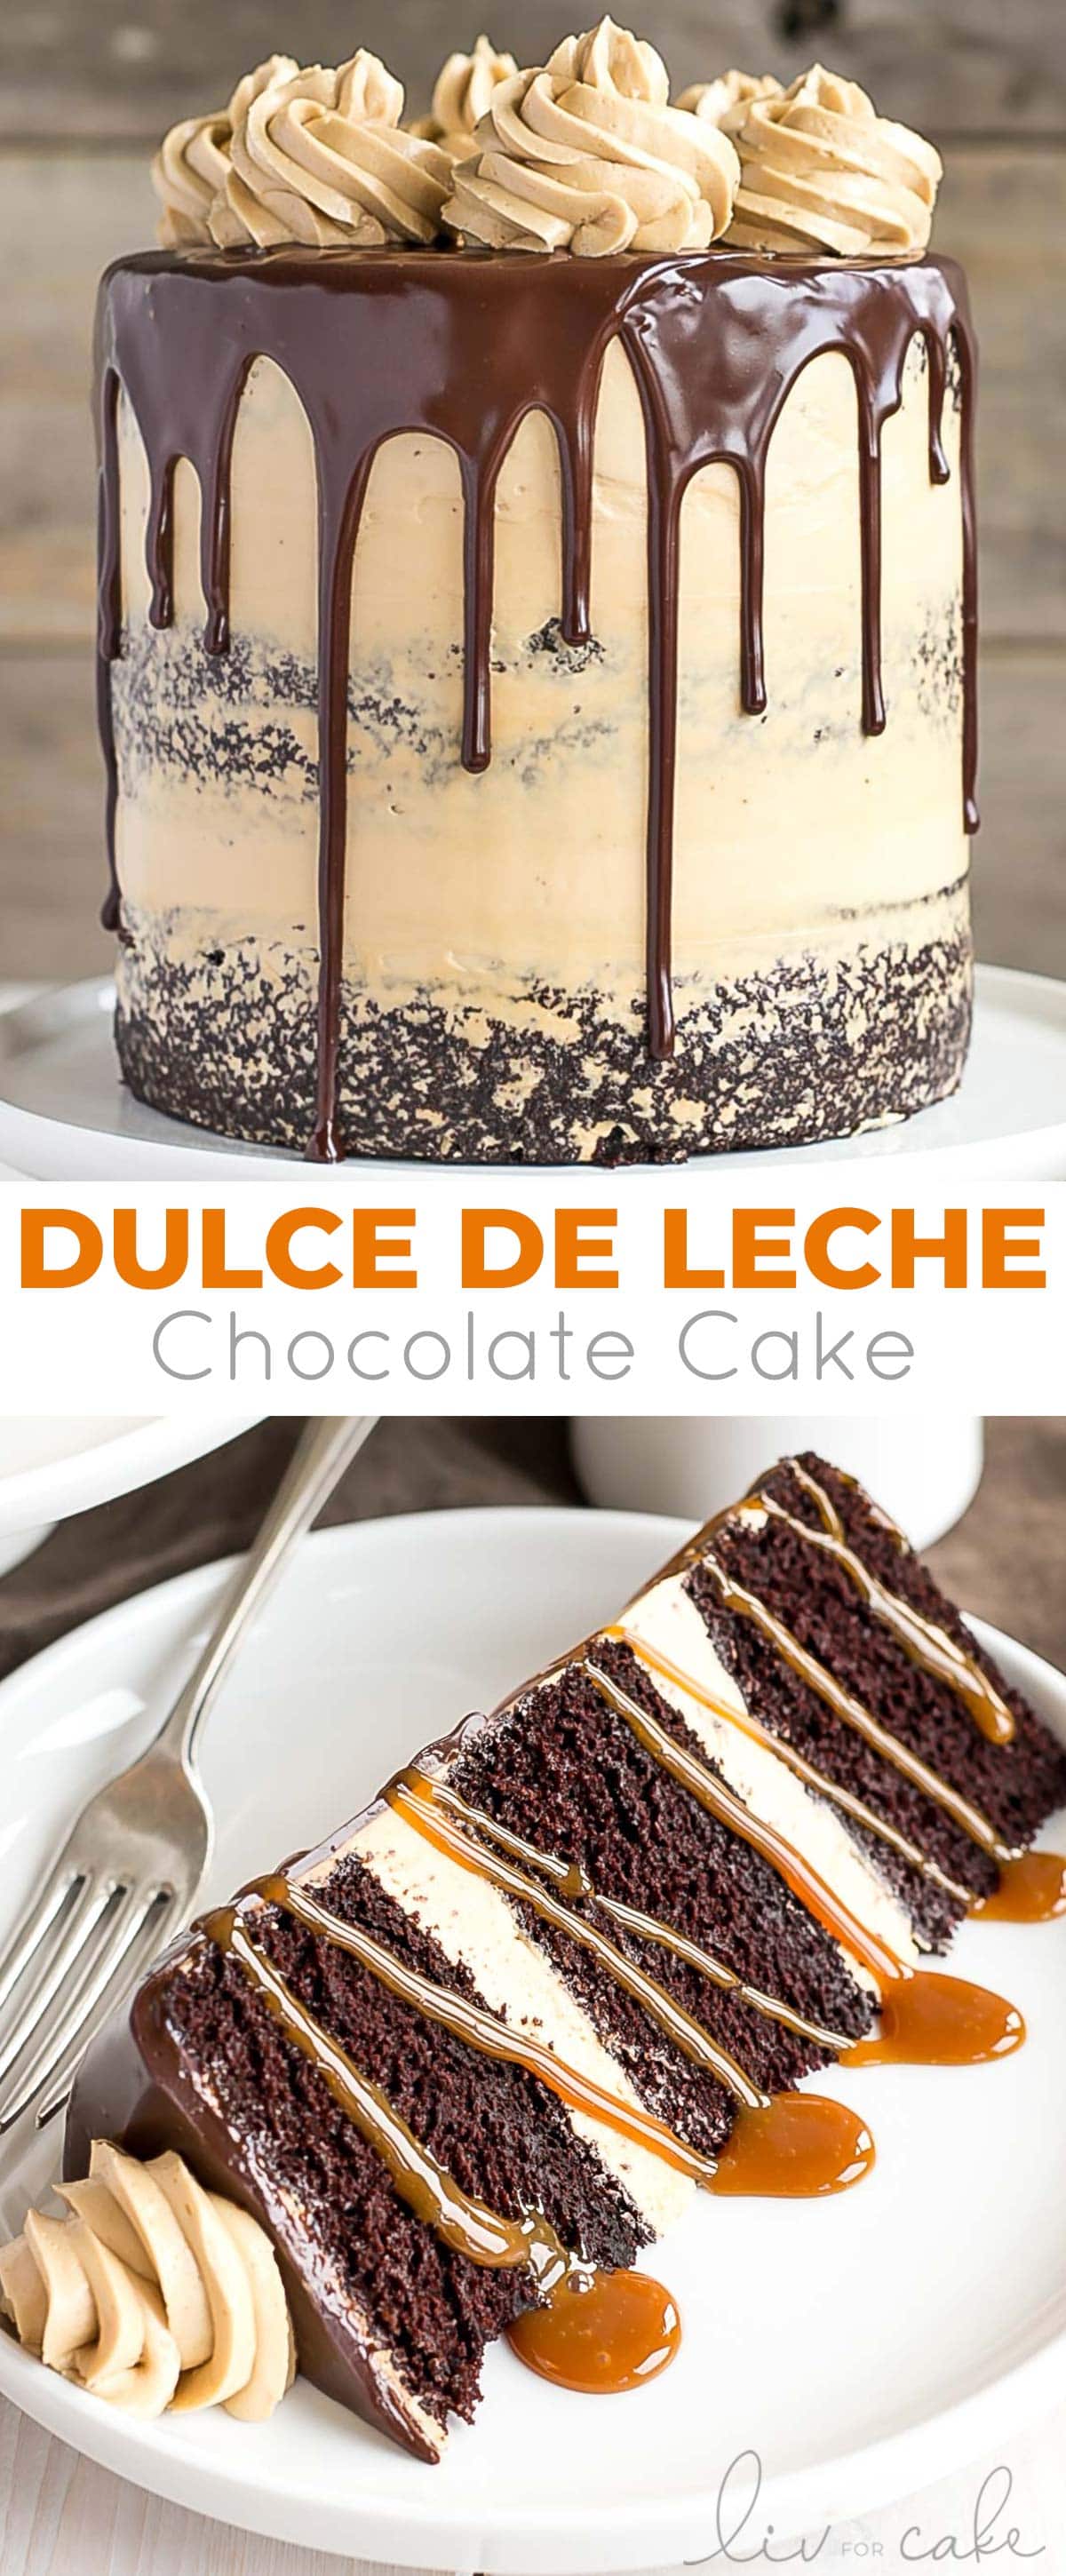
The ultimate combo of chocolate and caramel come together in this delicious Chocolate Dulce de Leche Cake.
This post has been sponsored by Fat Daddio’s. Thank you for supporting the brands I love – they help make Liv for Cake possible! All opinions expressed here are my own.
First off, sorry for the lack of a post last week. I have no excuse other than I’m having a hard time getting back into the swing of things after being away for 3 weeks, and the weather here has been cloudy and rainy so I haven’t been able to take pictures. I guess that’s kind of an excuse? Never mind the fact that we literally came back to SNOW. From a sunny Sydney summer, to snow. In Vancouver. In MARCH.
It literally almost never snows here, but this winter has been crazy. It’s officially spring now, and my winter coat should be put away and I should be staring out at a garden full of flowers. Unfortunately, neither of those is a reality, so it’s a good thing I have copious amounts of this Chocolate Dulce de Leche Cake in my fridge right now.
I’m so excited to bring you this post today because it’s in collaboration with one of my favorite brands in the baking world — Fat Daddio’s.
Fat Daddio’s is renowned for manufacturing high quality, professional bakeware. They have a seemingly endless variety of cake pans and baking tools. Literally anything you could ever need or want. This family owned company has been around for decades and they are the go-to brand for professional pastry chefs and bakeries.
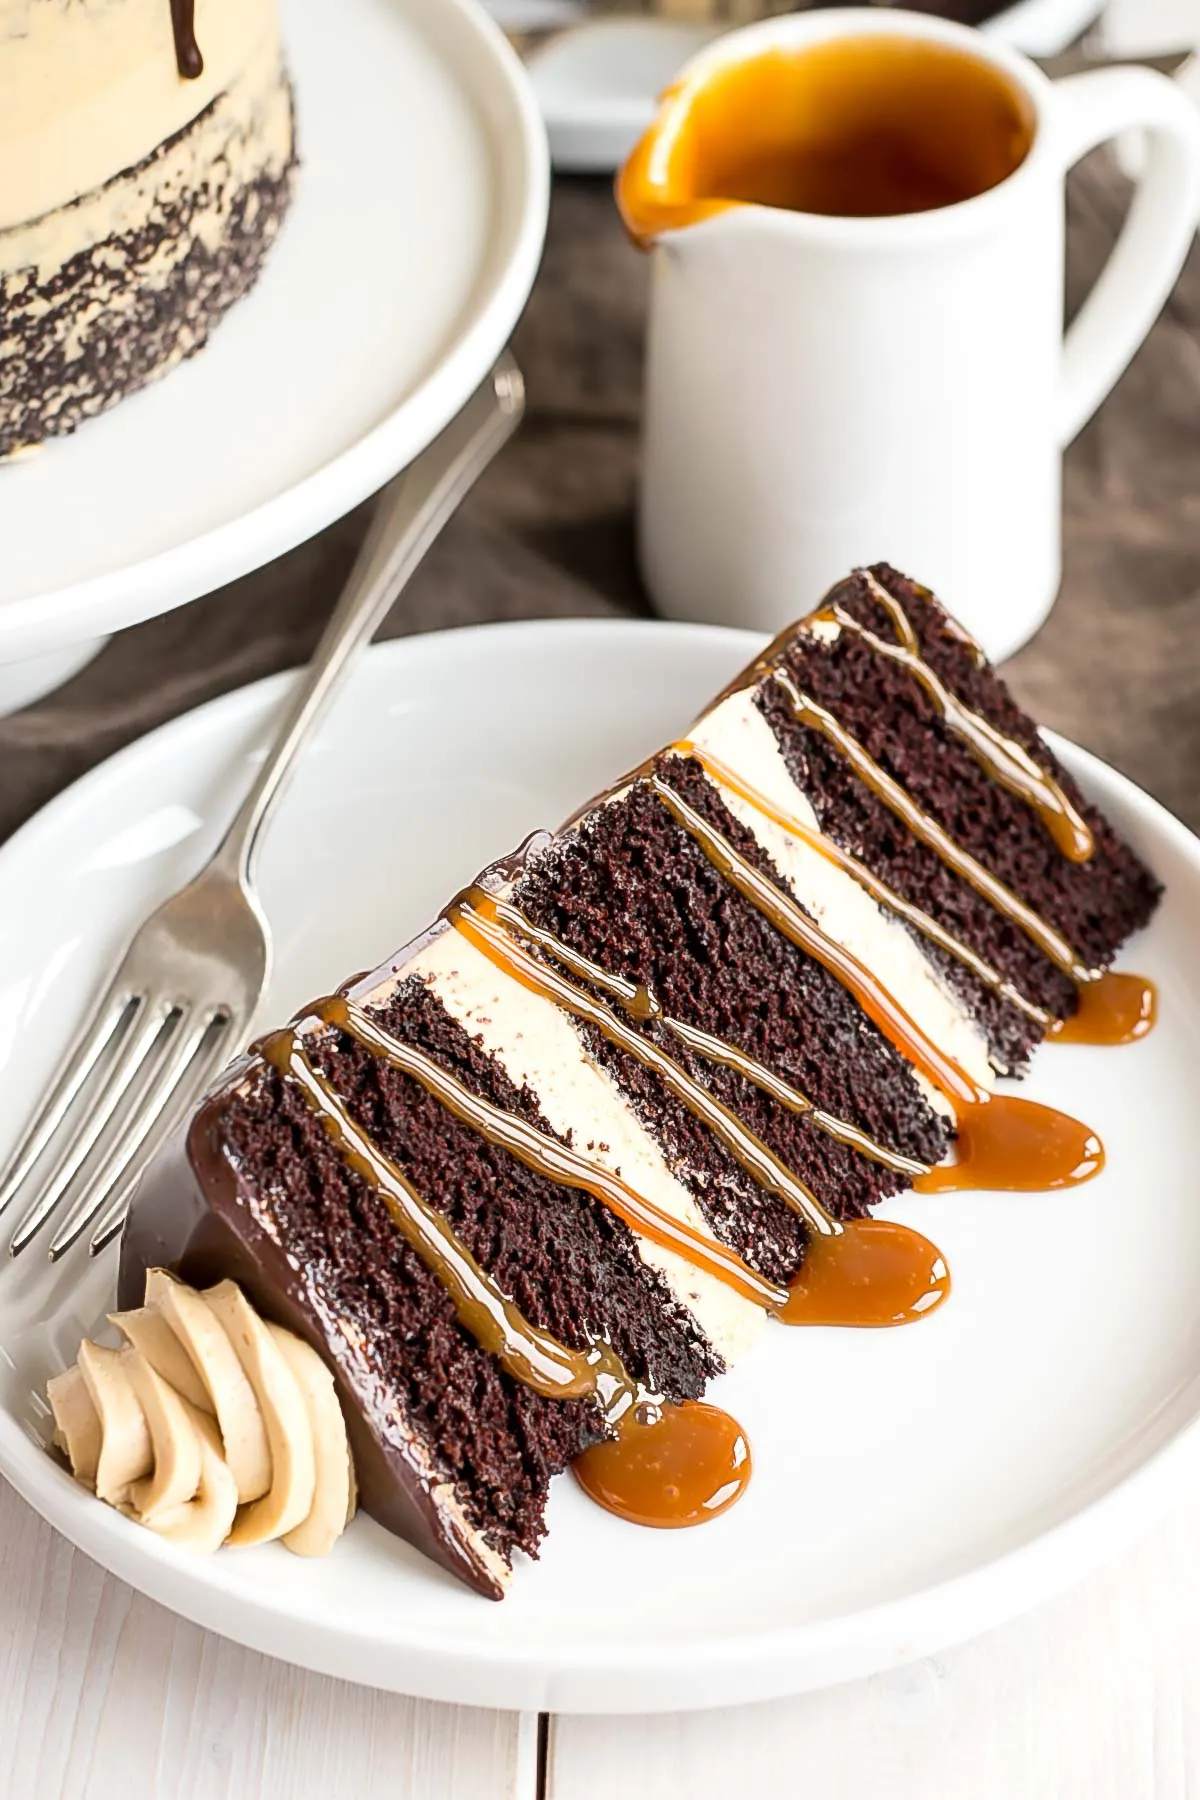
I’ve been using Fat Daddio’s products for as long as I can remember and they are my favorite brand when it comes to bakeware. I specifically love their cake pans over any others I’ve tried, as they are sturdier and bake more evenly. Just look at those perfect, even layers!
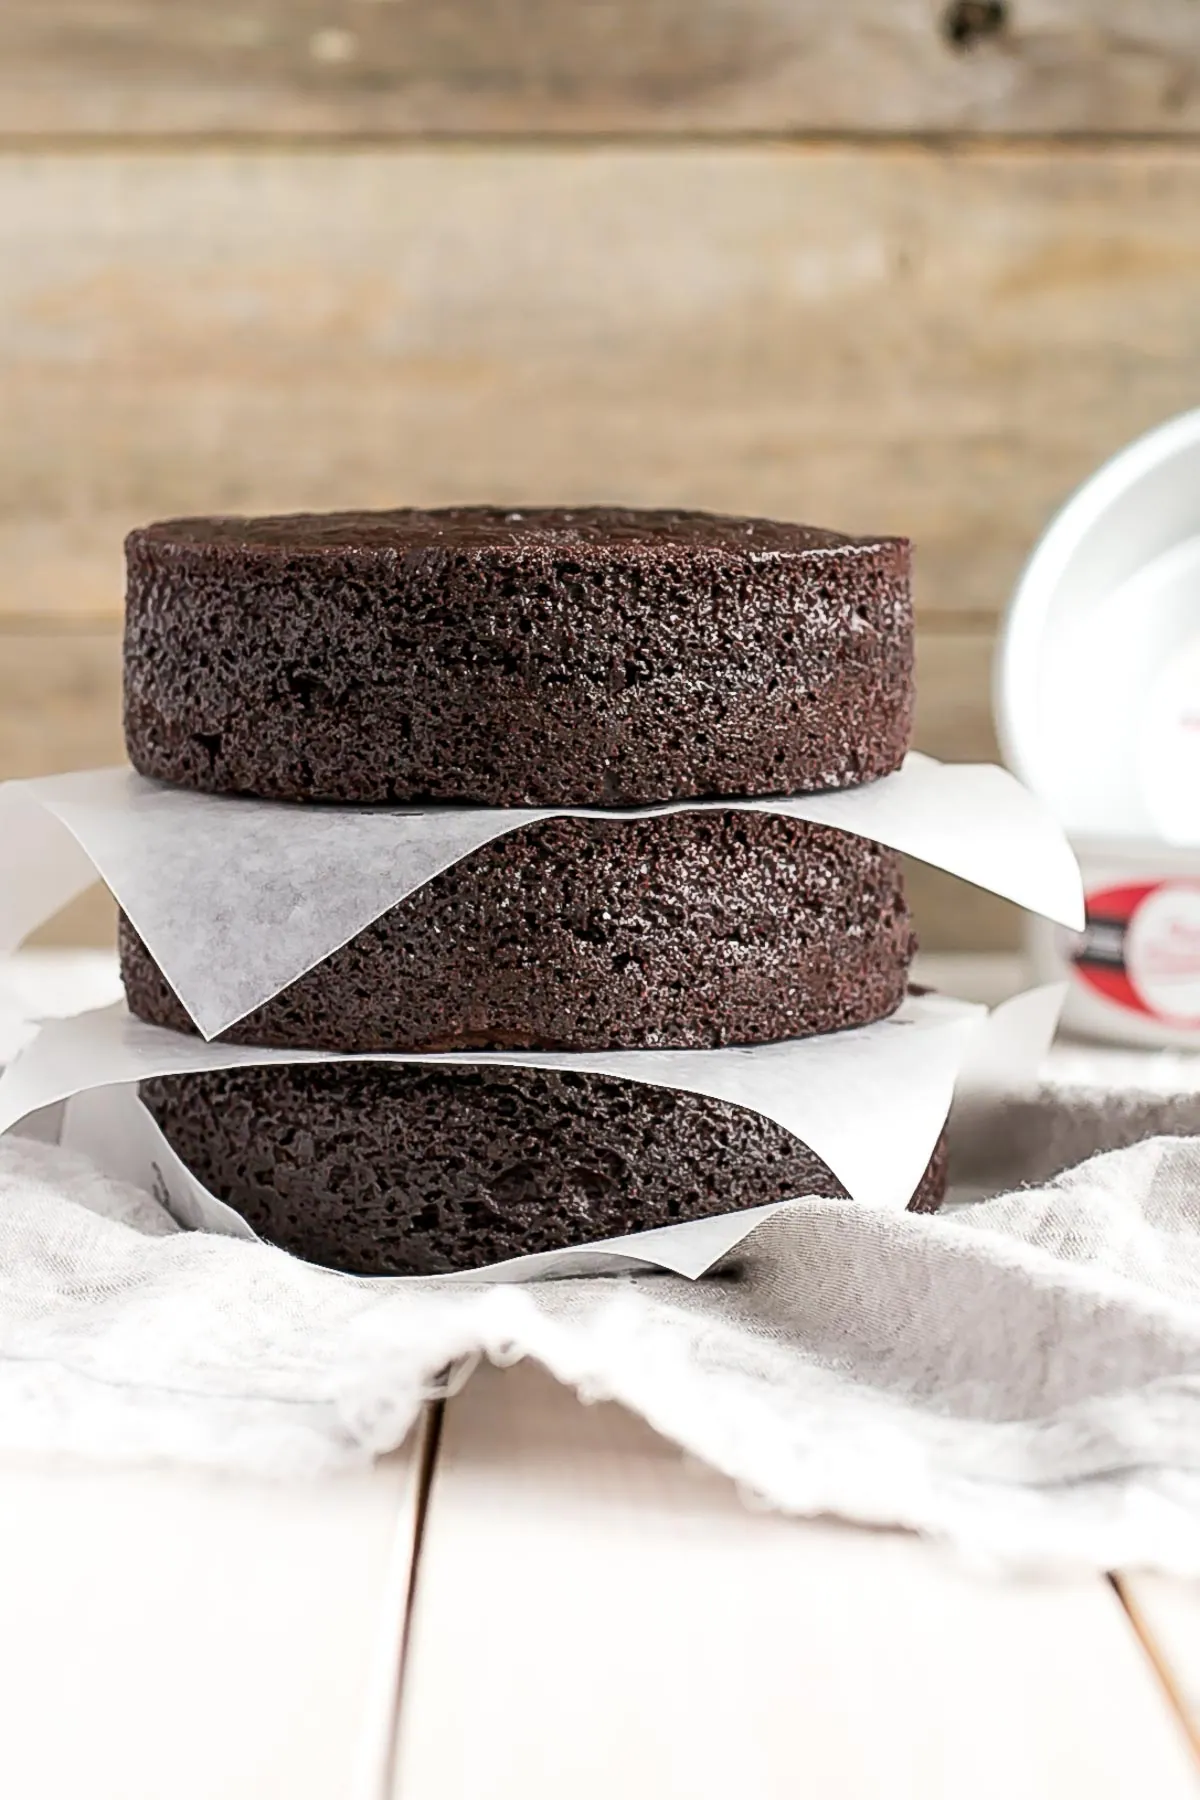
Cleanup is a breeze too! The most used Fat Daddio’s products in my kitchen are the 6″ cake pans (shown below) and the cake lifter (which makes transferring cakes from the turntable to a cake stand a much less stressful endeavor).
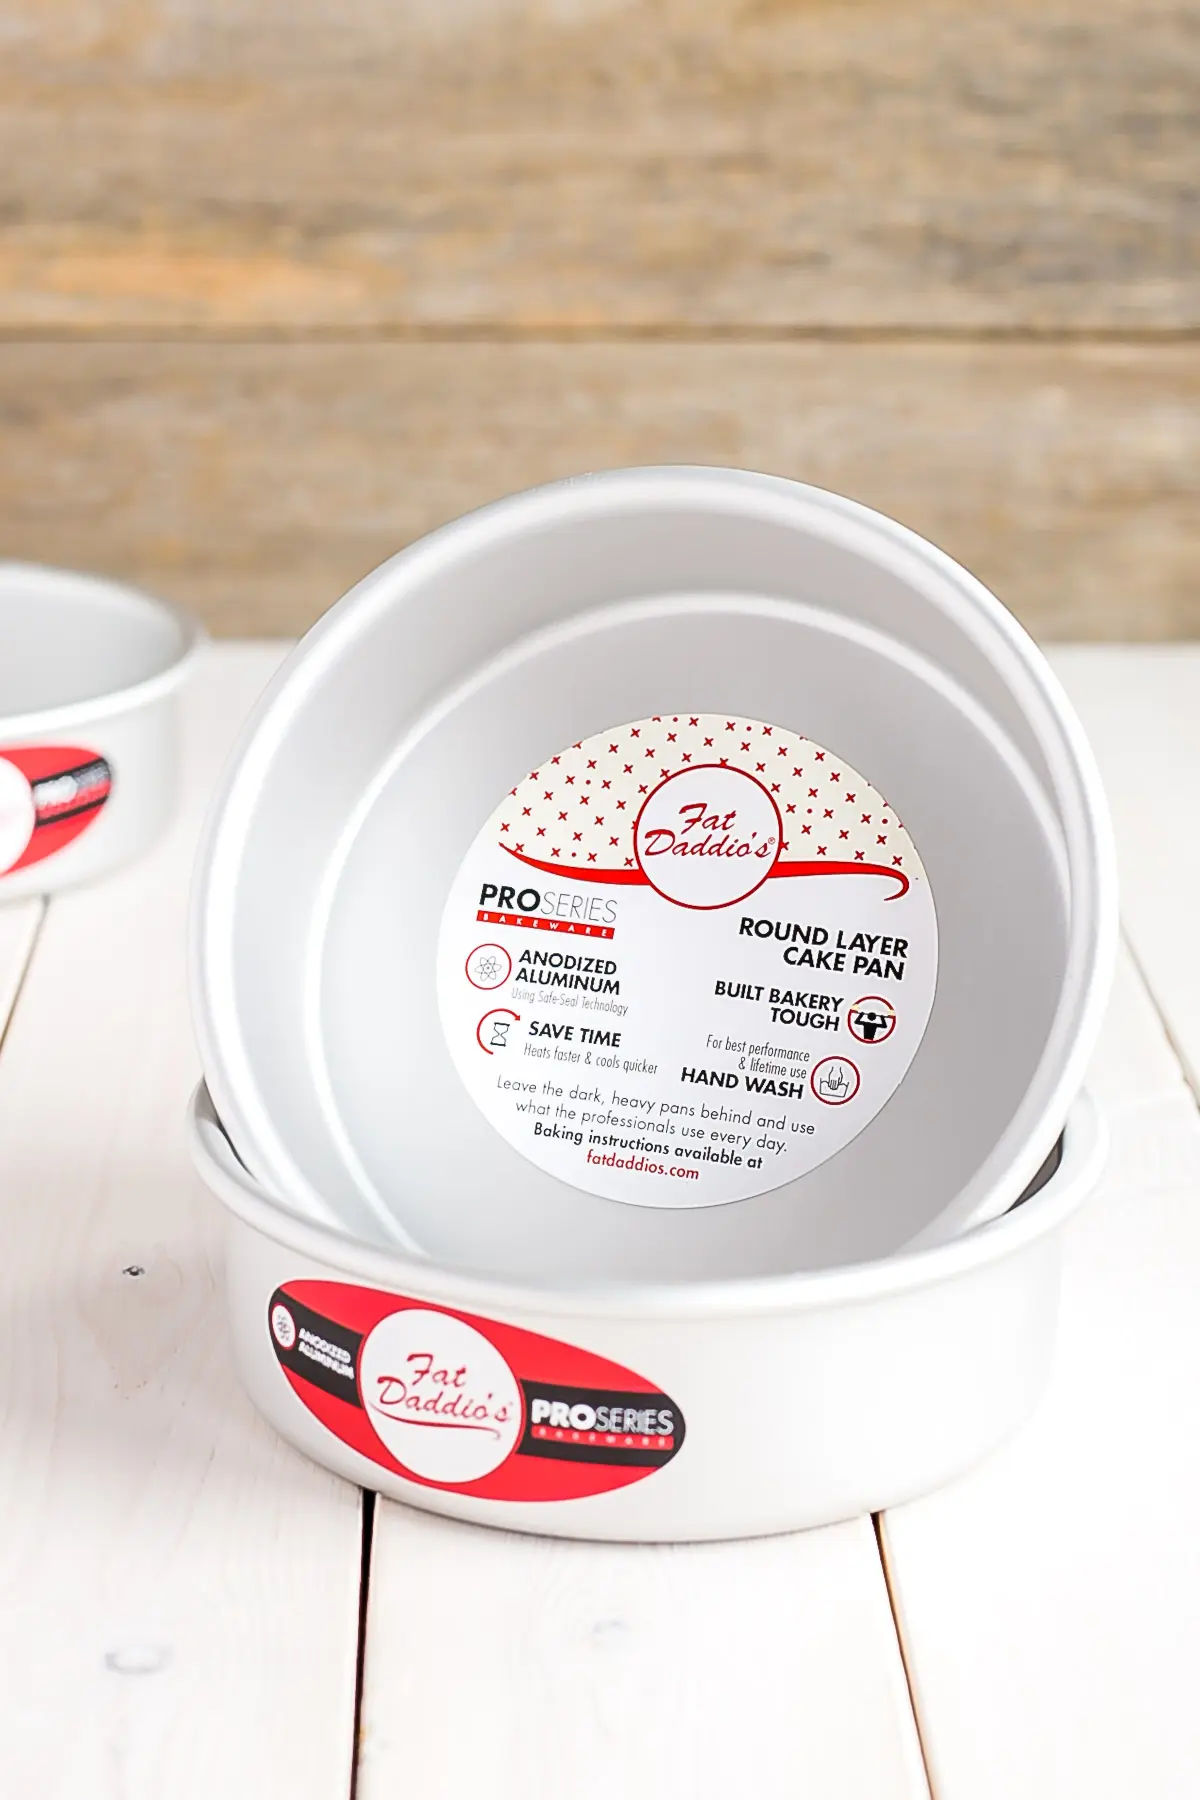
Fat Daddio’s doesn’t sell directly to consumers, but you can easily find their products online on Amazon or Golda’s Kitchen. If you happen to live in Vancouver, my favorite place to get them is at the Gourmet Warehouse.
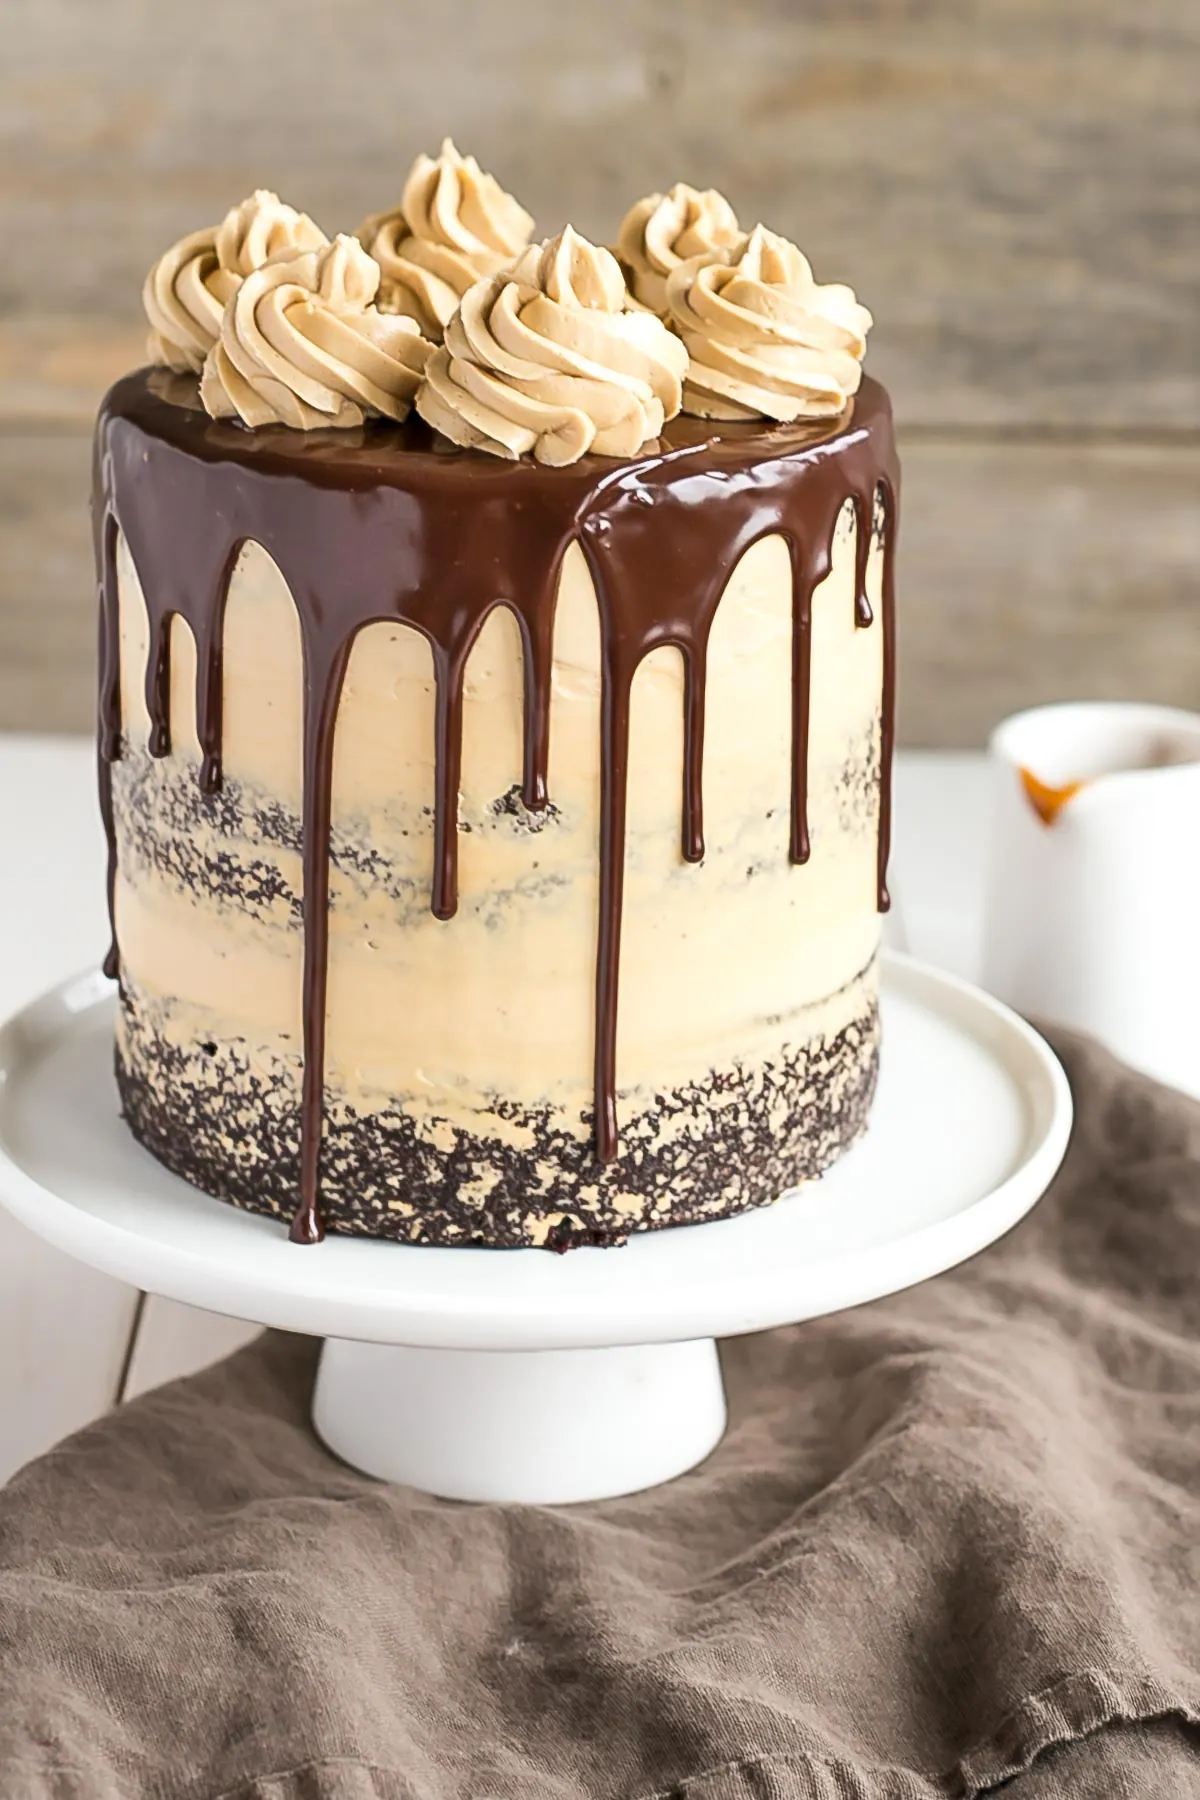
This Chocolate Dulce de Leche Cake is a new fave. I used my standard chocolate cake recipe (why mess with a good thing, right?) and paired it with a silky Dulce de Leche brown sugar buttercream. I used dark brown sugar instead of regular granulated sugar in the buttercream, because I wanted to enhance both the color and flavor.
I wanted a rich caramel color to the buttercream, and I knew that 1/4 cup of Dulce de Leche wouldn’t be enough to do that. The brown sugar also adds to the caramel flavor. It’s truly delicious.
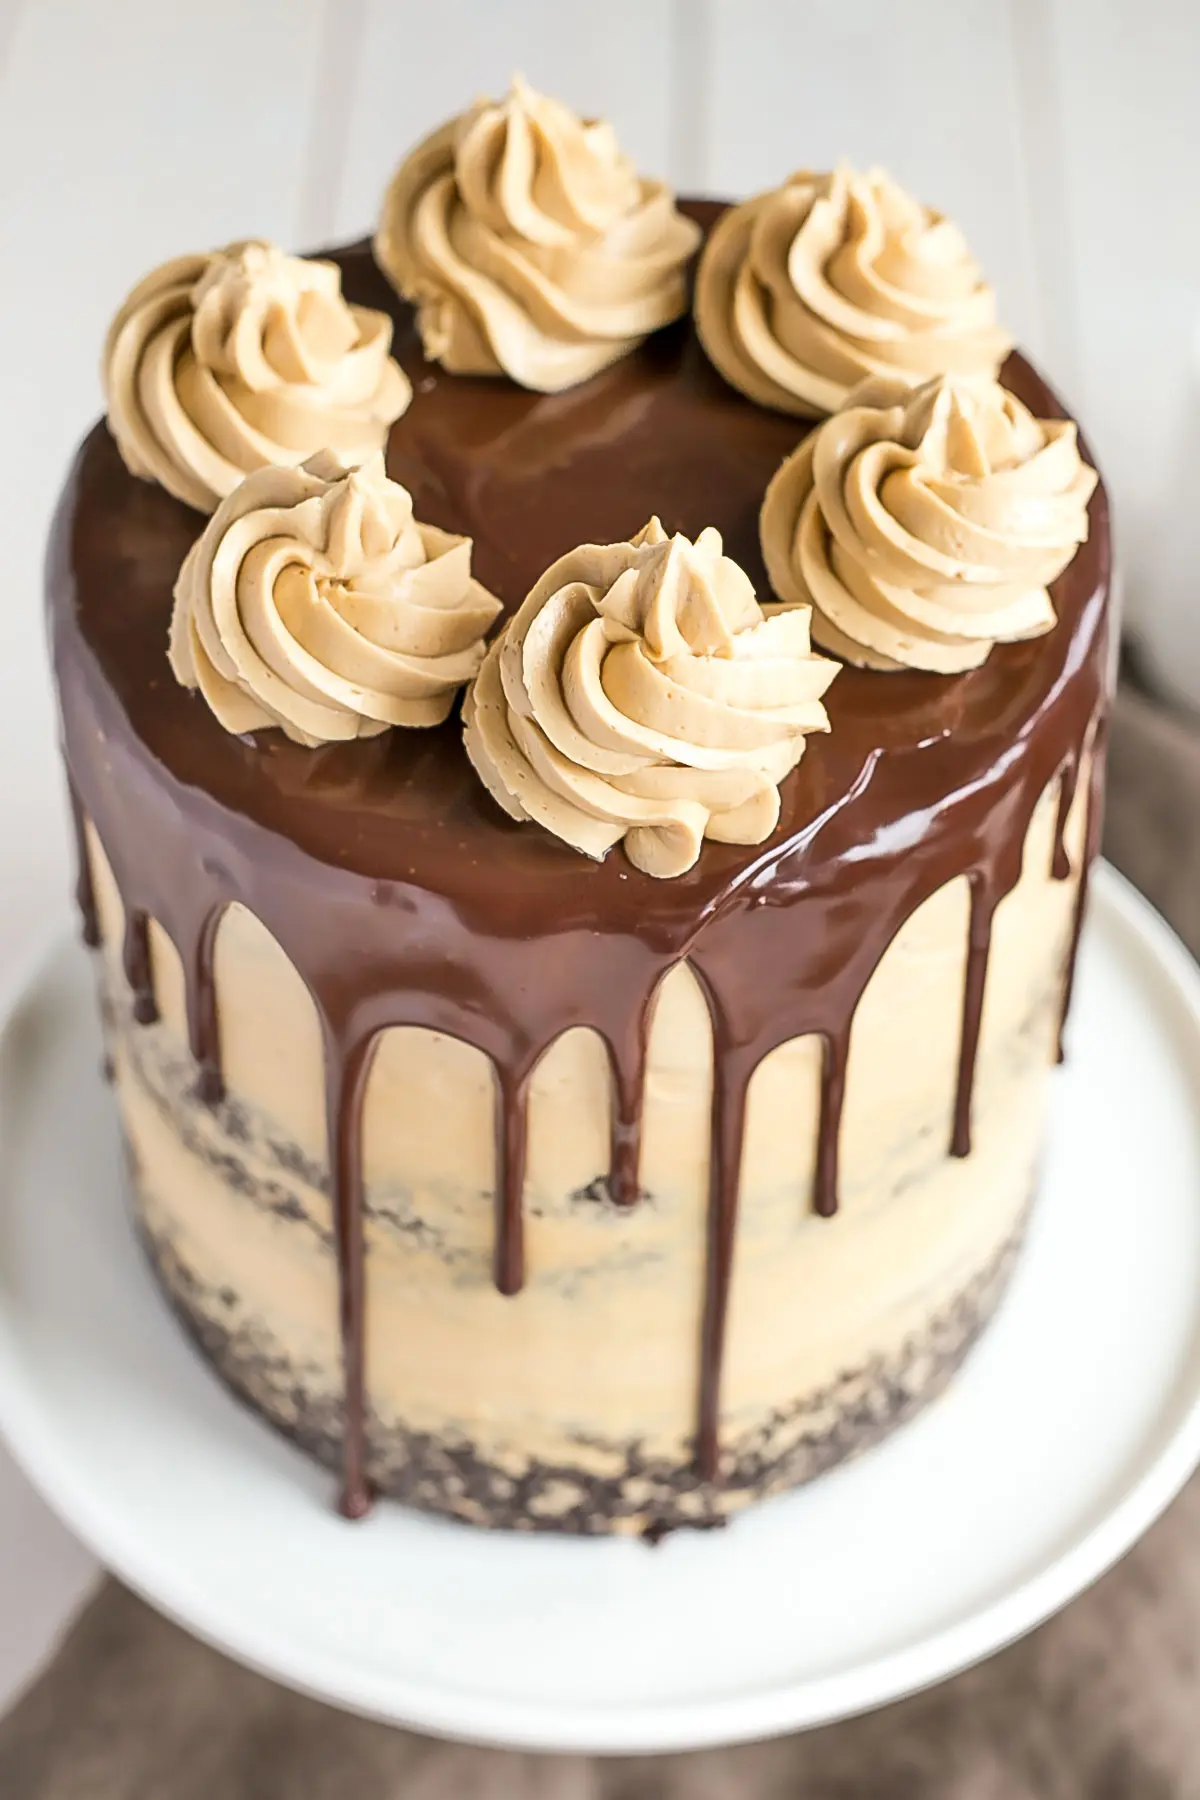
Now, I went the easy route and used store-bought Dulce de Leche sauce. Partly because I had some in my fridge from this Dark Chocolate Ganache Tart, and partly because I’m lazy. It’s actually really easy to make Dulce de Leche at home. All you need is a can of sweetened condensed milk, a pot, some water, and time. I went with the leftover stuff I had, but you can make your own if you prefer!
The rich chocolate cake and silky caramel buttercream go so well together. Who doesn’t love a good chocolate and caramel combo, right?? I amped up the flavor even more by drizzling Dulce de Leche over each slice. Pure heaven right there!
Looking for more Caramel recipes?
- Caramel Gingerbread Cake
- Caramel Cake (Salted Caramel Cake)
- Caramel Apple Cake
- Maple Caramel Carrot Cake
- Caramel Cookie Cups
Notes & tips for this Chocolate Dulce de Leche Cake:
- You can make your own Dulce de Leche at home rather than using store-bought if you prefer.
- To enhance the chocolate flavor of the cake, you can use strong hot coffee instead of hot water.
- For the ganache, I let mine set overnight (with plastic wrap placed directly on the surface). It will be too thick at this point, so I microwave it for 10 secs and stir it until it’s the right consistency.
- The drip technique works best on a chilled cake so that the drips set quickly.
- Be sure to check my Swiss Meringue Buttercream post for tips and troubleshooting.
- Learn how to keep your cakes moist using Simple Syrup.
- To help ensure your cake layers bake up nice and flat, see my Flat Top Cakes post.
Chocolate Dulce de Leche Cake
Ingredients
Chocolate Cake:
- 1 1/2 cup all-purpose flour
- 1 1/2 cups granulated sugar
- 3/4 cup Dutch-processed cocoa powder sifted
- 1 1/2 tsp baking soda
- 1 tsp baking powder
- 1 tsp salt
- 1/4 cup vegetable oil
- 3/4 cup buttermilk room temperature
- 3/4 cup hot water
- 2 large eggs
- 2 tsp vanilla extract
Dulce de Leche Buttercream:
- 3 large egg whites
- 1 cup dark brown sugar lightly packed
- 1 1/2 cups unsalted butter cubed, room temperature
- 1/4 cup Dulce de Leche storebought or homemade
Ganache:
- 2 oz dark chocolate finely chopped
- 2 oz heavy whipping cream
Instructions
Chocolate Cake:
- Preheat oven to 350F, grease three 6″ round baking pans and dust with cocoa powder. Line bottoms with parchment.
- Place all dry ingredients into the bowl of a stand mixer fitted with a paddle attachment. Stir to combine.
- In a medium bowl whisk all wet ingredients (pour water in slowly as not to cook the eggs if very hot).
- Add wet ingredients to dry and mix on medium for 2-3 mins. Batter will be very thin.
- Pour evenly into prepared pans. I used a kitchen scale to ensure the batter is evenly distributed.
- Bake until a cake tester comes out mostly clean. A total of 30-35mins.
- Cool 10 minutes in the pans then turn out onto a wire rack to cool completely.
Dulce de Leche Buttercream:
- Place egg whites and dark brown sugar into the bowl of a stand mixer, whisk until combined.*
- Place bowl over a pot with 1-2" of simmering water and stir constantly with a whisk until the mixture is hot and no longer grainy to the touch or reads 160F on a candy thermometer (approx. 3mins)
- Place bowl on your stand mixer and whisk on med-high until the meringue is stiff and cooled (the bowl is no longer warm to the touch (approx. 5-10mins)).
- Switch to paddle attachment. Slowly add cubed butter and mix until smooth.**
- Add dulce de leche and whip until smooth.
Ganache:
- Place chopped chocolate and cream into a microwave safe bowl. Stir to combine. Microwave for 20 seconds, stir. Microwave in 10 second intervals, stirring in between, until ganache is smooth and silky. Set aside to cool completely and thicken slightly before using on cake.
Assembly:
- Place one layer of cake on a cake stand or serving dish. Top with about 2/3 cup buttercream. Repeat with remaining layers. Frost and smooth the outside with a thin crumb coat. Chill for 20mins.
- Using a small spoon, place dollops of ganache around the top edges of the cooled cake, allowing some to drip down. Fill in the top of the cake with more ganache and spread evenly with an offset spatula.***
- Top with decorative dollops of frosting (I used Ateco tip 825). Drizzle slices with dulce de leche if desired.
Notes
** The buttercream may look like it’s curdled at some point. Keep mixing until it is completely smooth.
*** You may have some ganache left over.




Jenny says
I’m making this cake this weekend! If I double to make three eight inch layers as suggested do I need to make more frosting and ganache?
Olivia says
Hi Jenny! Yes, double the frosting for sure… the ganache *might* be enough, but maybe 1.5x that 🙂 Let me know how you like it!
Jenny says
Olivia,
The cake turned out perfectly and was delicious! I did one and a half times the frosting, weighing my egg whites and doubled the ganache. Also I poured the cooled ganache over the chilled cake and gently spread it to the edges to let it drip naturally. It looked very pretty and I think the chocolate cake will be my new go to! Thank you
DeeDee says
I plan on making more frosting next time too. 😊
Olivia says
Yay! I’m so glad it worked out and that you liked it! 😀
Cory says
Very sad, batter was delicious but cake fell.
Olivia says
Hi Cory! Sorry to hear that, perhaps you took it out of the oven too early?
Ellen says
Hi. I made this cake twice and it is so delicious and it looks so pretty.
Olivia says
Hi Ellen! So glad to hear you liked it 🙂
DeeDee says
This cake looks amazing! I would like to make it for my sons birthday. Unfortunately I only own 8″ and 9″ pans. Could I substitute? I need this cake for 4/30/17. Thank you. DeeDee Bryans
Olivia says
Hi DeeDee! You can double the recipe and make it in three 8″ cake pans instead 🙂 I hope you like it!
DeeDee says
Thank you. I ordered the 6″ just in case. 😊
Natalie says
I had two 8-inch pans and one 9-inch. I made 1.5 times the cake batter and doubled the frosting and the ganache. I used all of the batter and it was the perfect amount. Of course, I had to trim the 9-inch cake but it worked out just fine! This cake was amazing! I made it for my mother’s retirement dinner and everybody loved it. Not too rich or too sweet. Plus, it is beautiful.
Olivia says
Yay! So glad it worked out and that everyone love it 🙂 Thanks for the update!
Angela Exton says
So inspiring is this cake that i am going to make this for my nephews birthday next weekend so thanks for the post. Can I pour cooled hot water/coffee into the wet ingredients to make it even more less likely to cook the eggs? Or there is some logic to the hot water? I will have to double the recipe as only have 8″ pans. Do I fill them half way as ?
Olivia says
Hi Angela! The hot coffee helps to dissolve the cocoa powder, so I would keep it hot 🙂 If you’re whisking while pouring slowly, it should be fine! If you’re concerned, you can always pass the wet ingredients through a strainer afterwards. If you use three 8″ pans then double the recipe will work perfect. The batter is thin, and rises a lot, so half way should be fine.
Angela exton says
Thank you for making the time to reply. Explaining why you pour hot liquid into batter makes a whole lot of sense.
Emily says
Hi Olivia!
I love your cakes. About your respies would i have to do any ajustments for high altitude?
Olivia says
Hi Emily! I’m actually not totally sure… I’ve never baked in high altitude 🙁 I found this though, it might be a good place to start?
http://www.kingarthurflour.com/learn/high-altitude-baking.html
Jackie says
Hi Liv. Does this need to be refrigerated? In the process of making it for tomorrow.
Olivia says
Hi Jackie! I tend to refrigerate all of my cakes, yeah. You can do so and then take it out 2-3 hours before serving. It would probably be fine if you left it out though… depending on how warm your house gets. There is no way I could leave it out in mine! Lol
Katie says
Is there a conversion if you don’t have 6 inch pans??? Perhaps if you use slightly larger pans and only make it a double layer??
Olivia says
Hi Katie! You can use the recipe as is in two 8″ pans. Your layers will be slightly thinner, but it will work. Or you can double it for three 8″ pans. I hope that helps!
Jessica says
Hello, I plan to use two 8 inch pans. Is the cooking time and temperature the same if I do it that way? Thanks! Excited to try it out.
Olivia says
Hi Jessica! The baking time would be roughly the same since they’d be about the same depth. It’s always good to start checking at 25mins or so though. I hope you like it!
Ela says
I did 3, 8 inch pans and it turned out perfect!
Olivia says
Awesome, so glad it worked out!
Kim says
Hi! I was trying to order the pans but it doesn’t state whether they are 6 inch x 2 inch, 6 inch x 3 inch or 6 inch x 4 inch pans. Please help
Olivia says
Hi Kim! So sorry, I will clarify this in the post! The ones I have are 6″x2″, but really any would work. 6″x3″ would allow you to bake taller layers if you wanted to 🙂 6″x4″ are a little too high for the average home baker in my opinion :). I hope that helps!
Brenda says
Made this yesterday..It’s amazing..LOVE the brown sugar buttercream..Not sweet..So soft and smooth OMG..Wish I could post a picture..I will be making this again as it’s my favorite now
Olivia says
Hi Brenda! I am so happy that you liked this cake! 🙂
Marina says
I made this cake this weekend. It was super-duper delicious! And I used my Fat Daddio pans!
Olivia says
Yay! They are the best, right?? I’m so glad you liked this cake, it’s a new fave 🙂
Tami says
Hi Liv, Thank you for the recipe- your pic looks delicious!
I made this tonight & the cake came out superb! I had some difficulties with the ganache- I know it’s a ‘me’ thing as my first batch split. I made another batch which appeared good but it did not drip down sides as nicely as yours….I will have to work on that. Any suggestions?
I will try this one again soon.
Olivia says
Hi Tami! I’m so glad you liked the cake, but sorry to hear about your ganache 🙁 You can save a split ganache by adding a splash of warm cream to it and stirring till it’s silky smooth again. I know we did that in school at least and it seemed to work. For your second batch, what was the consistency like (too thick or too thin?). Figuring out the proper consistency to use is a bit of trial and error. I always let mine set up over night (it will be way too thick at this point), then I microwave it for 10 seconds and stir it to thin it out. That works well for me, but everyone’s microwave is different! I always do a test drip first too, on what is destined to be the “back” of the cake, and see how well it drips down. Also, make sure your cake is chilled as it helps the ganache set up. I hope that helps! Please let me know how your next attempt goes 🙂
Cindy Rodriguez says
This is simply gorgeous and would definitely get me out of my cold weather doldrums. Yum!
Olivia says
Thanks Cindy!! xo 🙂
Erica says
This cake looks Devine,.. I am definitely going to try this and I will let you know how it comes out.
Olivia says
Yay! I hope you love it 🙂
Deborah L Kile says
Looks delicious
Olivia says
Thanks Deborah! 🙂
Aisha says
Oh my!! You have so many tempting cakes. I would love to try them all….Which one is your favorite?
Olivia says
Thanks so much Aisha! That is a TOUGH question hmm. This one is up there for sure as I love the chocolate/caramel combo. For something other than chocolate, I love my Milk & Cookies Cake and my Walnut Cake was surprisingly delicious!! But my all time fave has to be my Mocha Chocolate Cake. I hope you try one of them!
Aisha says
Great!! I’ll put them on my bake list.
Aliya Ahmed says
What kind of camera and editing software do you use? Your cakes always look superb! I always get motivated to write on my blog after I read your posts!
Olivia says
Thanks so much Aliya! I use a Canon 6D with a 50mm 1.8 lens and I edit all of my pics in Lightroom — it’s a lifesaver!
Aisha says
Do you also resize your pictures for Instagram in Lightroom?
Olivia says
Hi Aisha! No, I just use the same pics from my post and upload them into IG.
Aisha says
Oh nice! So Instagram just automatically resizes it correctly?
Olivia says
I’m not totally sure what you mean…You can adjust the size of the picture when you use it in IG 🙂
Meg | Meg is Well says
This is pretty much my dream cake! I’d like some with my coffee right now! I hope you get back in your groove! It’s no fun feeling like you just aren’t in the swing of things. I’ve been feeling like that for this whole month so far.
Olivia says
Glad to hear I’m not alone. Thanks so much Meg! <3 xo
Jackie says
O…M…G!!! This must be made this week. Oh wait I’m on night shift this week. Easter. I am making this for Easter!!
Olivia says
Yay! I hope you like it 🙂 Please let me know!
Nila @ The Tough Cookie says
Hi Liv, I was wondering about you! I totally understand that you sort of sank into a winter depression (can I call it that?) after coming home to snow after sunny Sydney. Probably what would have happened to me.
Love this recipe! Great idea to add brown sugar to the dulce de leech buttercream for color and flavor. And great idea to keep it in the fridge to snack on 😉
Olivia says
Hi Nila! It’s totally a winter depression — Jan to Mar is usually the hardest chunk of the year for me to get through, and it’s been particularly with our crazy winter and very late spring 🙁 Things are finally starting to bloom though! So I’m happy about that 🙂
The brown sugar in this buttercream is seriously amazing, you need to try it!! xo
Pam Kozlow says
Actually I have a question regarding the Buttercream Frosting. When making it do you need to bring the egg whites and sugar up to 160 degrees to avoid any problems. Some recipes say to cook until there is no graininess approximately 3 minutes and other recipes suggest you cook until it reaches 160 degrees.
Not sure which is the correct method.
Thanks
Pam
Olivia says
Hi Pam! Honestly, I never actually use a thermometer to check that it gets to 160, but if you’re concerned about the raw egg whites, you should cook it to this temperature as any bacteria will be killed at this point. I just test it to see that it’s no longer grainy and feels hot. So scientific, I know. Haha.
Dana Hotard says
Thank you for this fabulous recipe. I made this gorgeous cake for thanksgiving. It was a huge hit. Absolutely one of the best cakes I’ve ever eaten.
Olivia says
Yay! So happy to hear that Donna!!