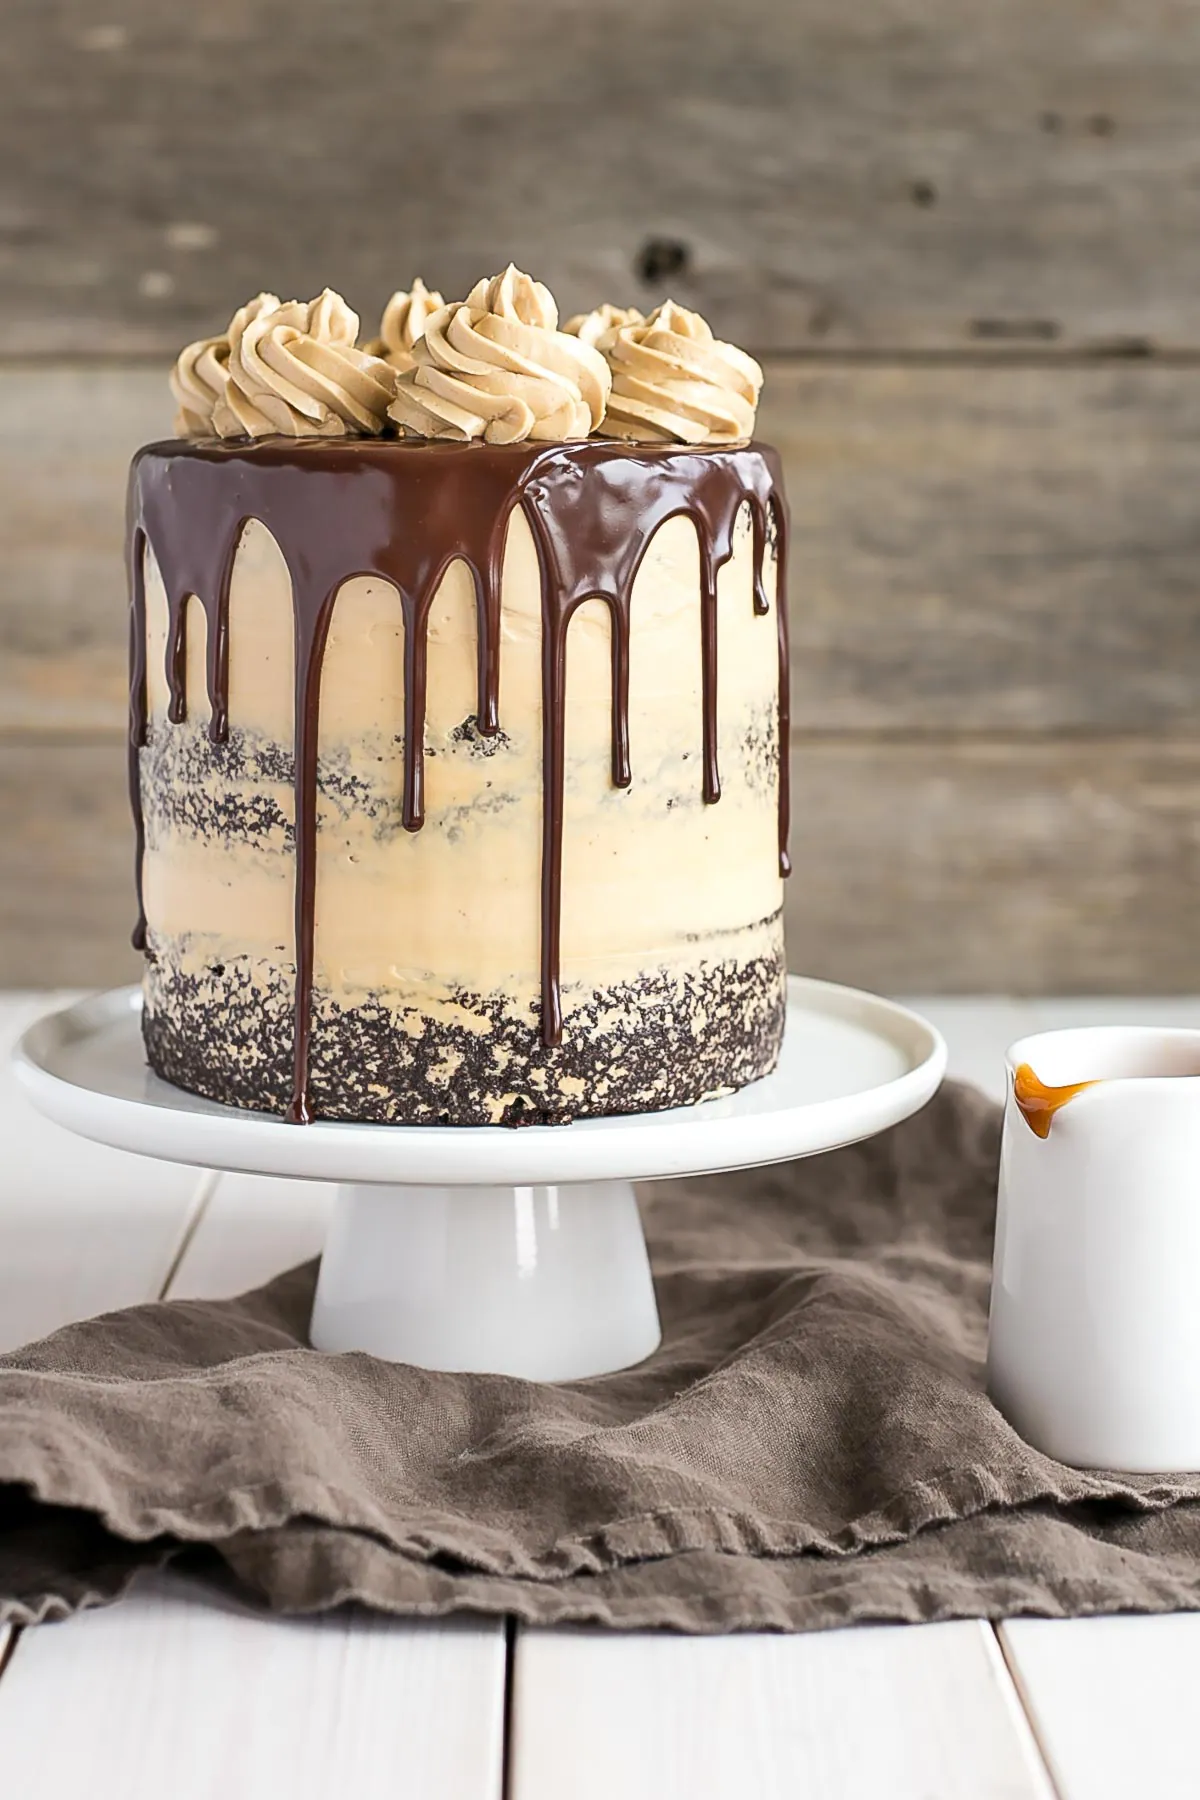
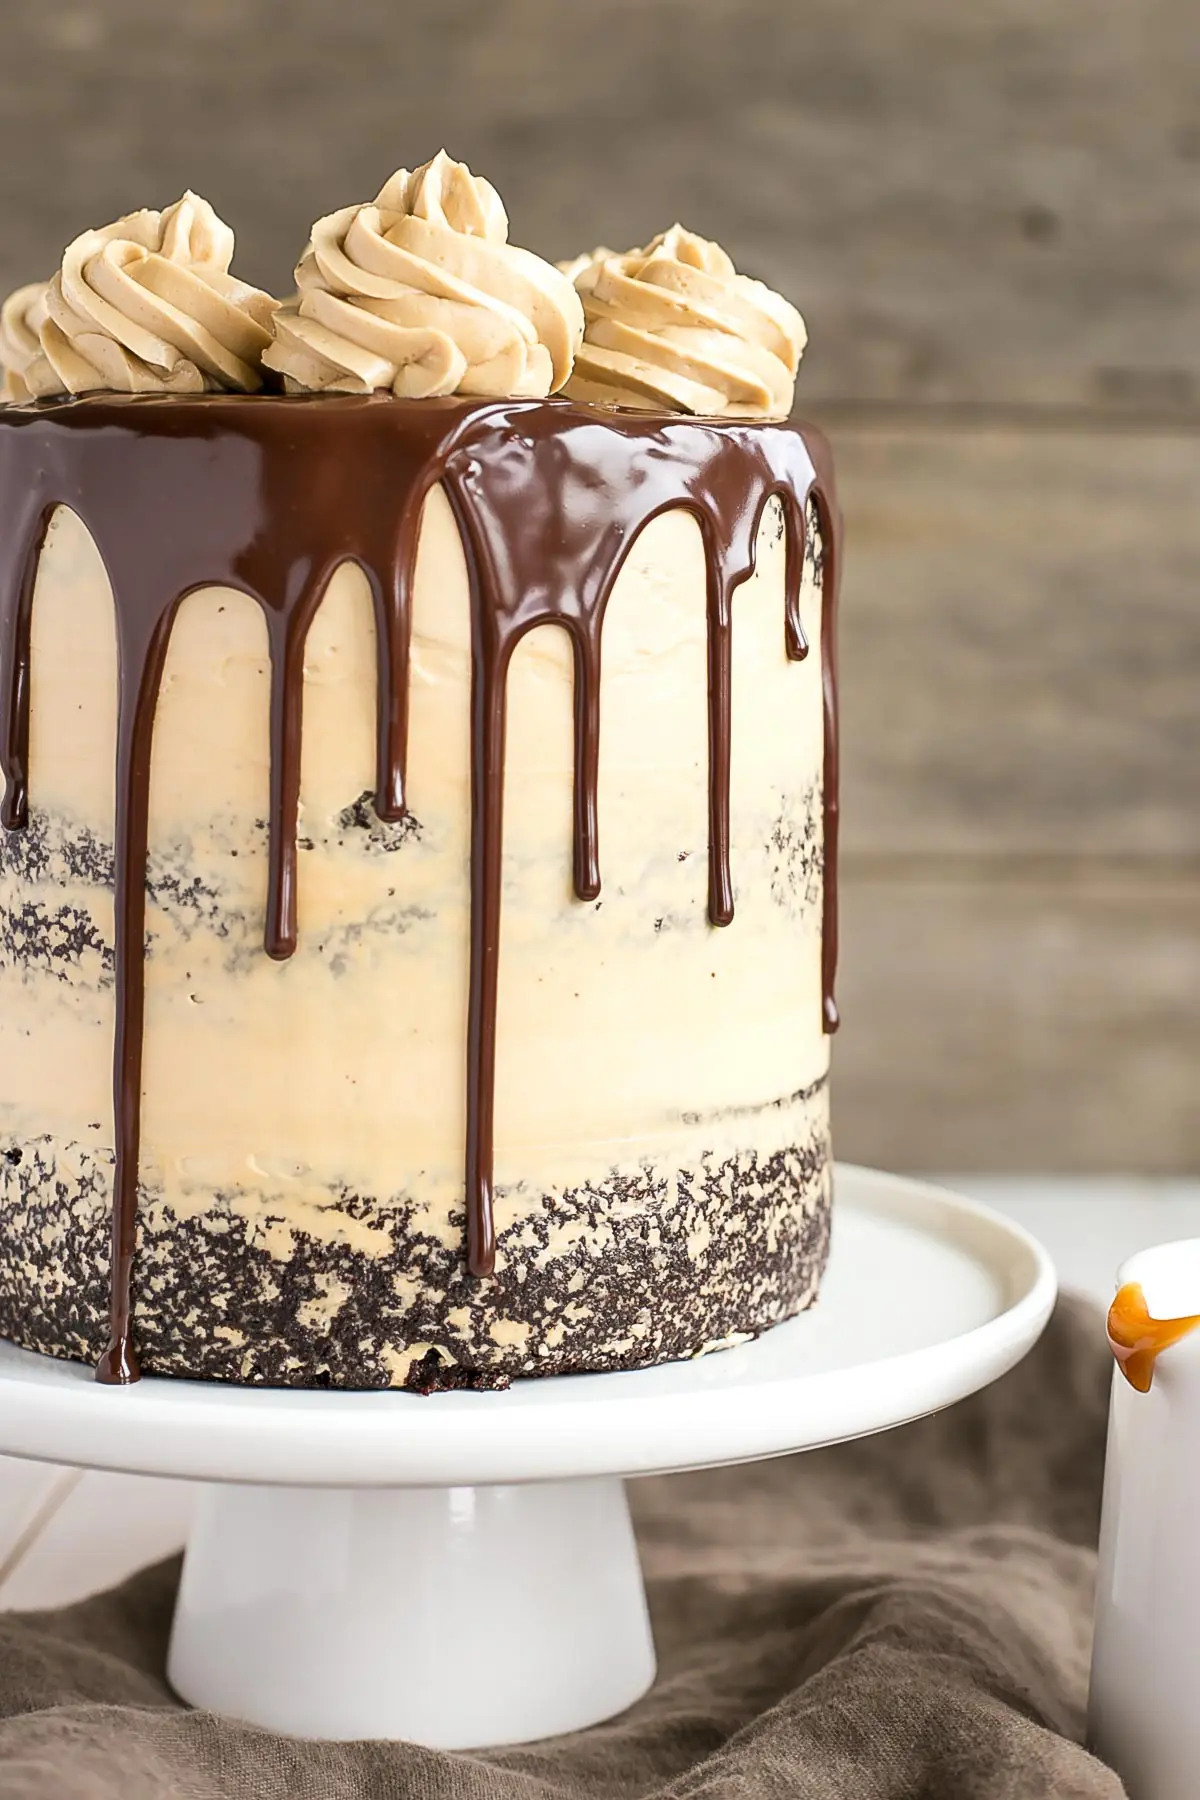
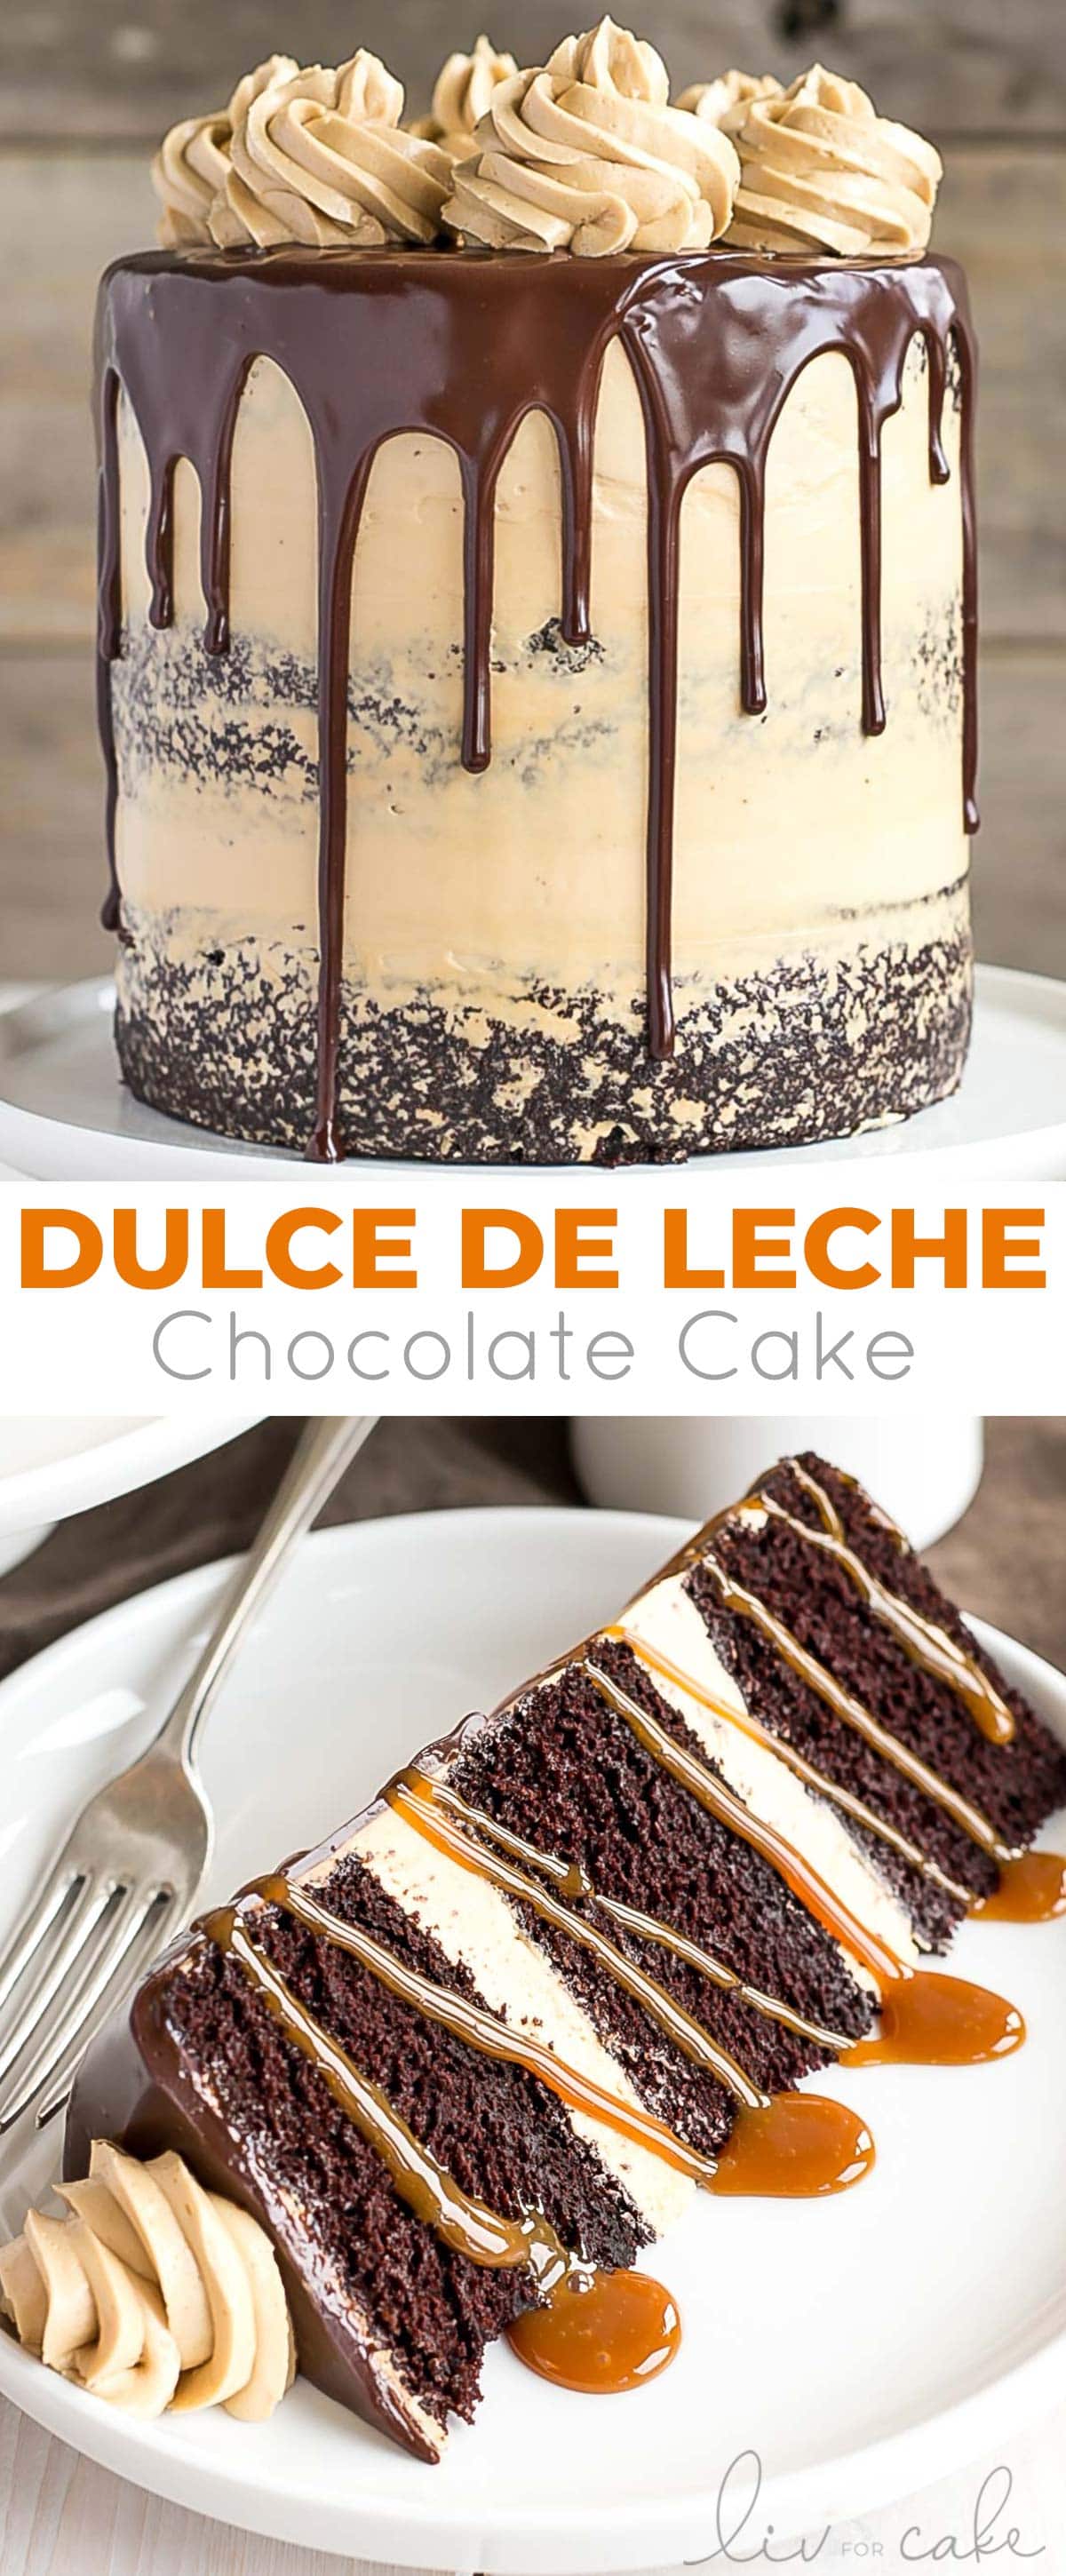
The ultimate combo of chocolate and caramel come together in this delicious Chocolate Dulce de Leche Cake.
This post has been sponsored by Fat Daddio’s. Thank you for supporting the brands I love – they help make Liv for Cake possible! All opinions expressed here are my own.
First off, sorry for the lack of a post last week. I have no excuse other than I’m having a hard time getting back into the swing of things after being away for 3 weeks, and the weather here has been cloudy and rainy so I haven’t been able to take pictures. I guess that’s kind of an excuse? Never mind the fact that we literally came back to SNOW. From a sunny Sydney summer, to snow. In Vancouver. In MARCH.
It literally almost never snows here, but this winter has been crazy. It’s officially spring now, and my winter coat should be put away and I should be staring out at a garden full of flowers. Unfortunately, neither of those is a reality, so it’s a good thing I have copious amounts of this Chocolate Dulce de Leche Cake in my fridge right now.
I’m so excited to bring you this post today because it’s in collaboration with one of my favorite brands in the baking world — Fat Daddio’s.
Fat Daddio’s is renowned for manufacturing high quality, professional bakeware. They have a seemingly endless variety of cake pans and baking tools. Literally anything you could ever need or want. This family owned company has been around for decades and they are the go-to brand for professional pastry chefs and bakeries.
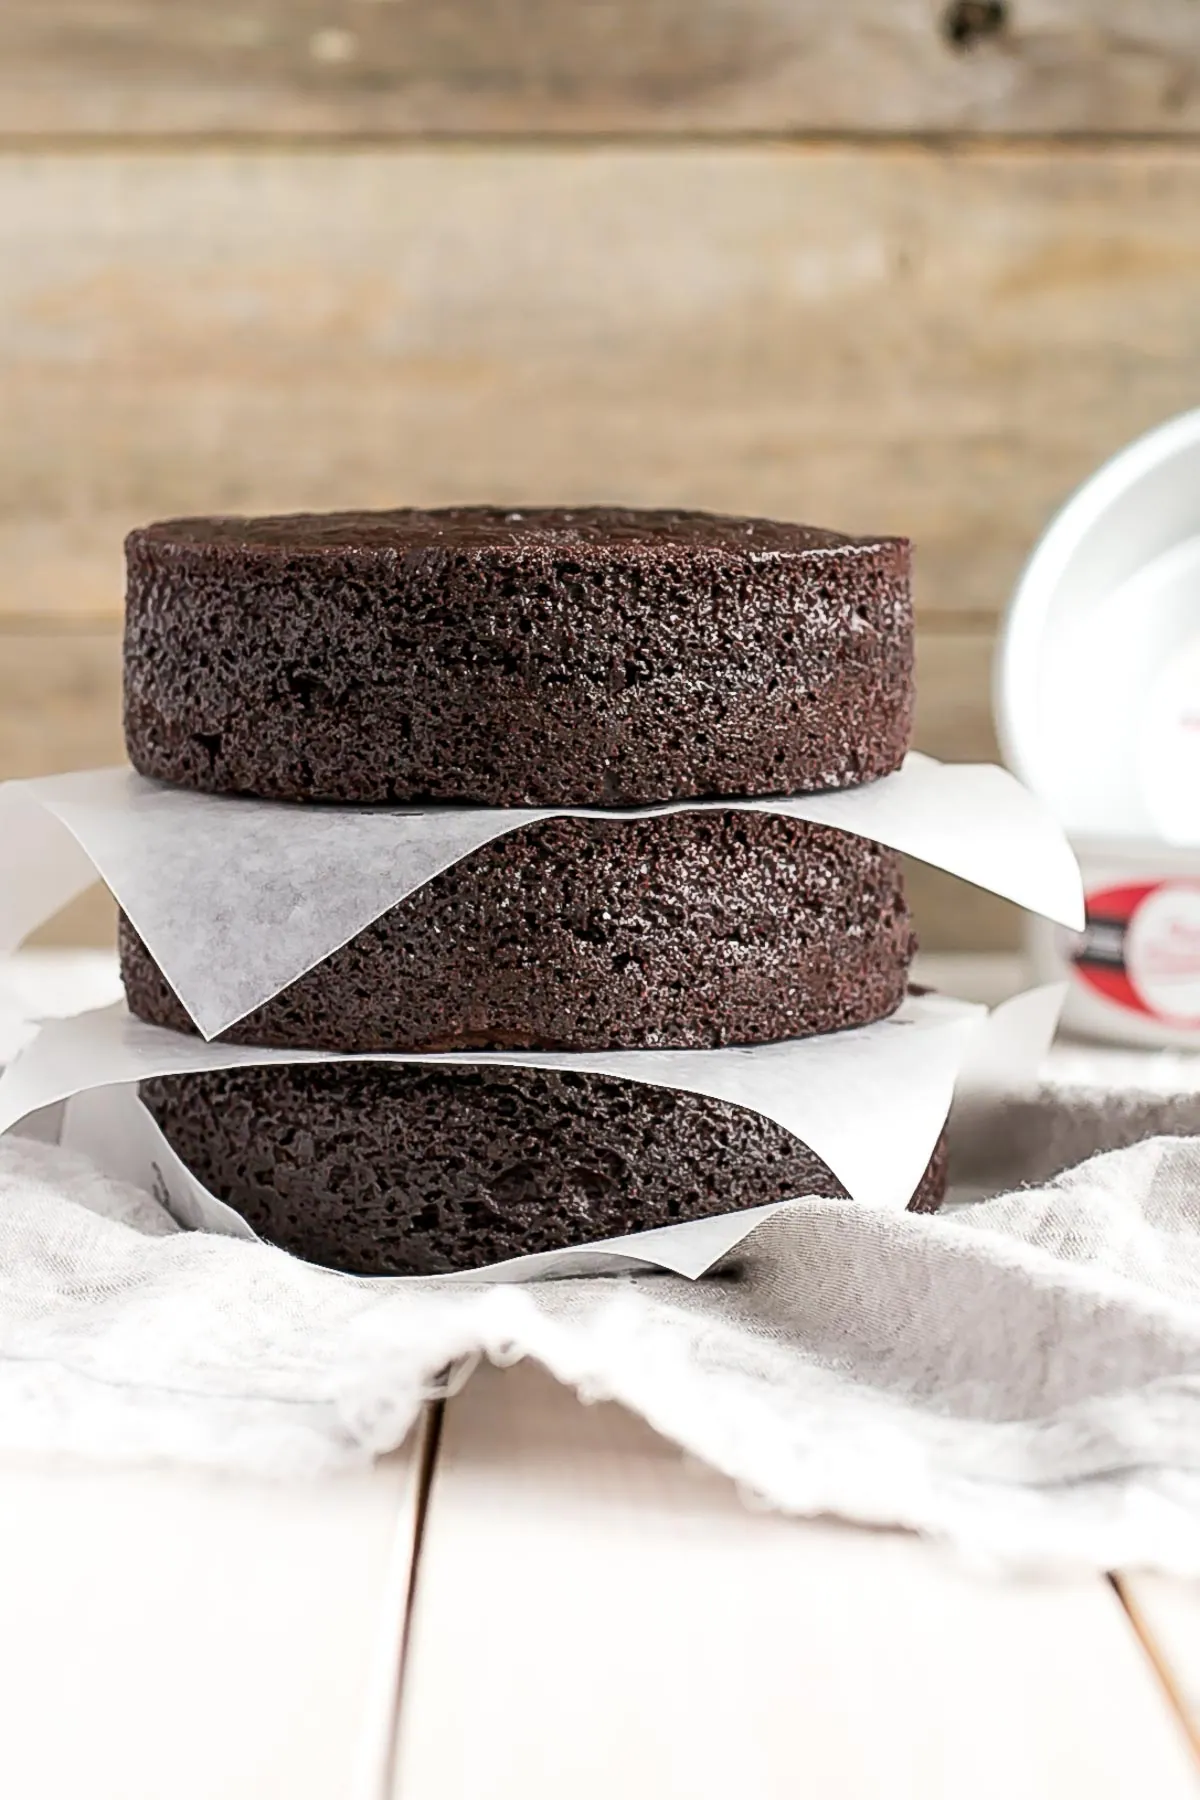
I’ve been using Fat Daddio’s products for as long as I can remember and they are my favorite brand when it comes to bakeware. I specifically love their cake pans over any others I’ve tried, as they are sturdier and bake more evenly. Just look at those perfect, even layers!
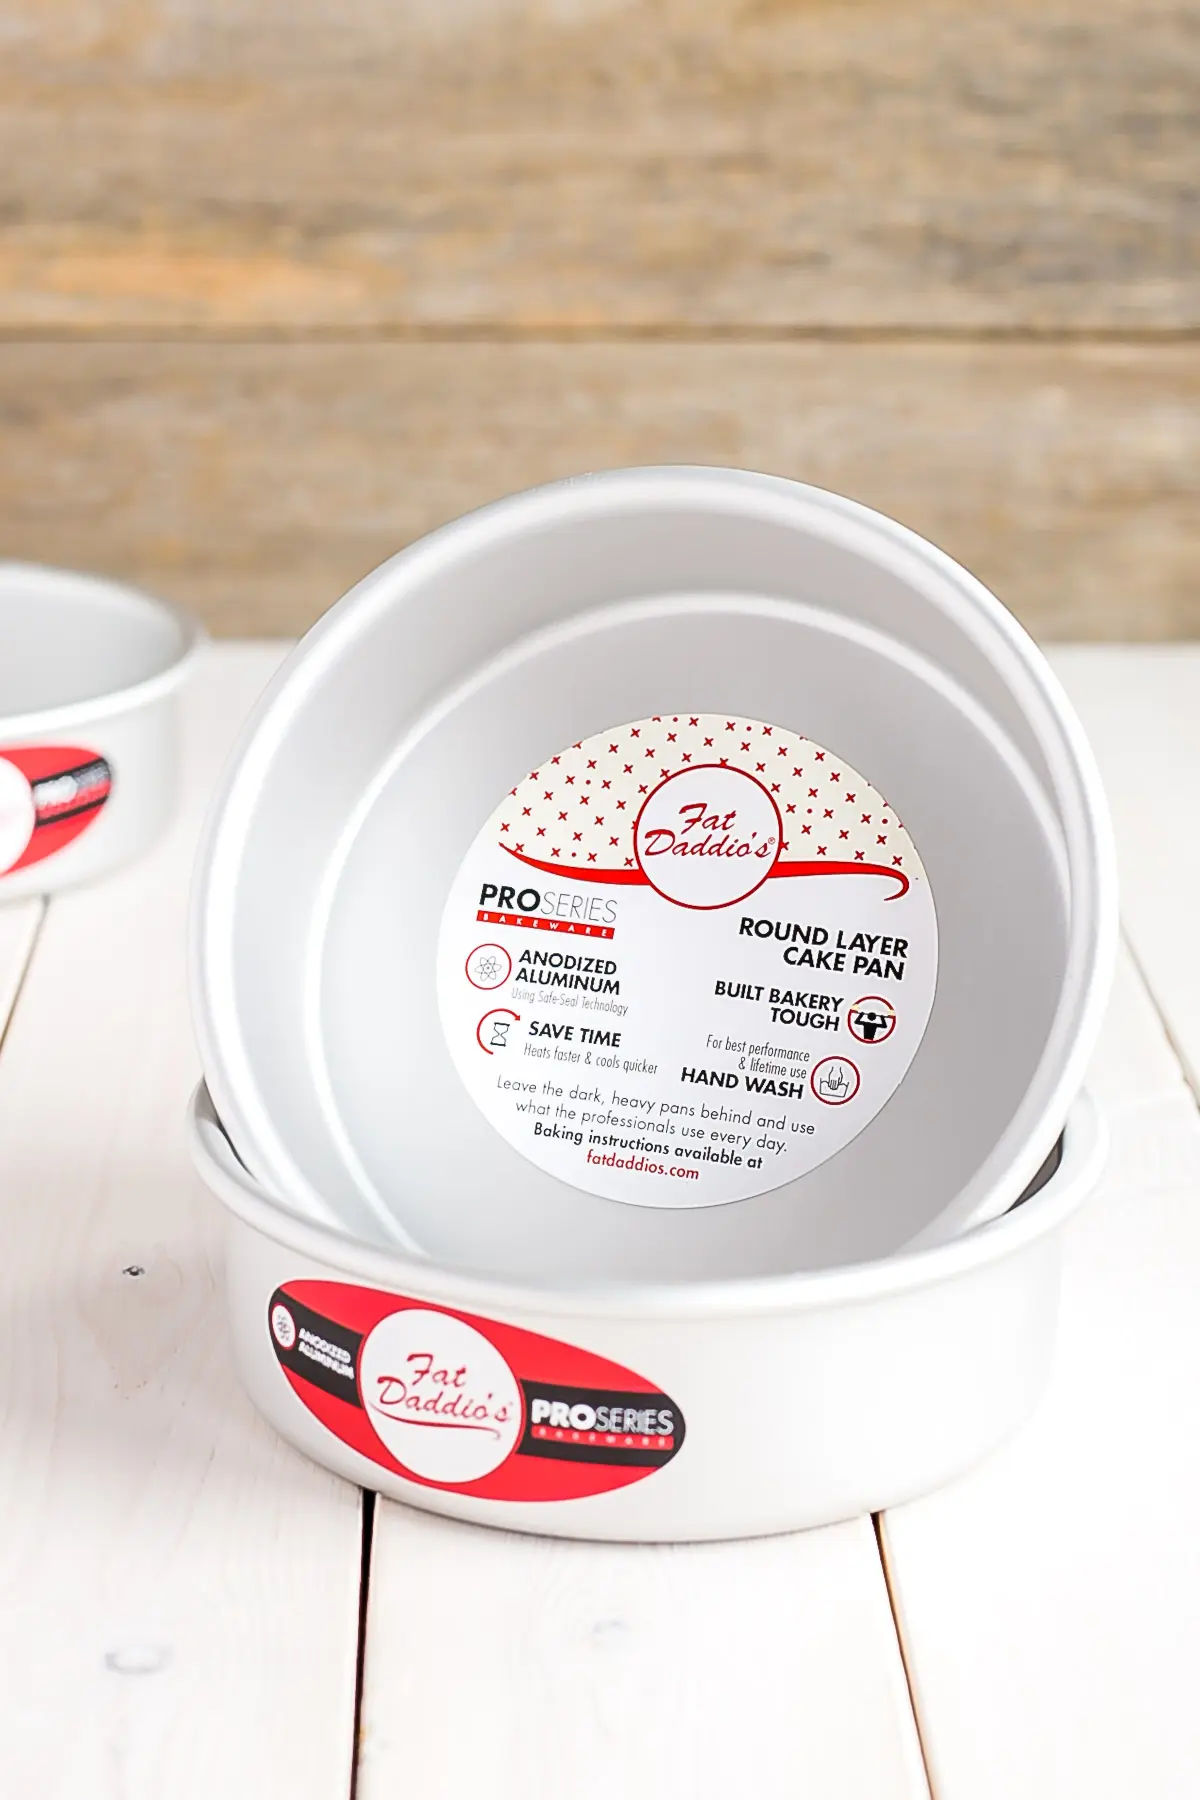
Cleanup is a breeze too! The most used Fat Daddio’s products in my kitchen are the 6″ cake pans (shown below) and the cake lifter (which makes transferring cakes from the turntable to a cake stand a much less stressful endeavor).
Fat Daddio’s doesn’t sell directly to consumers, but you can easily find their products online on Amazon or Golda’s Kitchen. If you happen to live in Vancouver, my favorite place to get them is at the Gourmet Warehouse.
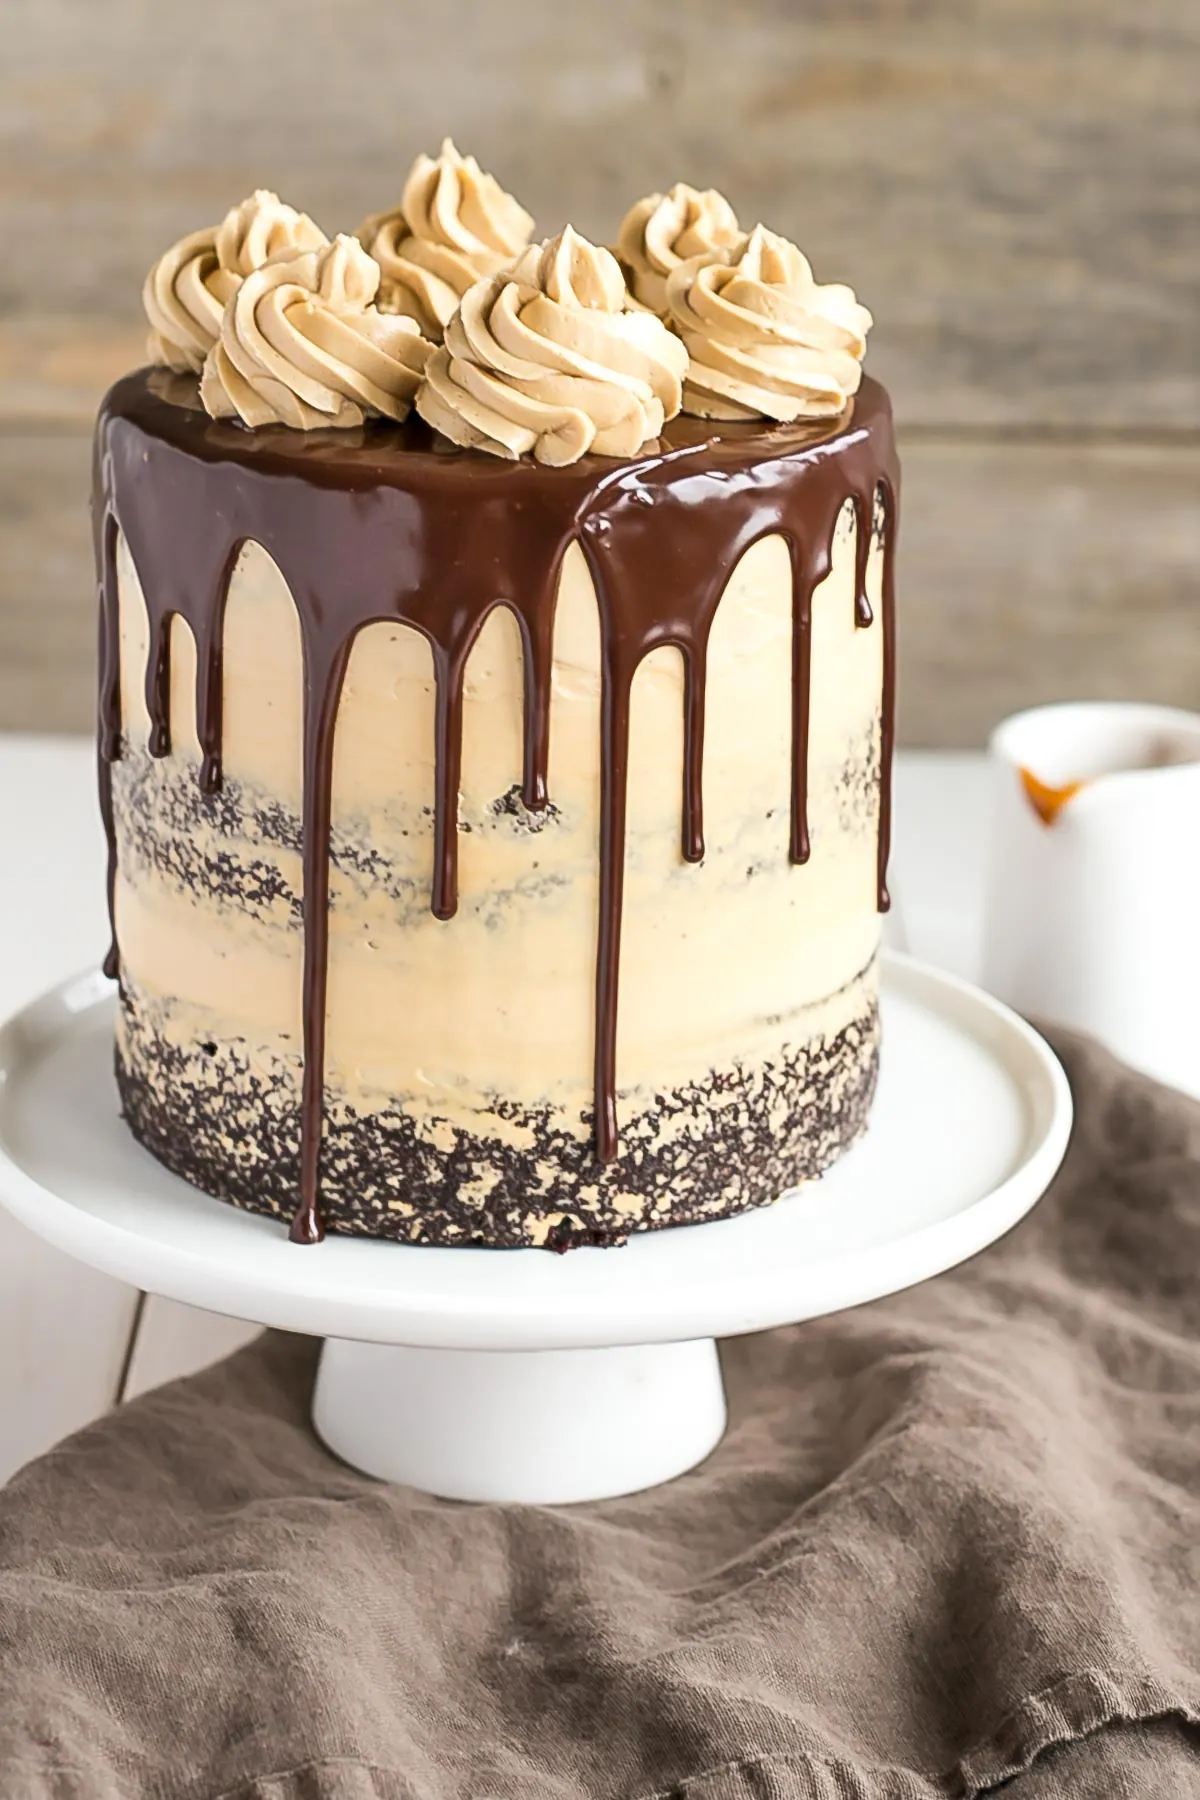
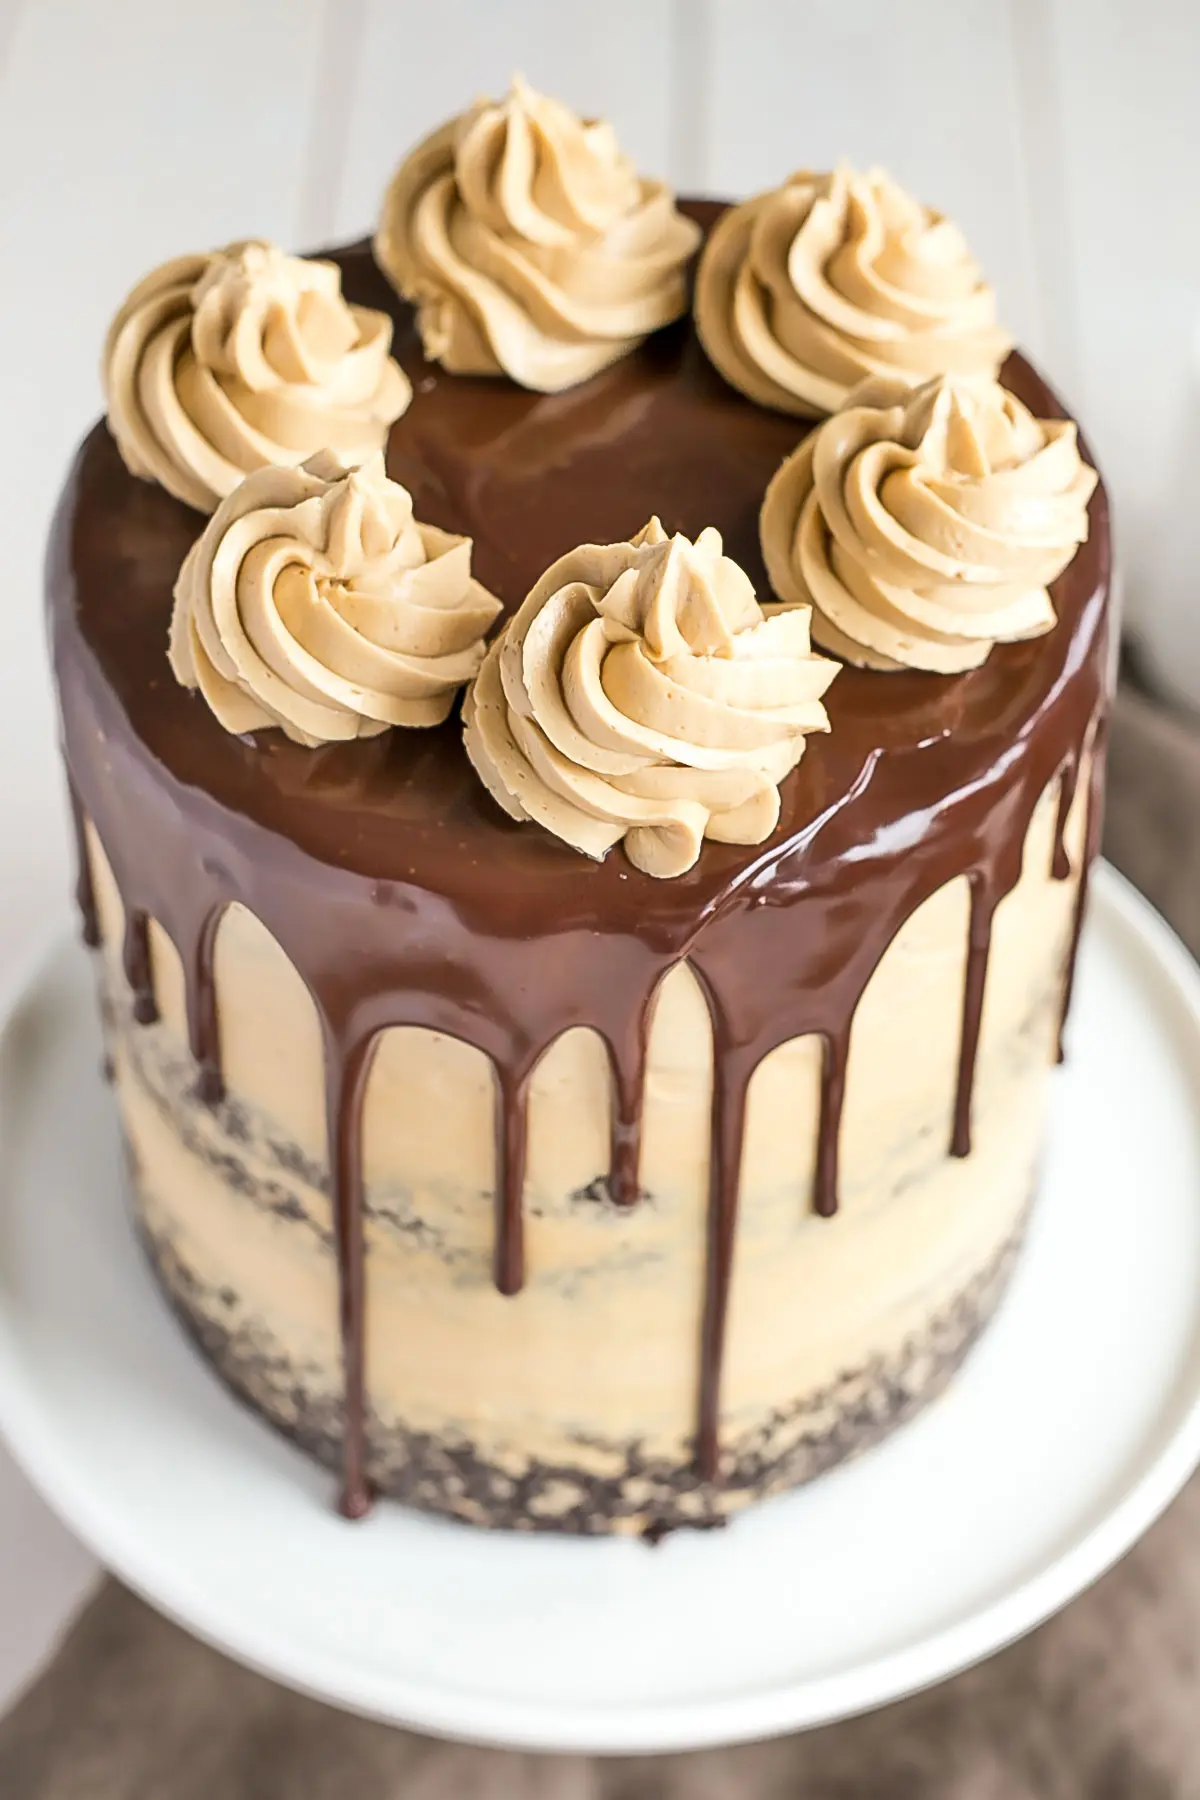
This Chocolate Dulce de Leche Cake is a new fave. I used my standard chocolate cake recipe (why mess with a good thing, right?) and paired it with a silky Dulce de Leche brown sugar buttercream. I used dark brown sugar instead of regular granulated sugar in the buttercream, because I wanted to enhance both the color and flavor.
I wanted a rich caramel color to the buttercream, and I knew that 1/4 cup of Dulce de Leche wouldn’t be enough to do that. The brown sugar also adds to the caramel flavor. It’s truly delicious.
Now, I went the easy route and used store-bought Dulce de Leche sauce. Partly because I had some in my fridge from this Dark Chocolate Ganache Tart, and partly because I’m lazy. It’s actually really easy to make Dulce de Leche at home. All you need is a can of sweetened condensed milk, a pot, some water, and time. I went with the leftover stuff I had, but you can make your own if you prefer!
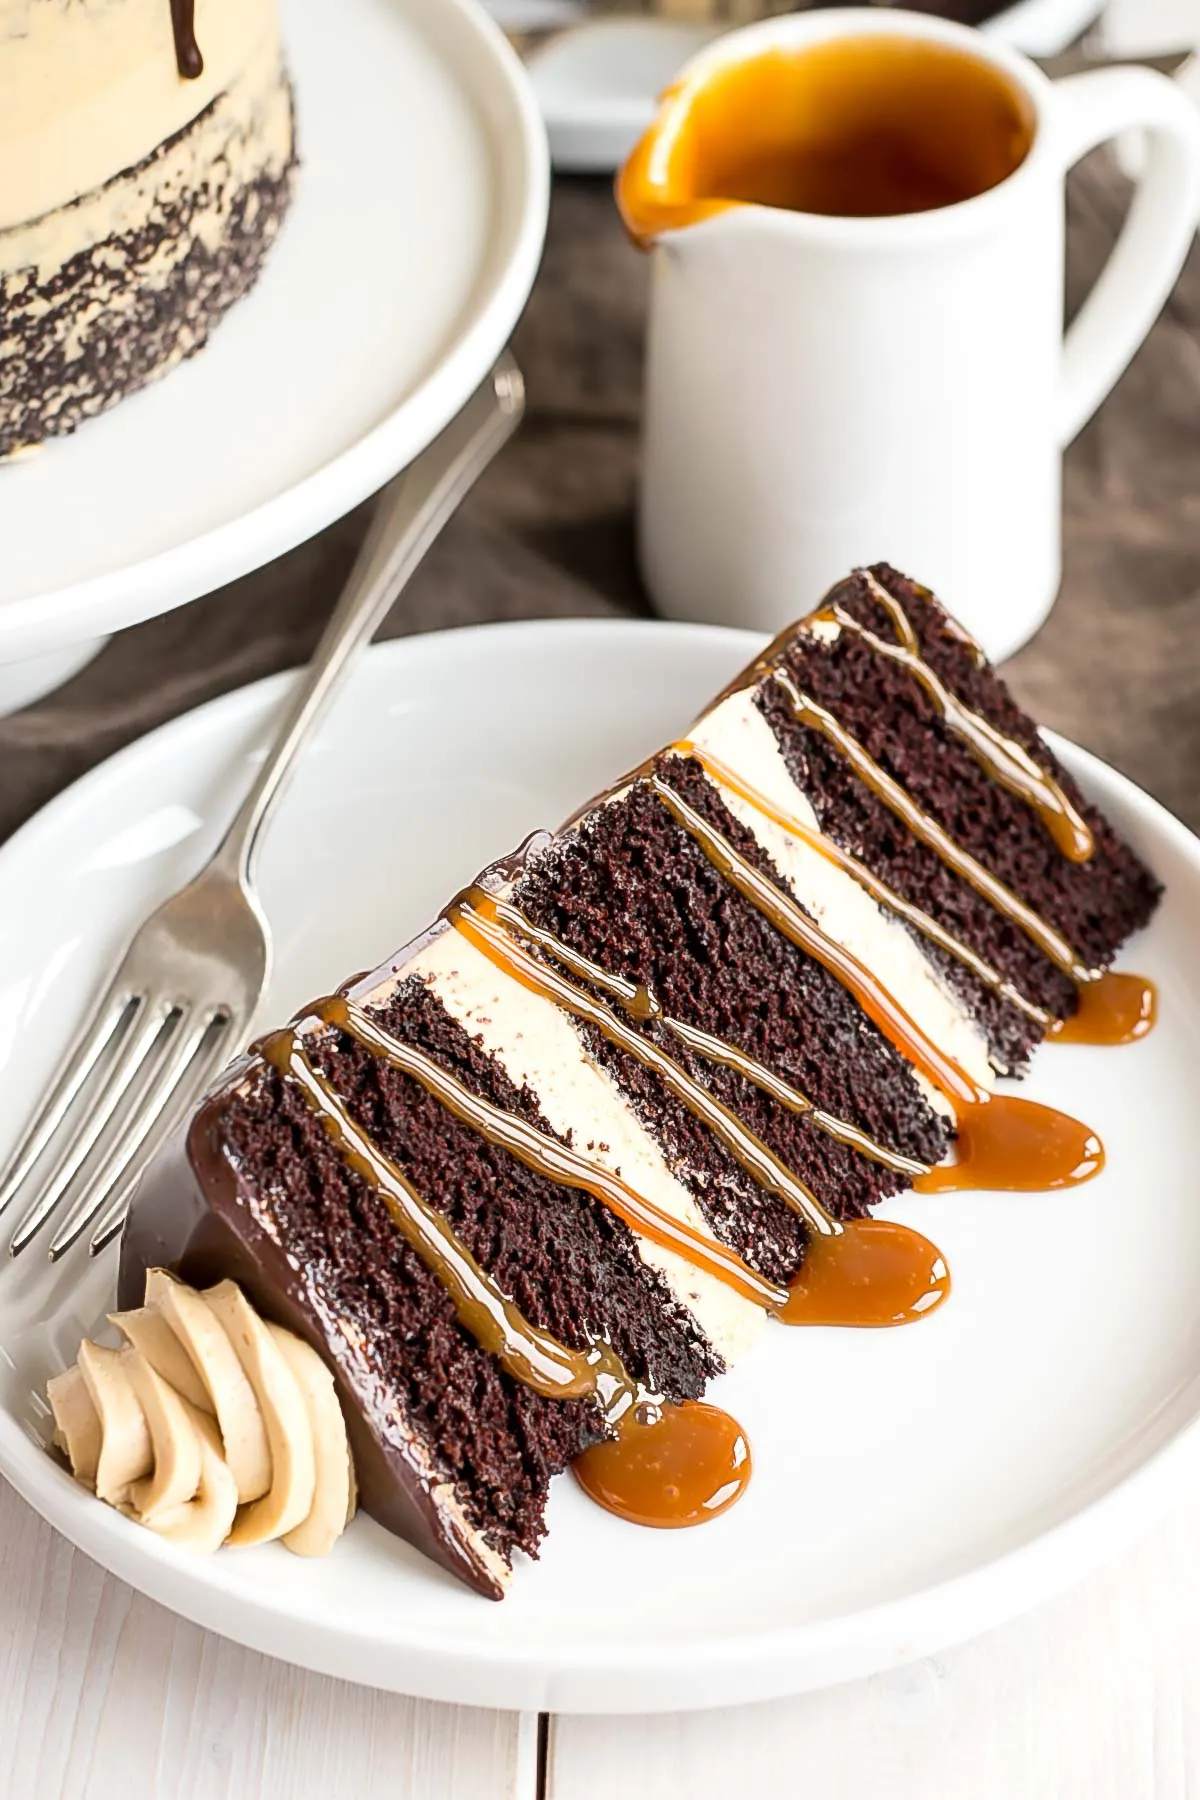
The rich chocolate cake and silky caramel buttercream go so well together. Who doesn’t love a good chocolate and caramel combo, right?? I amped up the flavor even more by drizzling Dulce de Leche over each slice. Pure heaven right there!
Looking for more Caramel recipes?
- Caramel Gingerbread Cake
- Caramel Cake (Salted Caramel Cake)
- Caramel Apple Cake
- Maple Caramel Carrot Cake
- Caramel Cookie Cups
Notes & tips for this Chocolate Dulce de Leche Cake:
- You can make your own Dulce de Leche at home rather than using store-bought if you prefer.
- To enhance the chocolate flavor of the cake, you can use strong hot coffee instead of hot water.
- For the ganache, I let mine set overnight (with plastic wrap placed directly on the surface). It will be too thick at this point, so I microwave it for 10 secs and stir it until it’s the right consistency.
- The drip technique works best on a chilled cake so that the drips set quickly.
- Be sure to check my Swiss Meringue Buttercream post for tips and troubleshooting.
- Learn how to keep your cakes moist using Simple Syrup.
- To help ensure your cake layers bake up nice and flat, see my Flat Top Cakes post.
Chocolate Dulce de Leche Cake
Ingredients
Chocolate Cake:
- 1 1/2 cup all-purpose flour
- 1 1/2 cups granulated sugar
- 3/4 cup Dutch-processed cocoa powder sifted
- 1 1/2 tsp baking soda
- 1 tsp baking powder
- 1 tsp salt
- 1/4 cup vegetable oil
- 3/4 cup buttermilk room temperature
- 3/4 cup hot water
- 2 large eggs
- 2 tsp vanilla extract
Dulce de Leche Buttercream:
- 3 large egg whites
- 1 cup dark brown sugar lightly packed
- 1 1/2 cups unsalted butter cubed, room temperature
- 1/4 cup Dulce de Leche storebought or homemade
Ganache:
- 2 oz dark chocolate finely chopped
- 2 oz heavy whipping cream
Instructions
Chocolate Cake:
- Preheat oven to 350F, grease three 6″ round baking pans and dust with cocoa powder. Line bottoms with parchment.
- Place all dry ingredients into the bowl of a stand mixer fitted with a paddle attachment. Stir to combine.
- In a medium bowl whisk all wet ingredients (pour water in slowly as not to cook the eggs if very hot).
- Add wet ingredients to dry and mix on medium for 2-3 mins. Batter will be very thin.
- Pour evenly into prepared pans. I used a kitchen scale to ensure the batter is evenly distributed.
- Bake until a cake tester comes out mostly clean. A total of 30-35mins.
- Cool 10 minutes in the pans then turn out onto a wire rack to cool completely.
Dulce de Leche Buttercream:
- Place egg whites and dark brown sugar into the bowl of a stand mixer, whisk until combined.*
- Place bowl over a pot with 1-2" of simmering water and stir constantly with a whisk until the mixture is hot and no longer grainy to the touch or reads 160F on a candy thermometer (approx. 3mins)
- Place bowl on your stand mixer and whisk on med-high until the meringue is stiff and cooled (the bowl is no longer warm to the touch (approx. 5-10mins)).
- Switch to paddle attachment. Slowly add cubed butter and mix until smooth.**
- Add dulce de leche and whip until smooth.
Ganache:
- Place chopped chocolate and cream into a microwave safe bowl. Stir to combine. Microwave for 20 seconds, stir. Microwave in 10 second intervals, stirring in between, until ganache is smooth and silky. Set aside to cool completely and thicken slightly before using on cake.
Assembly:
- Place one layer of cake on a cake stand or serving dish. Top with about 2/3 cup buttercream. Repeat with remaining layers. Frost and smooth the outside with a thin crumb coat. Chill for 20mins.
- Using a small spoon, place dollops of ganache around the top edges of the cooled cake, allowing some to drip down. Fill in the top of the cake with more ganache and spread evenly with an offset spatula.***
- Top with decorative dollops of frosting (I used Ateco tip 825). Drizzle slices with dulce de leche if desired.
Notes
** The buttercream may look like it’s curdled at some point. Keep mixing until it is completely smooth.
*** You may have some ganache left over.




Kate says
This is my son’s favourite cake. I find six inch small for the amount of people eating it. I’d like to make this in an eight or nine inch baking pan. Could you please tell me how I would I adjust the time for those sizes?
Olivia says
Hi Kate! For three 8″ pans I would double the recipe. So glad you love it!
Sam says
Fantastic! Have made this several times now – it has become my go to birthday cake.
Olivia says
Thank you Sam! I’m so glad you like it 🙂
Sally says
The cake was delicious! Thank you. However the icing called for too much butter. I ended up using 1/2 cup of butter instead of the 1.5cups and found the icing too buttery. In future, I will not add any butter and enjoy the meringue icing as is.
Olivia says
Hi Sally! Swiss meringue buttercream it not for everyone. Especially if you’re used to something like an American buttercream it can taste very buttery. That being said, it should not taste like you’re eating straight up butter and if you found it too buttery using only 1/2 cup I wonder if something went wrong along the way. I have a detailed tutorial for it here with tips and troubleshooting:https://livforcake.com/swiss-meringue-buttercream-recipe/
Pam Williams says
Cake didn’t raise at all. Very disappointed
Olivia says
Hi Pam! This cake should actually rise a LOT, almost double in size. So I suspect either one or both of your raising agents are expired.
Sandra Hussey says
Hi I am about to make this cake but in cupcake form. I do not have Dutch- processed cocoa powder only the natural one. Will it make that much of a difference?
Thank you
Olivia says
Hi Sandra! It will be fine to use regular.
Sandra Hussey says
Thank you, I made the cake a few years ago and it was great but I couldn’t remember if I used the Dutch cocoa powder. Just made the cupcakes as I mentioned and they were great too! Thank you for your great recipes, I have made a few others like the Nanaimo cake for my daughters birthday and the blueberry banana one too for my grandsons 1st birthday. Tonight I am making the Tiramisu for my sons 30th birthday!!
Olivia says
Thank you! I’m so happy you like my recipes 🙂 I hope the Tiramisu cake was a hit!
S Snead says
This recipe was absolutely delicious, and moist! Only wish I had a high altitude variation as it caved in the center…still amazing though!
Olivia says
Hi S Snead! I’m so happy you loved it. High Altitude baking is tricky because it depends on how high up you are. You will need to make some adjustments to the recipe and it might take some experimentation on your part. I’ve never baked in high altitude, but here are some tips: https://www.kingarthurflour.com/learn/high-altitude-baking.html
Here are some general guidelines if you’re at 3000ft:
• Increase the oven temperature by 15-25F
• Decrease baking time by 5-10mins.
• Decrease sugar by 1 Tbsp per cup
• Decrease baking powder by 1/8 tsp per cup
• Increase liquid by 1-2 Tbsp per cup • Add 1 Tbsp of flour
If you’re higher up than 3000ft, you will need to increase/decrease the ingredients incrementally. Again, it will require some experimentation but hopefully this was helpful!
S Snead says
Thank you! I’m at 5300 ft. I will checkout the link you provide. Thanks again…great recipe!
Elizabeth says
Do you need to refrigerate this after making?
Olivia says
Hi Elizabeth! It will be fine at room temperature for a couple days but the frosting will get quite soft. I recommend refrigerating and taking out 2-3 hours before serving.
Fifi says
Hi Olivia,
Absolutely love this recipe!! The sponge is simply delicious!!
I was wondering if this could be converted to cupcakes?? And would you know how to adjust the baking time please?
Olivia says
Hi Fifi! Yes, that should work fine. It should make 18-24 depending on size. Start checking them at 15mins or so.
Linda Leach says
I have made your Mocha cake twice and the Dulce de Leche cake once, the cake and especially the frosting, is exceptional! Rave reviews from my guests. I only bake a few times a year, not an expert baker by far, and I find your directions very clear and easy to follow. My cakes never look as professionally decorated as yours, especially the ganache, which I can’t seem to get exactly right but the flavor and taste is top notch! Thank you!
Olivia says
Hi Linda! Thank you so much for the wonderful feedback. I am so happy you and your guests love the cakes!
Debbi says
I would love to make this as the top tier for an anniversary cake, but am concerned about the egg whit buttercream sitting out several hours in July in the South. Will it hold up? Thanks for your help.
Olivia says
Hi Debbi! No, it won’t hold up well in heat for hours. At room temperature it’s fine fora few hours but otherwise it would get too soft.
Marcus Armstrong says
Is this chocolate cake recipe good for tiered cakes? I’m looking for a moist chocolate cake that stacks well. Thank you!
Olivia says
Hi Marcus! It should work fine provided the tiers are properly supported and held up.
Nicky says
Hi It looks delicious
May I ask . For merringue buttercream the brown sugar ii soft ? ( with melassa) ?
Olivia says
Hi Nicky! Brown sugar works just fine for this meringue buttercream 🙂
Kandi says
This recipe sounds devine. Looking for something that travels well. Could you make this cake in a 9 x 13?
Olivia says
Hi Kandi! Yes, that should work but you may have to adjust the baking time.
Rachel Santos says
How do you thicken slightly the ganache – by mixing with whisk? Sorry…first timer =D
Olivia says
Hi Rachel! No worries at all. You let it sit at room temperature a bit to cool and thicken up. I usually make mine in advance and let it sit overnight, then microwave it for a few seconds to thin it out again as it will be too thick at this point. It’s tricky to figure out the right consistency, it takes some practice.
Jan says
Love to learn more about the beautiful yummy 😋 cake recipe
Olivia says
Hi Jan! What questions did you have about it?
Xt says
If I wanted to only make it 2 layers but remaining a 6in cake, how does that affect bake time? Thanks
Olivia says
Hi Xt! Do you plan to reduce the recipe by 2/3? Or use the full recipe in two pans? If so, are your pans at least 3″ tall?