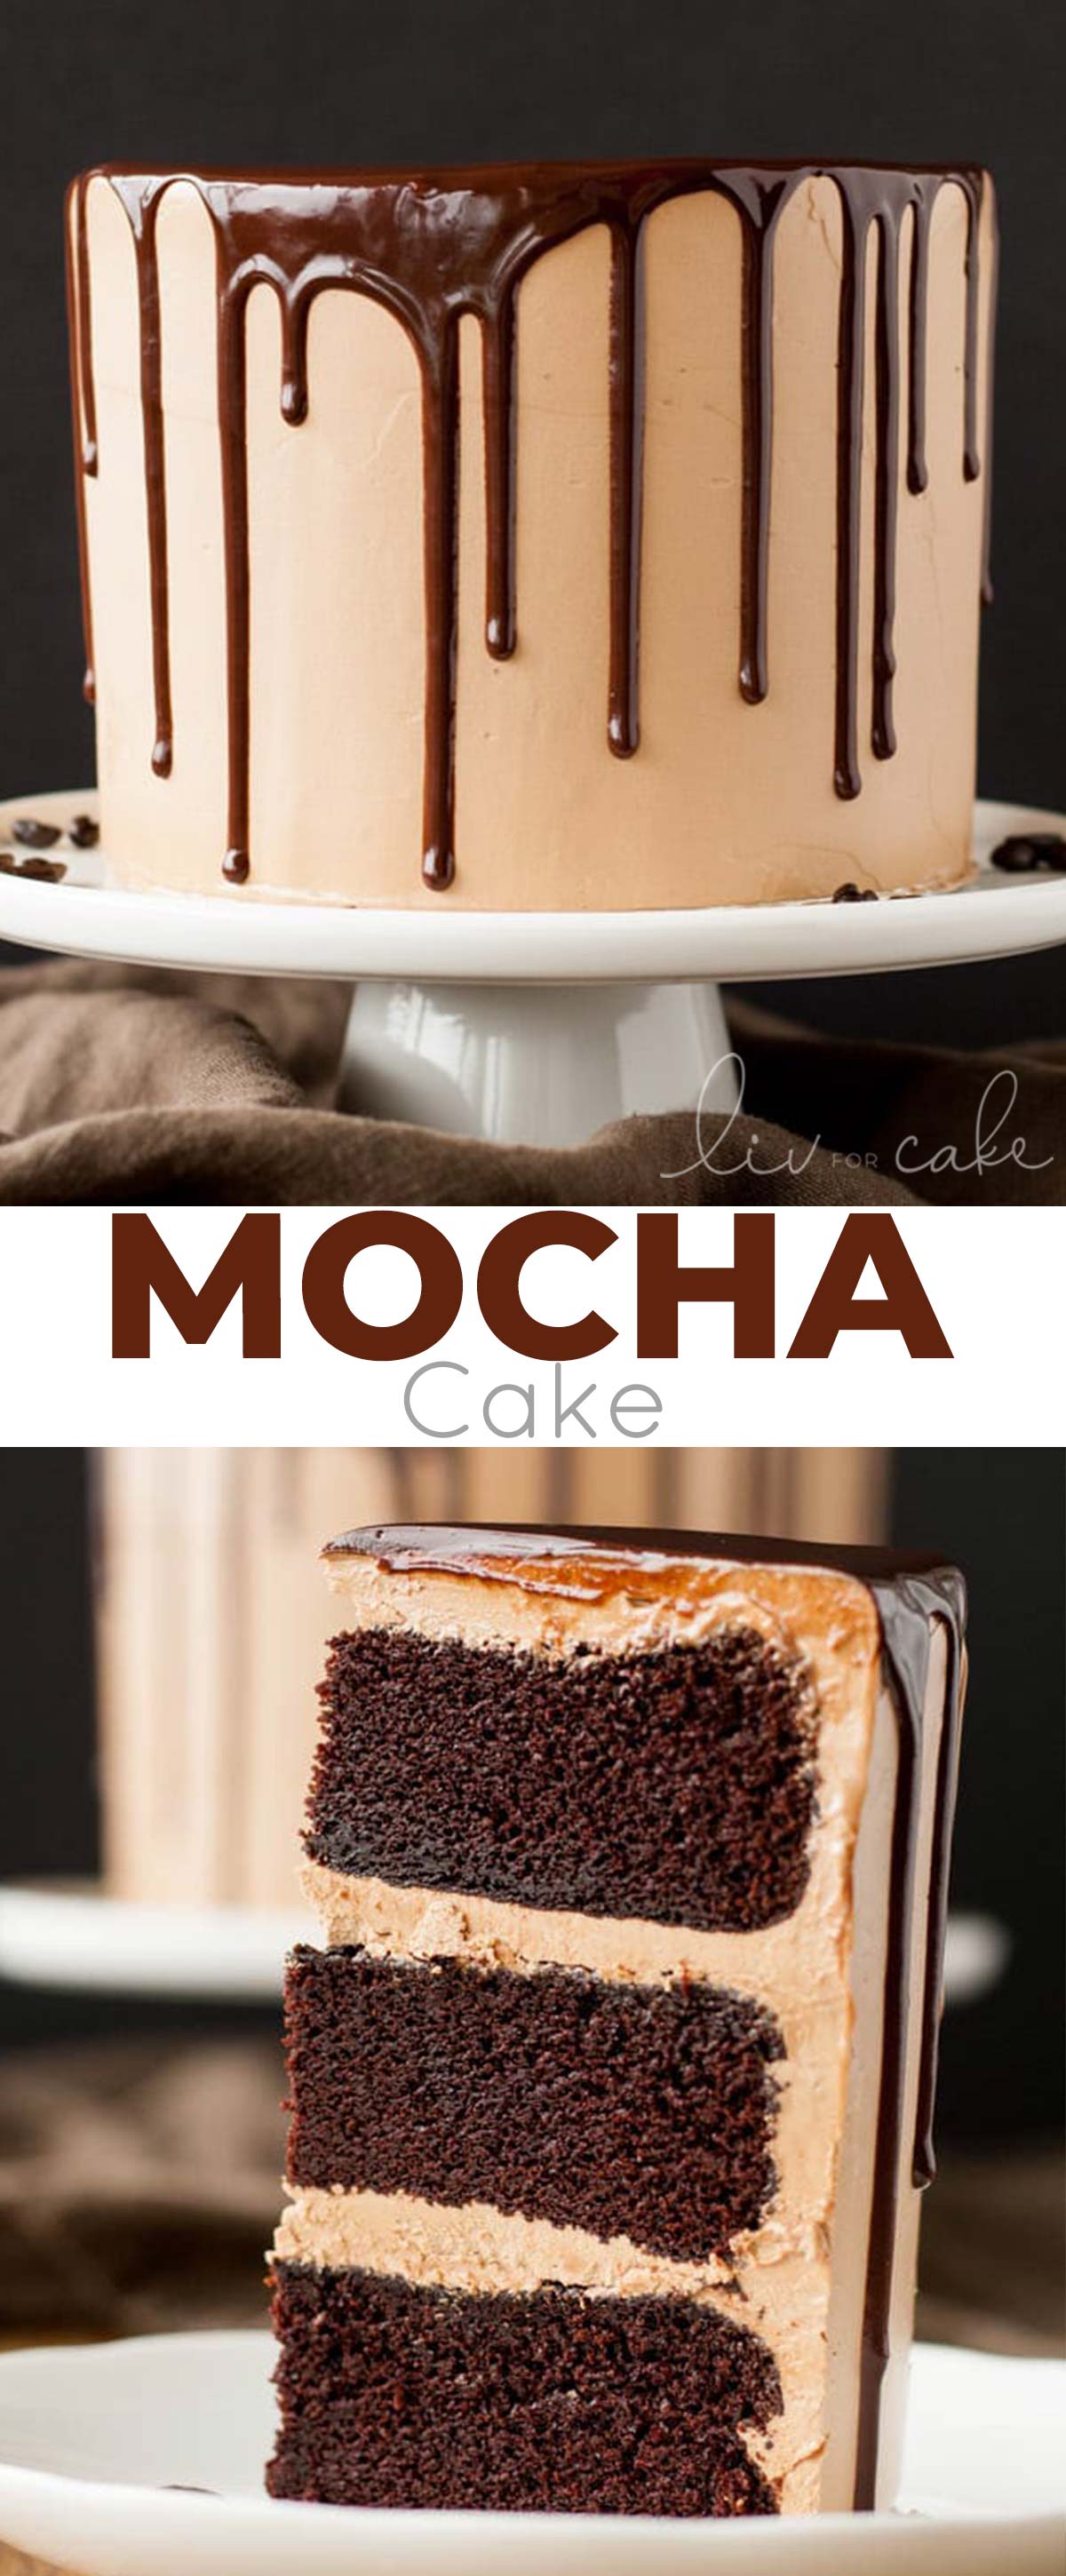
This Chocolate Mocha Cake is the ultimate indulgence. A rich dark chocolate cake with a silky mocha Swiss meringue buttercream.
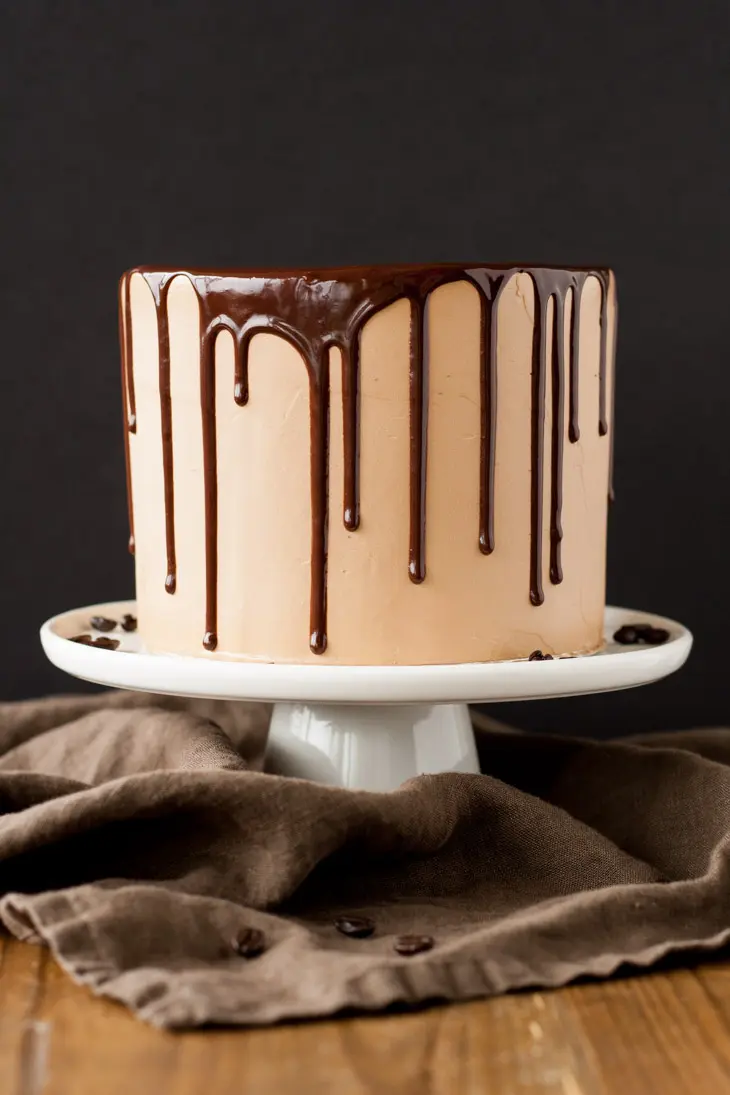
This cake right here? It’s amazing. I mean, it knocked the Momofuku Birthday Cake right out of the #1 spot, and that was a damn good cake.
This Chocolate Mocha Cake is seriously. SO. GOOD.
Rich dark chocolate cake and a silky Mocha Swiss Meringue buttercream, topped with a dreamy chocolate ganache. Does it get any better? I don’t think so.
If you’ve been following Liv for Cake for a while, you know this is one of my oldest (and one of my favorite) recipes. If you haven’t tried it, you NEED to. You will not regret it.
The frosting is my favorite thing ever — you’ll be eating that with a spoon and thanking me later.
How to make this Mocha Cake
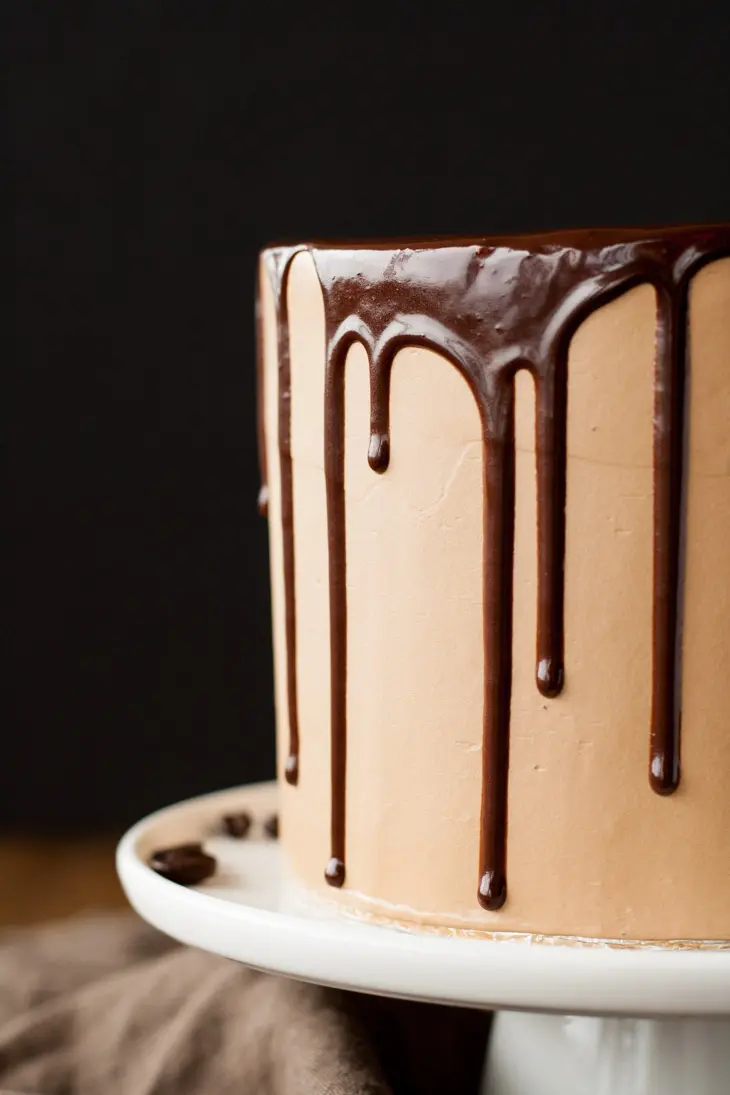
For the cake layers, I used my very favorite Chocolate Cake recipe modified slightly for the 6″ pans and I used hot coffee instead of hot water in the cake batter. You can’t really taste the coffee, maybe only slightly, but it does help the chocolate flavor stand out.
I like to use Dutch-process cocoa powder as it’s richer in flavor, but any regular cocoa powder will work just fine.
Mocha Buttercream
THIS, people, is honestly the best thing you’ll ever eat. Silky Swiss meringue buttercream with espresso and chocolate. It is pure heaven!
The recipe calls for instant espresso powder (not granules). This is a very fine powder and should dissolve perfectly into the buttercream.
Some people were having the issue of flecks of espresso powder in their buttercream because it didn’t dissolve fully. This may be due to the brand of espresso powder used. This is the brand I use and it works really well. However, I’ve updated the recipe to include dissolving the espresso powder first in 1 tsp of hot water. It’s optional though.
Can I use Regular Espresso Or regular Coffee?
No, you must use instant coffee that dissolves completely in water.
You could use regular instant coffee vs instant espresso powder, but you’d want to make it quite strong to match the flavor. I haven’t experimented with this myself, but it would really be totally fine. You can add more or less to your liking.
How to do a Drip Cake
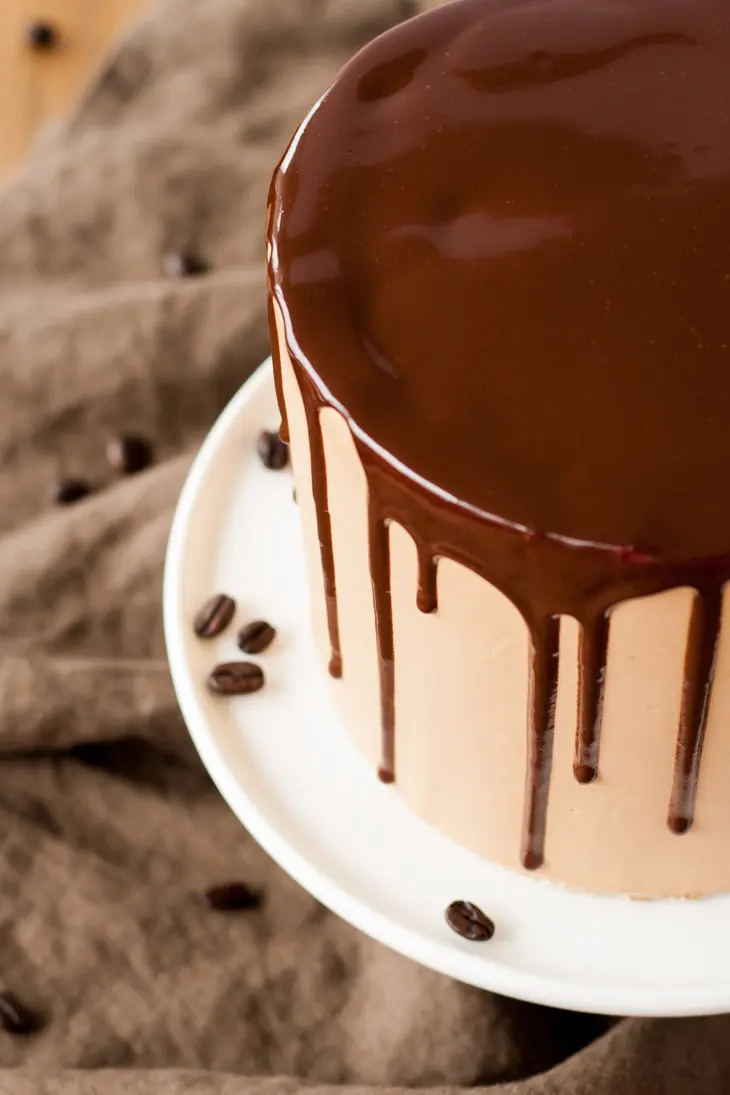
I kept the cake decorating simple, as I wanted to do the drippy ganache technique. It’s surprisingly easy (I swear!), the key thing is to get your ganache to the right consistency which may require some trial and error.
Step #1 is to frost the cake evenly and smooth the sides and top. This is probably the most time intensive part if you want to get it perfect (which, obviously, I do).
I used a small offset spatula to roughly frost the cake and then a bench scraper to smooth everything out. This is the part that took the most time.
I had to patch some areas here and there, so it took a while to get it perfect. It really helps if you have a turntable to do this on, so that you can spin it while holding the bench scraper at an angle.
You don’t have to shell out a lot of money on a turntable, but I do not recommend getting a plastic one. They’re not super stable and don’t spin smoothly.
To get those smooth sides, you need a smooth spin! I use a lazy susan from Ikea that works great.
Once I got the top and sides mostly perfect, I popped the whole thing in the fridge and made the ganache.
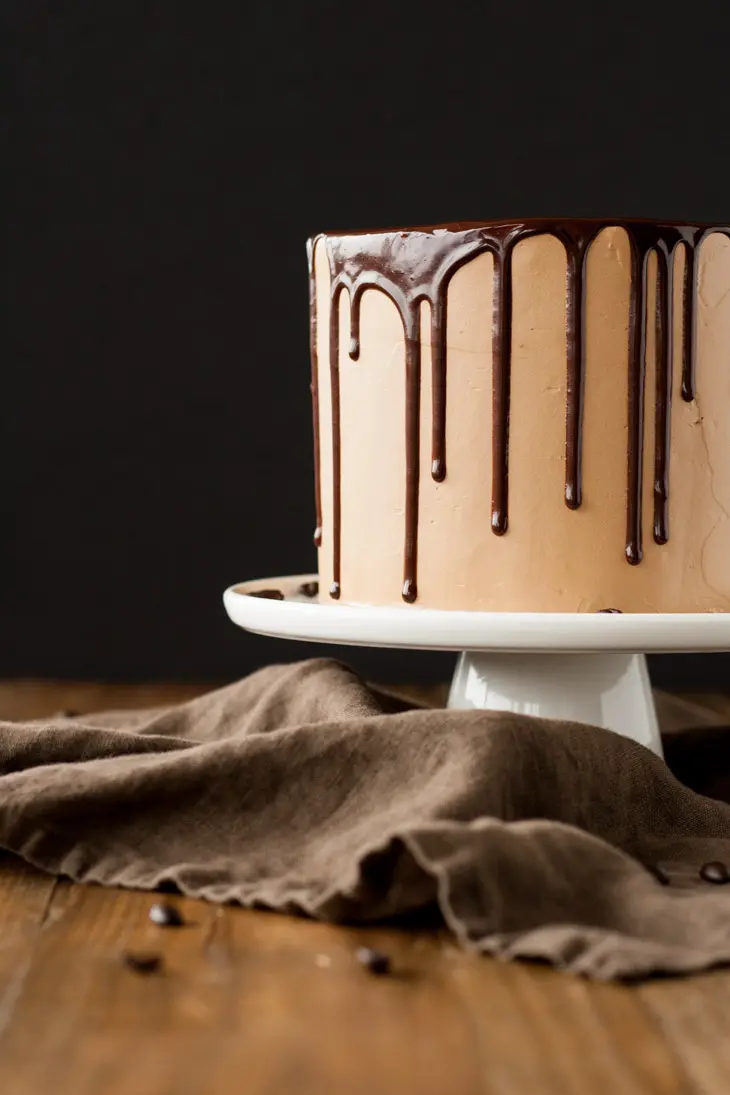
Once the ganache cooled and thickened slightly, I took out the cold cake and used a teaspoon to drop dollops of ganache along the edges and let it drop down the sides.
I added more/less on certain areas to vary the drips a bit. You can also just pour a bunch of ganache on the top and use your offset spatula to nudge it over the sides, but I wanted a bit more control over the drips, and my research said that the spoon technique was a good approach.
I was worried that the ganache would harden quickly on the cold cake, but I had plenty of time to work with it. Once the drips were good, I poured a bit of ganache on the top to fill that in, and smoothed it with a small offset spatula.
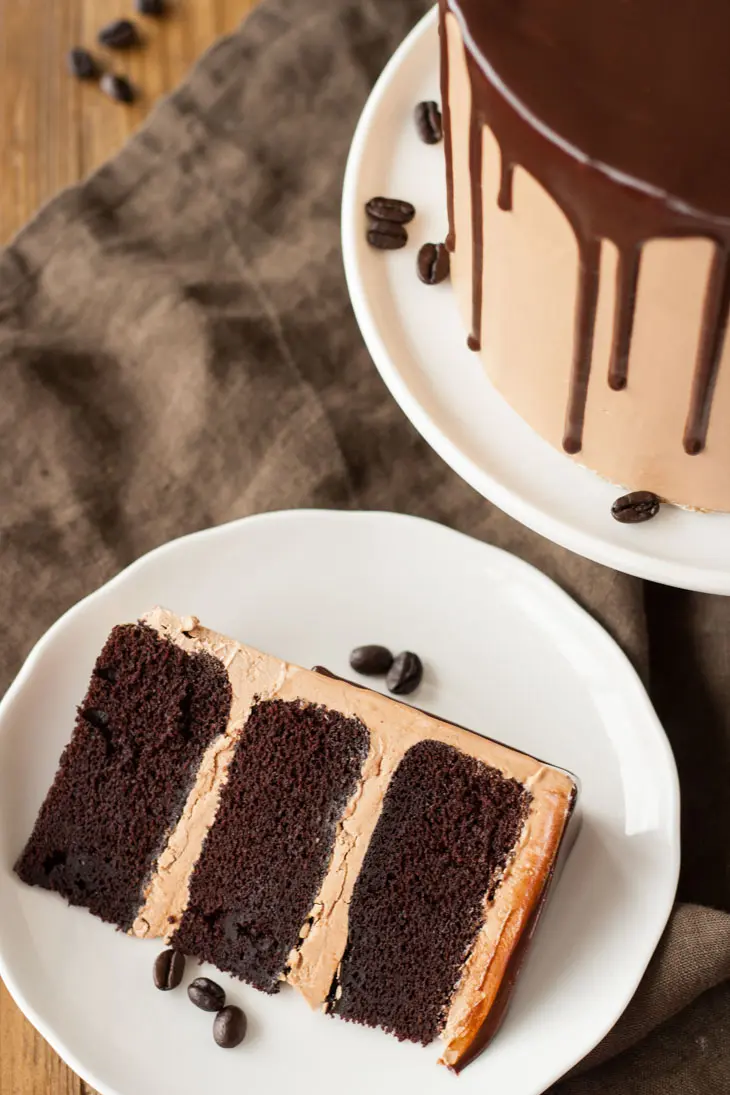
This Swiss meringue buttercream gets very firm in the fridge (like butter does), so you’ll want to leave the cake out for a couple hours before serving so that it can soften up.
When I took photos and cut the cake, it was still hard, so you can see that it’s not totally silky smooth between the layers.
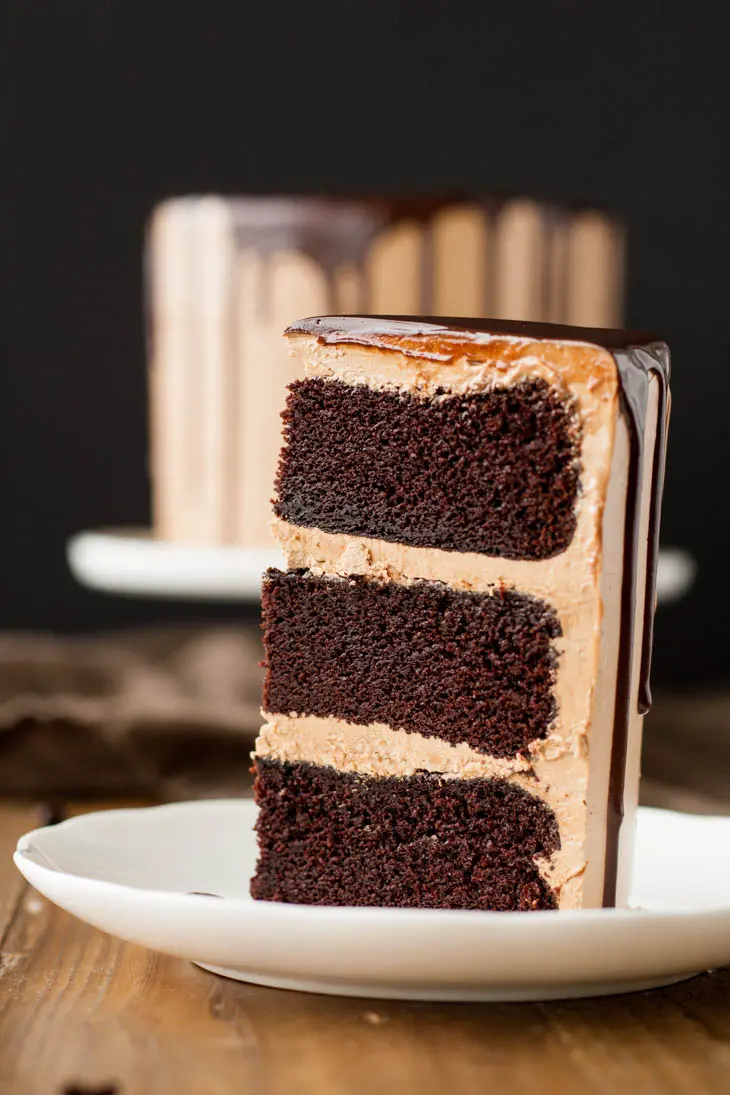
This Chocolate Mocha Cake is insanely good. Like, ridiculous. It is my all-time favorite cake!
I mean, just LOOK at that piece! The cake is dense, moist, and ultra chocolatey. The buttercream is silky, smooth, and has the BEST mocha flavor ever.
You will not be disappointed with this cake. I promise!
More Coffee Flavored Cake recipes
- White Chocolate Mocha Cake
- Kahlua Cake With Mocha Buttercream
- Vanilla Latte Cake
- Gingerbread Latte Cake
- Eggnog Latte Cake
- Pumpkin Spice Latte Cake
Notes & tips for this Chocolate Mocha Cake
- The recipe as-is will also work in two 8″ pans. For three 8″ pans, 1.5x the recipe.
- To make cupcakes, all you need to do is reduce the baking time — start checking at 15mins or so.
- You can use regular cocoa powder if you don’t have Dutch-process.
- For the frosting, the coffee you use must be instant. See post for more details.
- For the ganache, I let mine set overnight (with plastic wrap placed directly on the surface). It will be too thick at this point, so I microwave it for 10 secs and stir it until it’s the right consistency.
- The drip technique works best on a chilled cake so that the drips set quickly.
- Be sure to check my Swiss Meringue Buttercream post for tips and troubleshooting.
- Learn how to keep your cakes moist using Simple Syrup.
- To help ensure your cake layers bake up nice and flat, check out my How to Bake Flat Cake Layers post!
Mocha Cake
Ingredients
Chocolate Cake:
- 1 1/2 cups all-purpose flour
- 1 1/2 cups granulated sugar
- 3/4 cup Dutch-processed cocoa powder sifted
- 1 1/2 tsp baking soda
- 1 tsp baking powder
- 1 tsp salt
- 1/4 cup vegetable oil
- 3/4 cup buttermilk
- 3/4 cup strong brewed coffee hot
- 2 large eggs
- 2 tsp vanilla extract
Mocha Buttercream:
- 3 large egg whites
- 1 cup granulated sugar
- 1 1/2 cups unsalted butter room temperature, cubed
- 1 tsp vanilla extract
- 1 Tbsp instant espresso powder dissolved in 1 tsp hot water, cooled
- 3 oz dark chocolate chopped, melted, and cooled
Ganache Drip:
- 3 oz dark chocolate
- 3 oz heavy whipping cream
Instructions
Chocolate Cake:
- Preheat oven to 350F, grease three 6″ round baking pans and dust with cocoa powder. Line bottoms with parchment.
- Place all dry ingredients into the bowl of a stand mixer fitted with a paddle attachment. Stir to combine.
- In a medium bowl whisk all wet ingredients (pour coffee in slowly as not to cook the eggs if very hot).
- Add wet ingredients to dry and mix on medium for 2-3 mins. Batter will be very thin.
- Pour evenly into prepared pans. I used a kitchen scale to ensure the batter is evenly distributed.
- Bake until a cake tester comes out mostly clean. A total of 30-35mins.
Mocha Buttercream:
- Place egg whites and sugar into the bowl of a stand mixer, whisk until combined.*
- Place bowl over a pot with 1-2" of simmering water and stir constantly with a whisk until the mixture is hot and no longer grainy to the touch or reads 160F on a candy thermometer (about 3mins).
- Place bowl on your stand mixer and whisk on med-high until the meringue is stiff and cooled (the bowl is no longer warm to the touch (approx. 5-10mins))
- Switch to paddle attachment (optional). Slowly add cubed butter and mix until smooth.
- Add vanilla, melted chocolate, and espresso powder. Whip until smooth.**
Ganache Drip:
- Finely chop chocolate and place into a bowl. Bring cream just barely to a simmer and pour over chopped chocolate. Cover with plastic wrap and let stand 2 mins. Stir gently with a spatula until combined and smooth. Allow to cool and thicken slightly before using on cake.***
Assembly:
- Place one layer of cake on a cake stand or serving plate. Top with approximately 2/3 cup of frosting and spread evenly. Repeat with remaining layers and apply a thin coat of frosting all over the cake. Chill for 20mins.
- Frost and smooth the sides. Chill for 20mins.
- Using a small spoon, place dollops of ganache around the top edges of the cooled cake, allowing some to drip down. Fill in the top of the cake with more ganache and spread evenly with an offset spatula.
Notes
** The buttercream may look like it’s curdled at some point. Keep mixing until it is completely smooth.
*** You can make the ganache in advance and let it set overnight (with plastic wrap placed directly on the surface). It will be too thick at this point, so I microwave it for 5-10 secs and stir it until it’s the right consistency.
Originally published Aug 23, 2015




lizeth says
Is this cake shortened or shortened?
Olivia says
Hi Lizeth, I don’t understand your question. Can you clarify?
Karin says
Hi, I want to make this cake in 3 x 8 inch pans. Is it best to increase the amount of ingredients with 1,5? I’m also going to put some toffee crunch in the cake and between the layers and I am going to pipe some flowers on top so I will make a bit more buttercream. Is it also better to dissolve the espresso powder in a bit of hot water before putting it into the buttercream?
Olivia says
Hi Karin! Converting pan sizes is always tricky. Here’s a site I use as a guideline: http://www.joyofbaking.com/PanSizes.html I would probably double the recipe. I haven’t had issues with my espresso powder, but if yours is a tad grainier there isn’t any harm in dissolving it in a “little” bit of water (1-2 tsp max). Be sure to cool it before adding to the buttercream.
Karin says
I made a version of this cake with toffee crunch between the layers. We loved it! I would sent you a picture of my version if I could 😋. Thanks for the inspiration!
Olivia says
Sounds delicious! Love that addition 🙂
Erin says
Hi Olivia,
Just wondering whether I can substitute sour milk for the buttermilk in this recipe? Thanks.
Olivia says
Hi Erin! I often use homemade sour milk instead of buttermilk, so it should be fine!
sonia says
Can this cake be made into a 2 layer cake using a half sheet pan? Would I triple the quantity?
Olivia says
Hi Sonia! Converting pan sizes is always tricky. Here’s a site I use as a guideline: http://www.joyofbaking.com/PanSizes.html
Lisa says
Made this today. Absolute perfection!!! Used 2 9 inch and cut those layers in half for a four layer. My dad used to always bring out a layer cake like this from an Astoria bakery. Since he is gone now i have tried to buy something similar bur never the same. This was wonderful and nostalgic….. Thank you its delish!!!
Olivia says
Hi Lisa! I am seriously so happy to hear that! I’m glad you loved it as much as I do 🙂
Jan says
What if I wanted to turn these into cupcakes? Whats the recommended baking time?
Olivia says
Hi Jan! Start checking them at about 15mins or so.
Cheryl says
Hi – did you try these as cupcakes? Wondering about doing the same!
Jenna Fettig says
I just made this recipe into cupcakes. They turned out perfect cooked for 16 minutes at 350. I used a standard size and filled them 3/4 full – they were perfectly over rounded without any spillage. Yield was 19 cupcakes exactly.
Olivia says
Hi Jenna! Thanks so much for your tips!!
Ananya says
Hey Lisa
Just wanted to know if you increased the amount of batter for the cake? If so, by how much?
Barbara says
We just tried this cake today and everybody loved it. I only had 9 in cake pans but the cakes baked beautifully. Only word of warning to people using bigger pans is the frosting was just barely enough to cover the cake. I am sure the amount works better for the 6 in pans the recipe calls for. I covered the scant areas with more ganache and no one other than me noticed, but it was not easy to get a cleanly frosted cake. If I make this again I may try making extra frosting or getting smaller pans first.
Olivia says
Hi Barbara! So happy to hear that everyone loved it, thanks for the tip about the frosting!
Asha says
What do I do if I don’t have buttermilk
Olivia says
Hi Ahsa! You can make your own buttermilk by adding 1 Tbsp of lemon juice or vinegar to 1 cup of milk and letting it sit for 10mins.
nevin says
Hi, This cake looks amazing 🙂
I was just wondering: to chill the cake. Does that mean in the fridge or freezer?
thank you 🙂
Olivia says
Hi Nevin! Either works! Freezer you wouldn’t need to chill it as long. You just want the buttercream to firm up a bit.
Stefanie says
Hi there,
I want to try the mocha frosting in this recipe, and it will be my first time making a Swiss meringue! I was wondering if the recipe could be made with meringue powder instead of egg whites. Do you have any suggestions for what steps I should take to use that substitute?
Thank you!
Olivia says
Hi Stefanie! I haven’t tried it with meringue powder myself so I can’t say. Since it’s your first time making a Swiss meringue, I would stick with the recipe as is so you know what it should be like 🙂
Heidi Garcia says
Hi! I am not sure if the question has been asked, but my Kitchen Aid has the stainless steel bowl…is this what you place in the water bath? Or should I use a separate bowl? Making the frosting tonight, can’t wait!!
Olivia says
Hi Heidi! Yes, mine has a metal bowl too and it’s what I use. I hope it went well!
Hannah Lee says
Yum!! Best Cake Ever. It’s definitely going to become a go to recipe. Thank you!!
Olivia says
So happy to hear that!
Sophie says
Hi this is my first time posting ever! im a professional baker and teacher. But love this recipe, its amazing thank you. Im assuming I can swap the Plain flour for Self raising flour, and omit the baking soda and baking powder too. Do you suggest I still add a little bicarb to activate the buttermilk though? Or will the Self Raising work fine alone? Any thoughts?
Thanks
Sophie
Olivia says
So glad you liked it Sophie! I haven’t baked with self-raising flour before, so I can’t say if it would work or not. My gut says that there wouldn’t be enough raising agent in it though.
Amanda says
Hi Olivia,
I am in the process making this delicious cake. I am making it dairy free, so far the cake came out very nicely and tastes great. I’m using vegan butter for the icing and was curious what the consistency of the icing (using real butter) should be. Mine is pretty runny, currently letting it set up in the fridge. THANKs!!
Olivia says
Hi Amanda! I’ve never used Vegan butter, but I do think it would impact the texture quite a bit. How firm is the butter itself in the fridge? If it’s spreadable like margarine, I’m afraid it won’t turn out exactly as it should. That being said, Swiss meringue buttercream can become runny if the butter is too soft when added or if the meringue is still slightly warm. Usually chilling for 20mins and rewhipping fixes this. Let me know how it turns out!!
Amanda says
Hey! I used Earth Balance Vegan butter sticks, it turned out great! Tasted a bit different but it was a huge hit! No one could tell it was dairy free (besides me 😆)
Olivia says
Awesome, glad to hear it!! 🙂
Sandy says
Hi liv…I don’t know if my last comment was posted but just wanted to know if this cake is ok to make 2 days in advance?I wanted to bring it to my friend’s bday…And do you use dutch process cocoa?or any cocoa is fine?Thank you
Olivia says
Hi Sandy! I use Dutch process, but any cocoa would work fine.
Sandy says
Hi i wanted to make this as a birthday cake for my friend do you think I can make it ahead?Like 2 days before her bday?Would it affect the taste or the moisture if I let it sit at the fridge for 2 days?
Olivia says
Hi Sandy! The fridge tends to dry cakes out, but I think it will probably be ok for a couple days. This cake is especially moist so I think you’ll be fine!
Cynthia says
I read somewhere that freezing the cake while wrapped in saran and foil will keep the cake for up to a month (or so). Would you recommend this for this cake? I’m trying to plan this out so that I can bake the cakes one weekend and assemble the next. Any thoughts?
Olivia says
Hi Cynthia! I wrap and freeze all my cake layers (just in saran wrap though) as I tend to spread out my baking. With your plan I think freezing would work perfectly!
Emily Sherrill says
I would love to make this cake but all I have are 9×13 pans, how should I adjust he recipe for them?
Olivia says
Hi Emily! Converting pan sizes is always tricky. Here’s a site I use as a guideline: http://www.joyofbaking.com/PanSizes.html I hope that helps!
Tina Fransson says
I am baking this ASAP! Sorry if someone has already asked this, but what’s type of espresso powder do you use?
Olivia says
Hi Tina! I use this one from Nescafe: https://amzn.to/2Jkkoax
Tessa says
Hello Liv! What kind of dutch cocoa do you use for your chocolate cake? We have red alkalized cocoa (22-24% fat) and black alkalized cocoa (10-12%) at Bulk Barn. Which one would be best or can I use them interchangeably for your recipe? Thanks!
Olivia says
Hi Tessa! The one I use most often is Rodelle cocoa from Costco http://rodellekitchen.com/explore-baking-ingredients/gourmet-baking-essentials/organic-baking-cocoa I’m not totally sure how that compares to either of those as I’ve never used red! I wouldn’t use all black cocoa though, there is not enough fat. If that’s all you have, maybe a mixture of both?
Tessa says
I tried both and there’s quite a difference between the cake. Both are dense and moist but the one with higher fat content (red cocoa) was fluffier. It has more height as well. I’ll try to find your cocoa at Costco and compare. Will update you 🙂
Olivia says
Awesome, thanks for the update! I look forward to your next results 🙂
Casey says
Hi , i really want to try this cake..but its quite hard for me to find buttermilk in here . Anyway Can i remove buttermilk from this choco cake recipes?
Olivia says
Hi Casey! You can easily make your own — add 1 Tbsp of lemon juice or vinegar to 1 cup of milk and let it sit for 10mins.
Justine Rosewarne says
In a word…YUM! This is sooo good! Thanks so much for the recipe! Made it for my daughters birthday and she loved it!
Olivia says
Yay! So glad you guys liked it 🙂
Irene M says
This is a wonderful cake. This is my second time making this and each time my co workers rave about it. Thanks for a wonderful recipe.
Olivia says
Thanks so much Irene! This is still one of my faves to this day 🙂