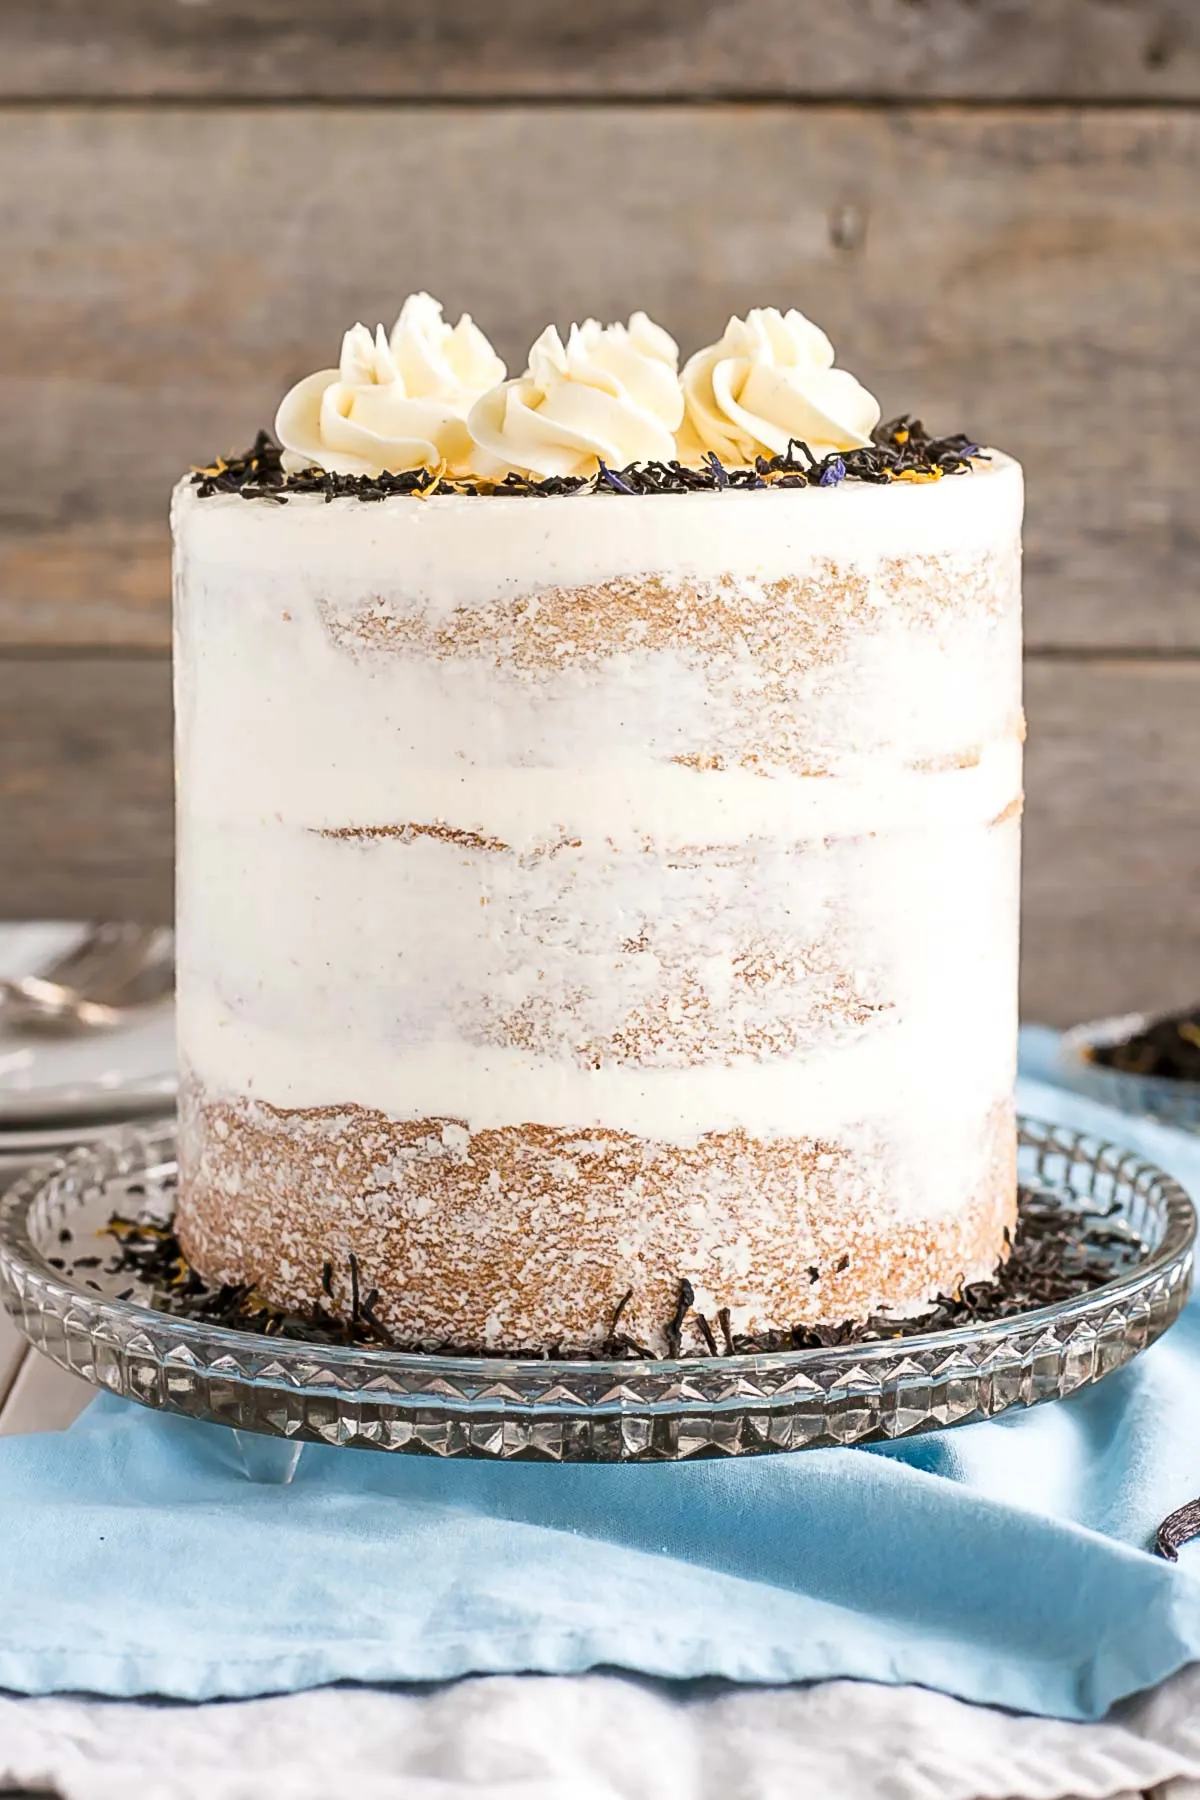
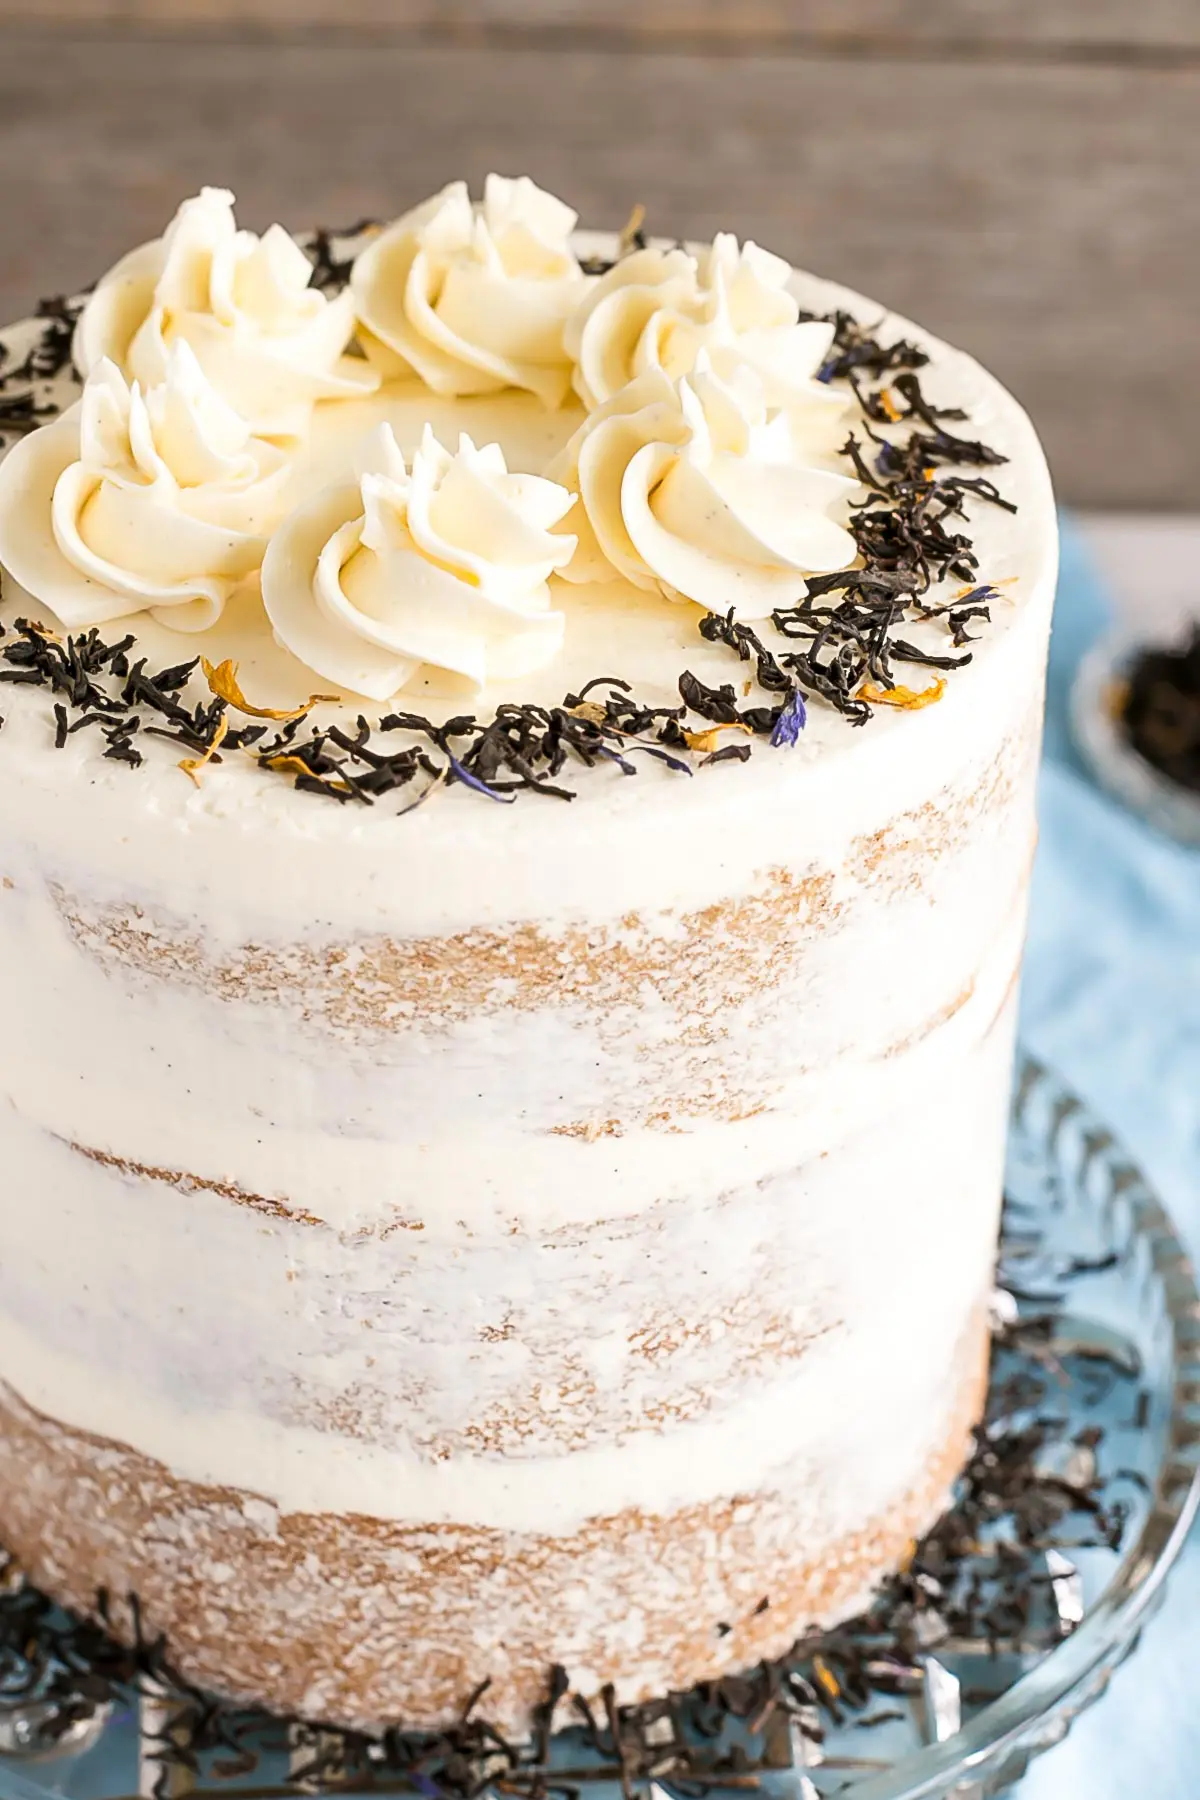
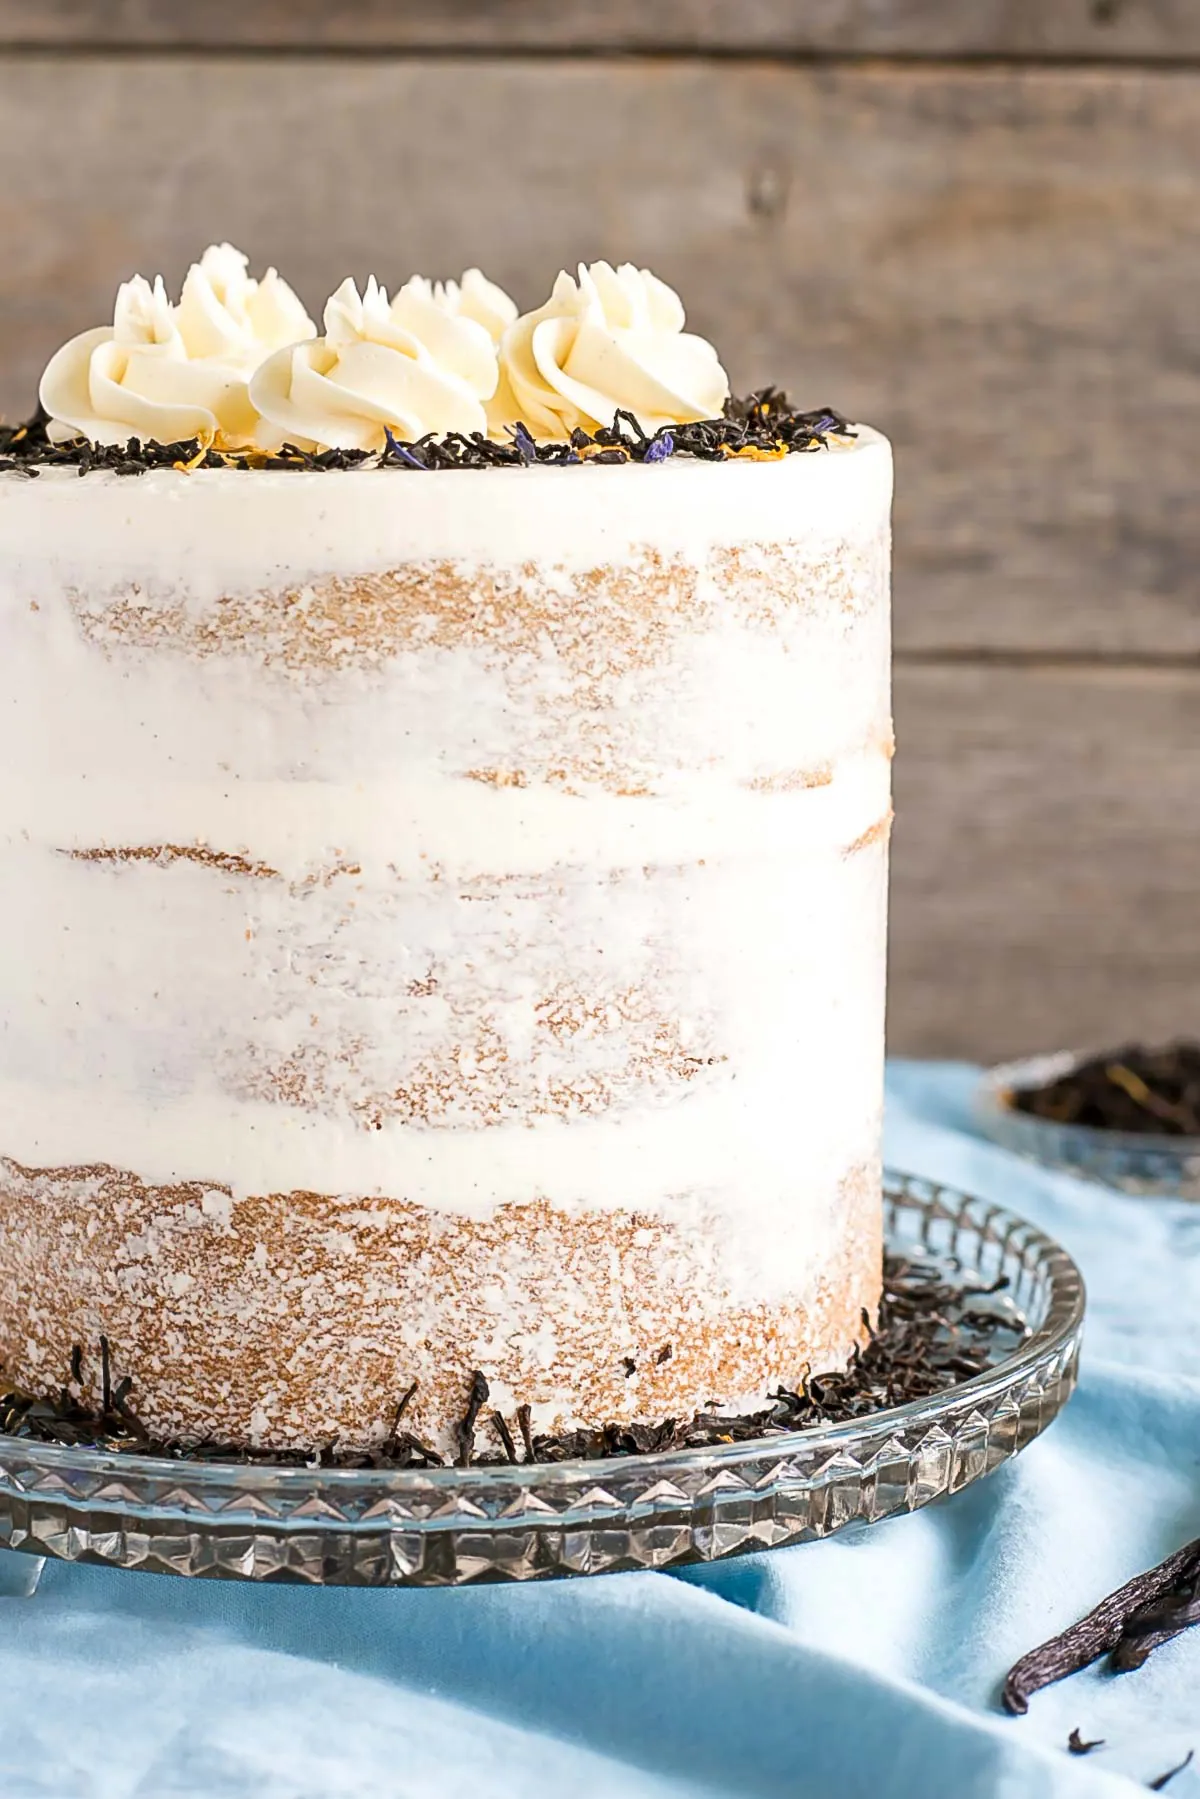
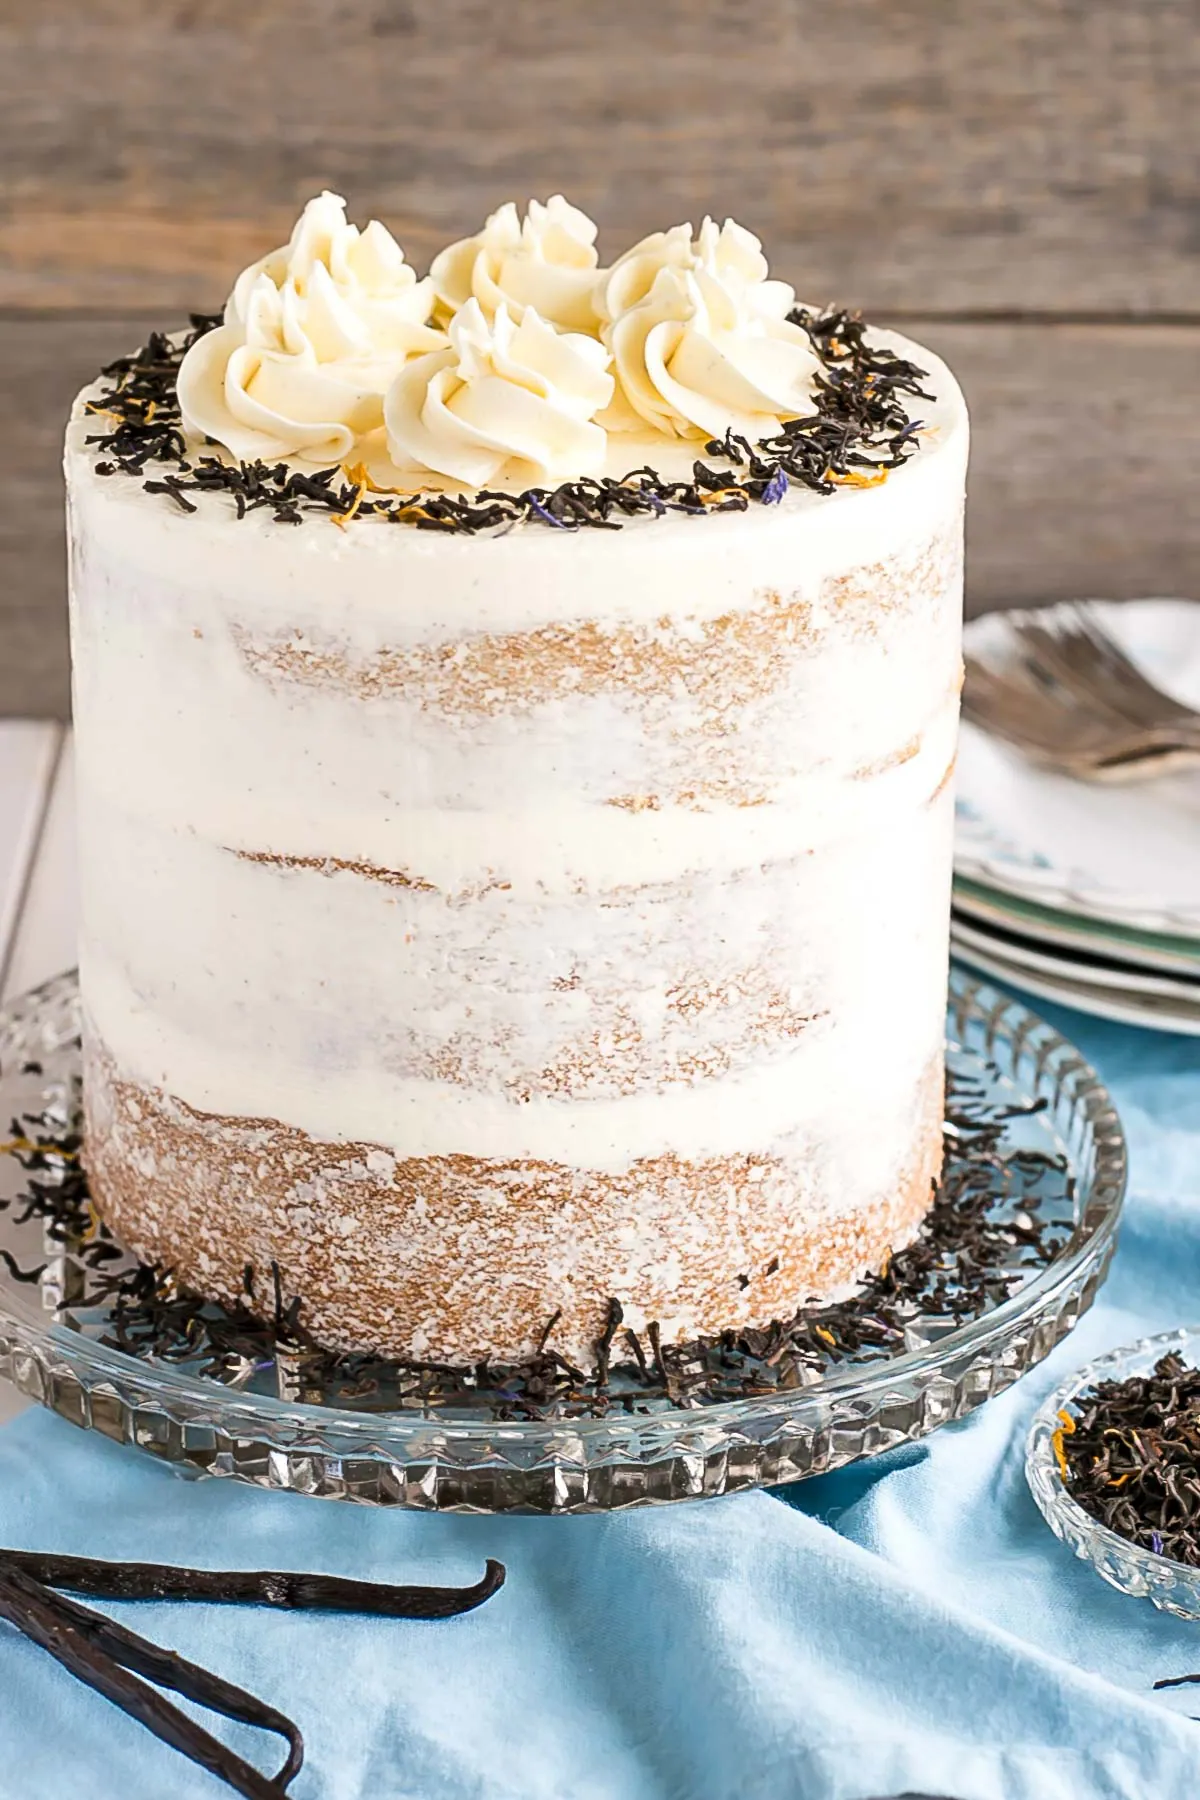
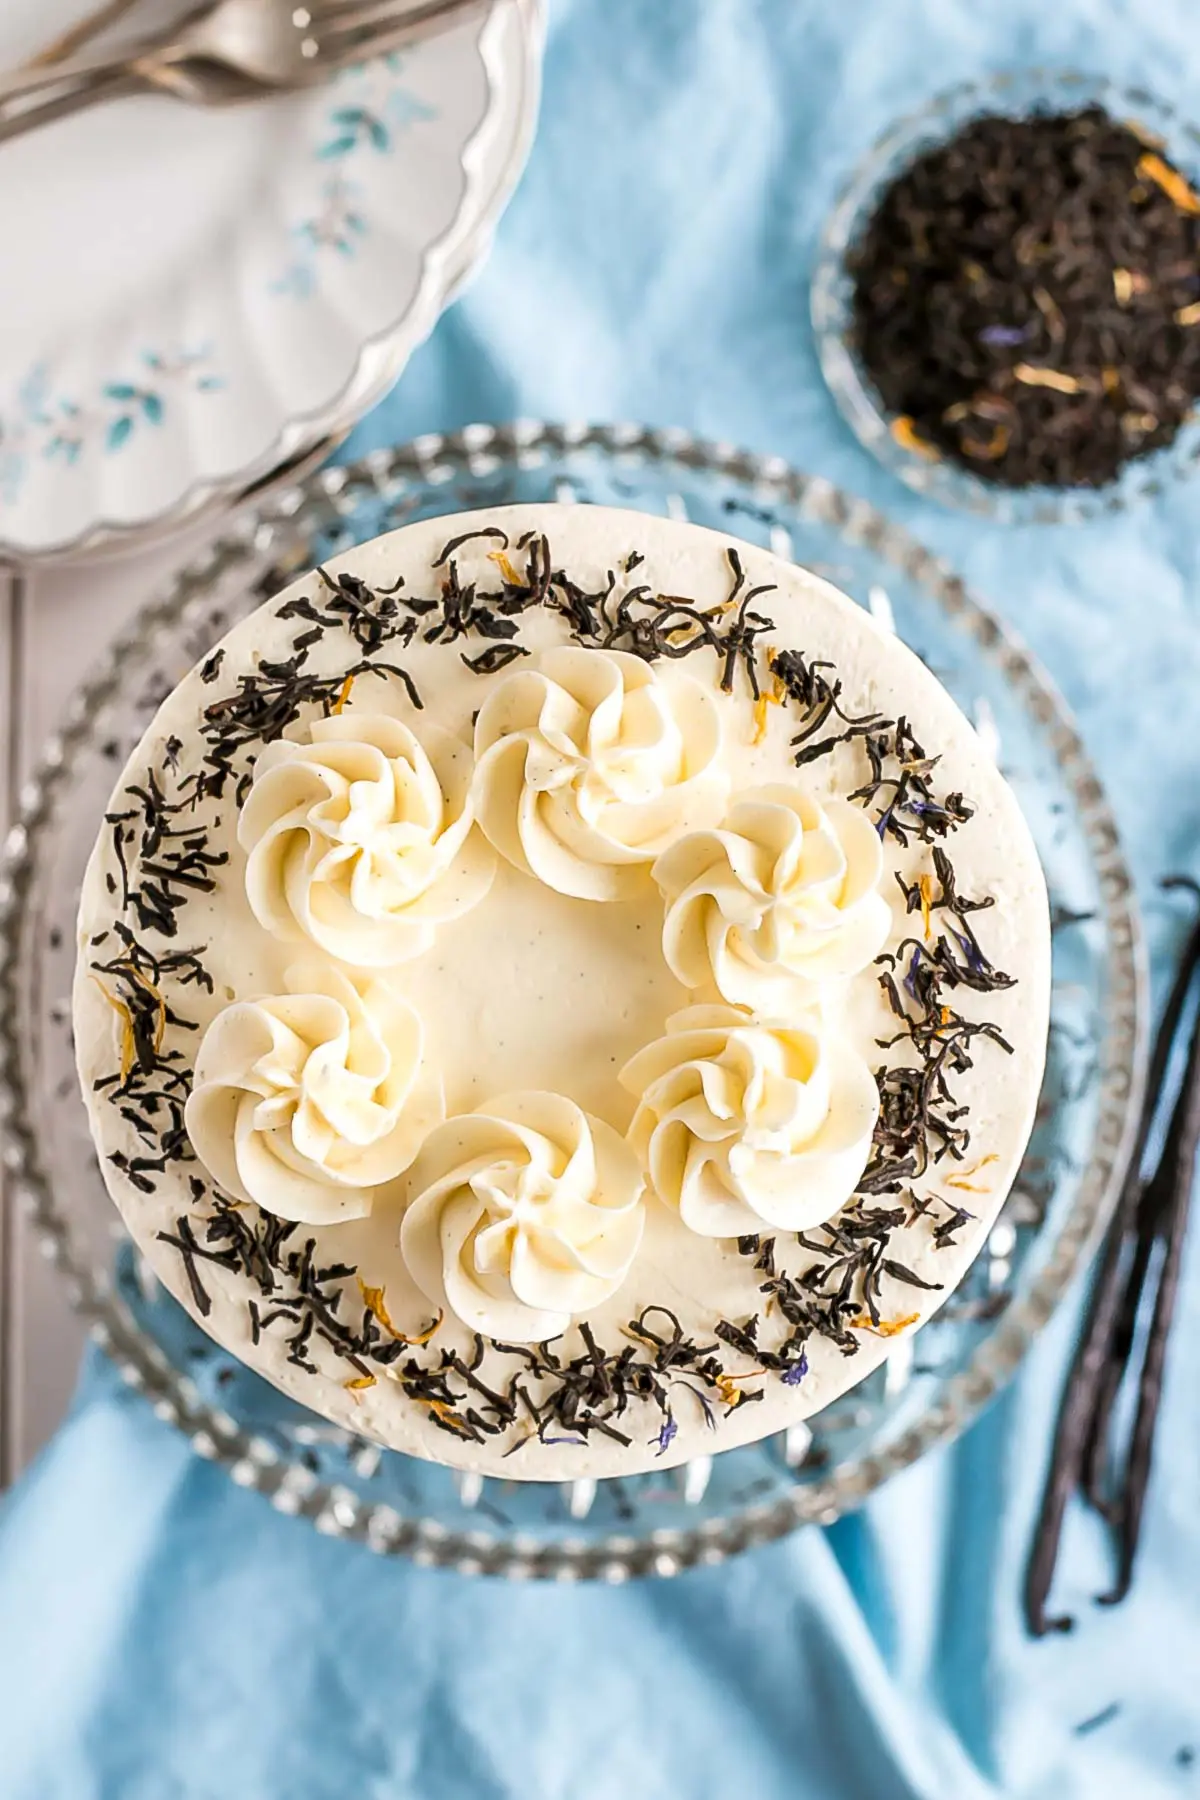
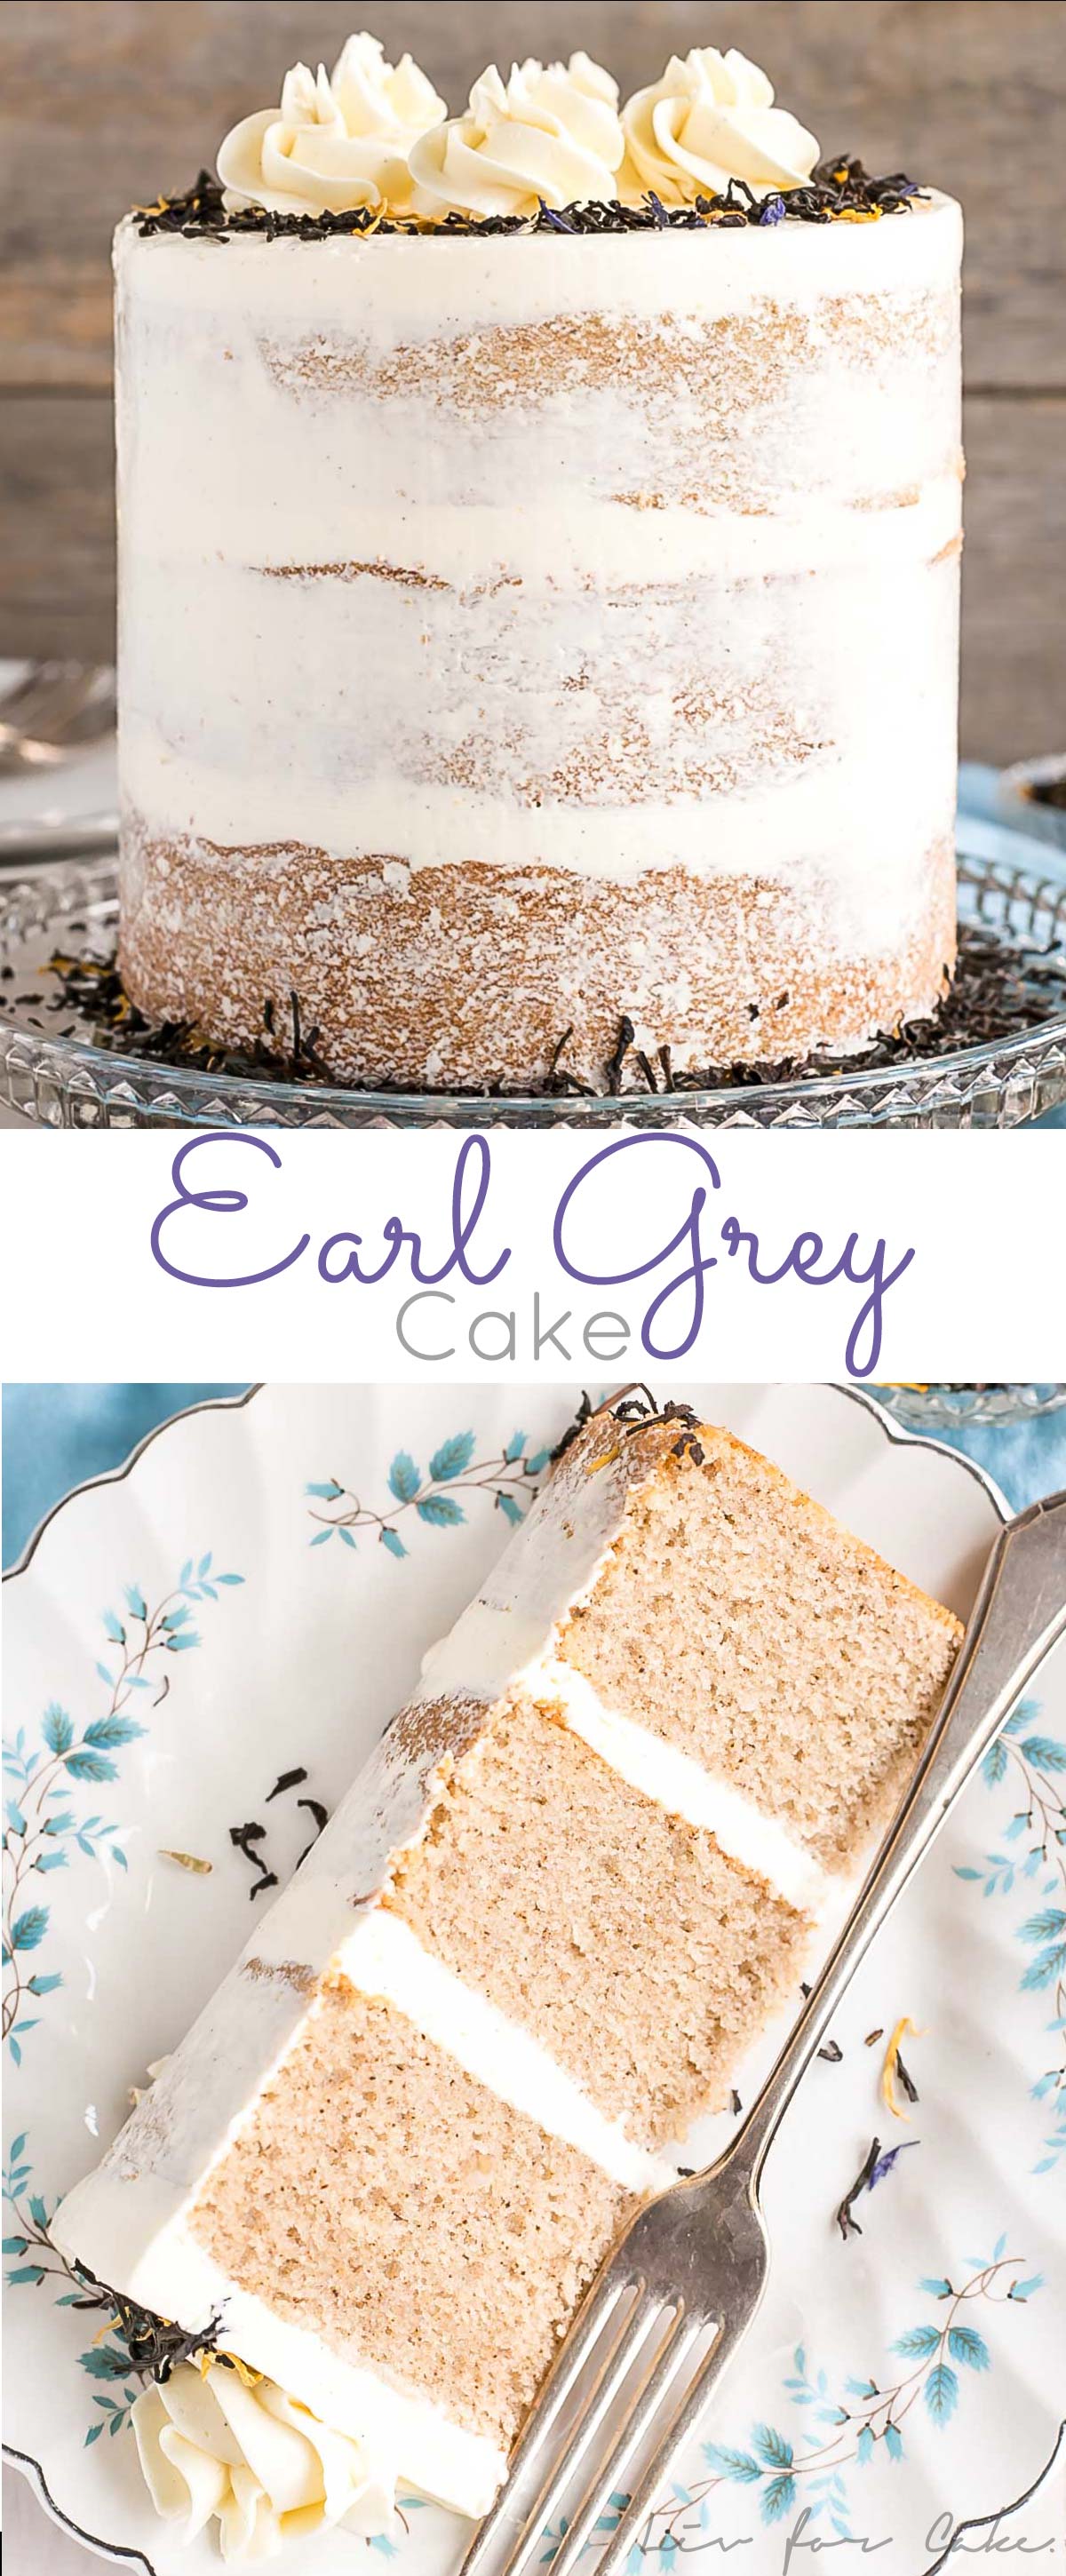
This Earl Grey Cake is perfect for the tea lover in your life! Earl Grey infused cake layers paired with a silky vanilla bean buttercream.
There is nothing quite like having to call the fire department while you’re in the middle of making a cake. And no, this was not due to another incident with the kitchen torch. It actually had nothing to do with my baking at all (hah!), but it certainly made for a more eventful Thursday than I had planned.
It all started with an odd smell in the kitchen. I went in there late morning to start making the buttercream for this Earl Grey Cake and smelled this weird mechanical/chemical kinda smell (not gas). I thought maybe it was the landscapers with their various electric tool things (lol, I have no idea what they are called), but the smell didn’t dissipate after they left, and actually got stronger.
In typical Olivia fashion, I started to freak out, half-finished cake still sitting on the counter. I have a pretty wild imagination so I started picturing faulty wiring in the walls, smoking and starting an electrical fire (for real). Our place is 30 years old (we’ve only been here for a year) and has had some work done to it. Some of the stuff here has been DIY’d, and I have no idea what’s inside the walls.
Anyhow, due to fears of an electrical fire (lol, sigh), I went and turned off all of the breakers leading to anything in the kitchen. Sure enough, the smell faded away. This confirmed my fears that it was something electrical. So, naturally, I went to Google to see what to do. As always, Google is so helpful. No matter what you look up, you’re either dying or you’re going to die. Everything was like: “Get out of the house!”,”You’re gonna die!”, “Call the fire department”. So I did.
I had to psych myself up to do it though. The thought of a fire truck outside my door, neighbors gawking and wondering wtf was going on, I just didn’t want to deal with it. But I also didn’t want out place to burn down, so… I literally had an internal pep talk before I dialled the number.
Anyhow, the fire department arrives. I could hear their sirens as I was pacing the floor, wondering if somehow they could be discreet (lol). They checked stuff out as much as they could, using their heat sensor things, but couldn’t find anything. I was hoping they’d be like — ok, turn on each of the breakers one by one and we’ll see. Unfortunately, they said they weren’t qualified to assess that and that I’d need to call an electrician, but to leave all the breakers off. SIGH. At least I was assured that nothing was currently on fire? I guess?
So off I go to Google again to find an electrician who can come TODAY. ASAP. I was cringing at the amount I would be charged for this emergency visit. I get off the phone with the guy, who says he’ll be here in a couple hours, and turn the breaker for the fridge back on because, HELLO, I have a cake in there.
As soon as I get back upstairs I smell it again. It’s easy to get behind our fridge, so I pull it out and start smelling the outlet. LOL I am SUCH a freak/loser/whatever. I thought for sure it was coming from there, but then I hear a zap from the back of the fridge. Aha! My nose leads me to the bottom of the back of the fridge, where there is this grate, and that’s where the smell is coming from. Thank god. I was so relived it wasn’t something in the walls!!
I cancelled the electrician (yay!).
I didn’t realize at that point that the fridge had actually DIED. I thought it was just on its last legs and that we should probably look at buying one on the weekend. After the whole ordeal (and finishing this cake), I went into the freezer to get a popsicle (it was super hot that day). The popsicle was basically mush. Oh *&^%. The fridge is DEAD. Ooookay, so off I went to the appliance store (alone, Ryan was at work and the shop closes at 5:30pm, seriously) to buy one that day.
Thankfully they had one they could deliver on Saturday, so it wouldn’t be too bad. We put what we could into our (already packed and very small) second fridge/freezer, but there was still a lot left in the fridge. It was keeping things cool-ish as it died, but by Saturday morning when we opened it up, the air that came out of there was warmer than the air outside. Gross.
So, a bit of an ordeal and some food loss, but it all worked out in the end. And we finally have a new fridge, which I’ve wanted since the day we moved in. Now, let’s talk about this Earl Grey Cake, shall we? Because it’s a winner.
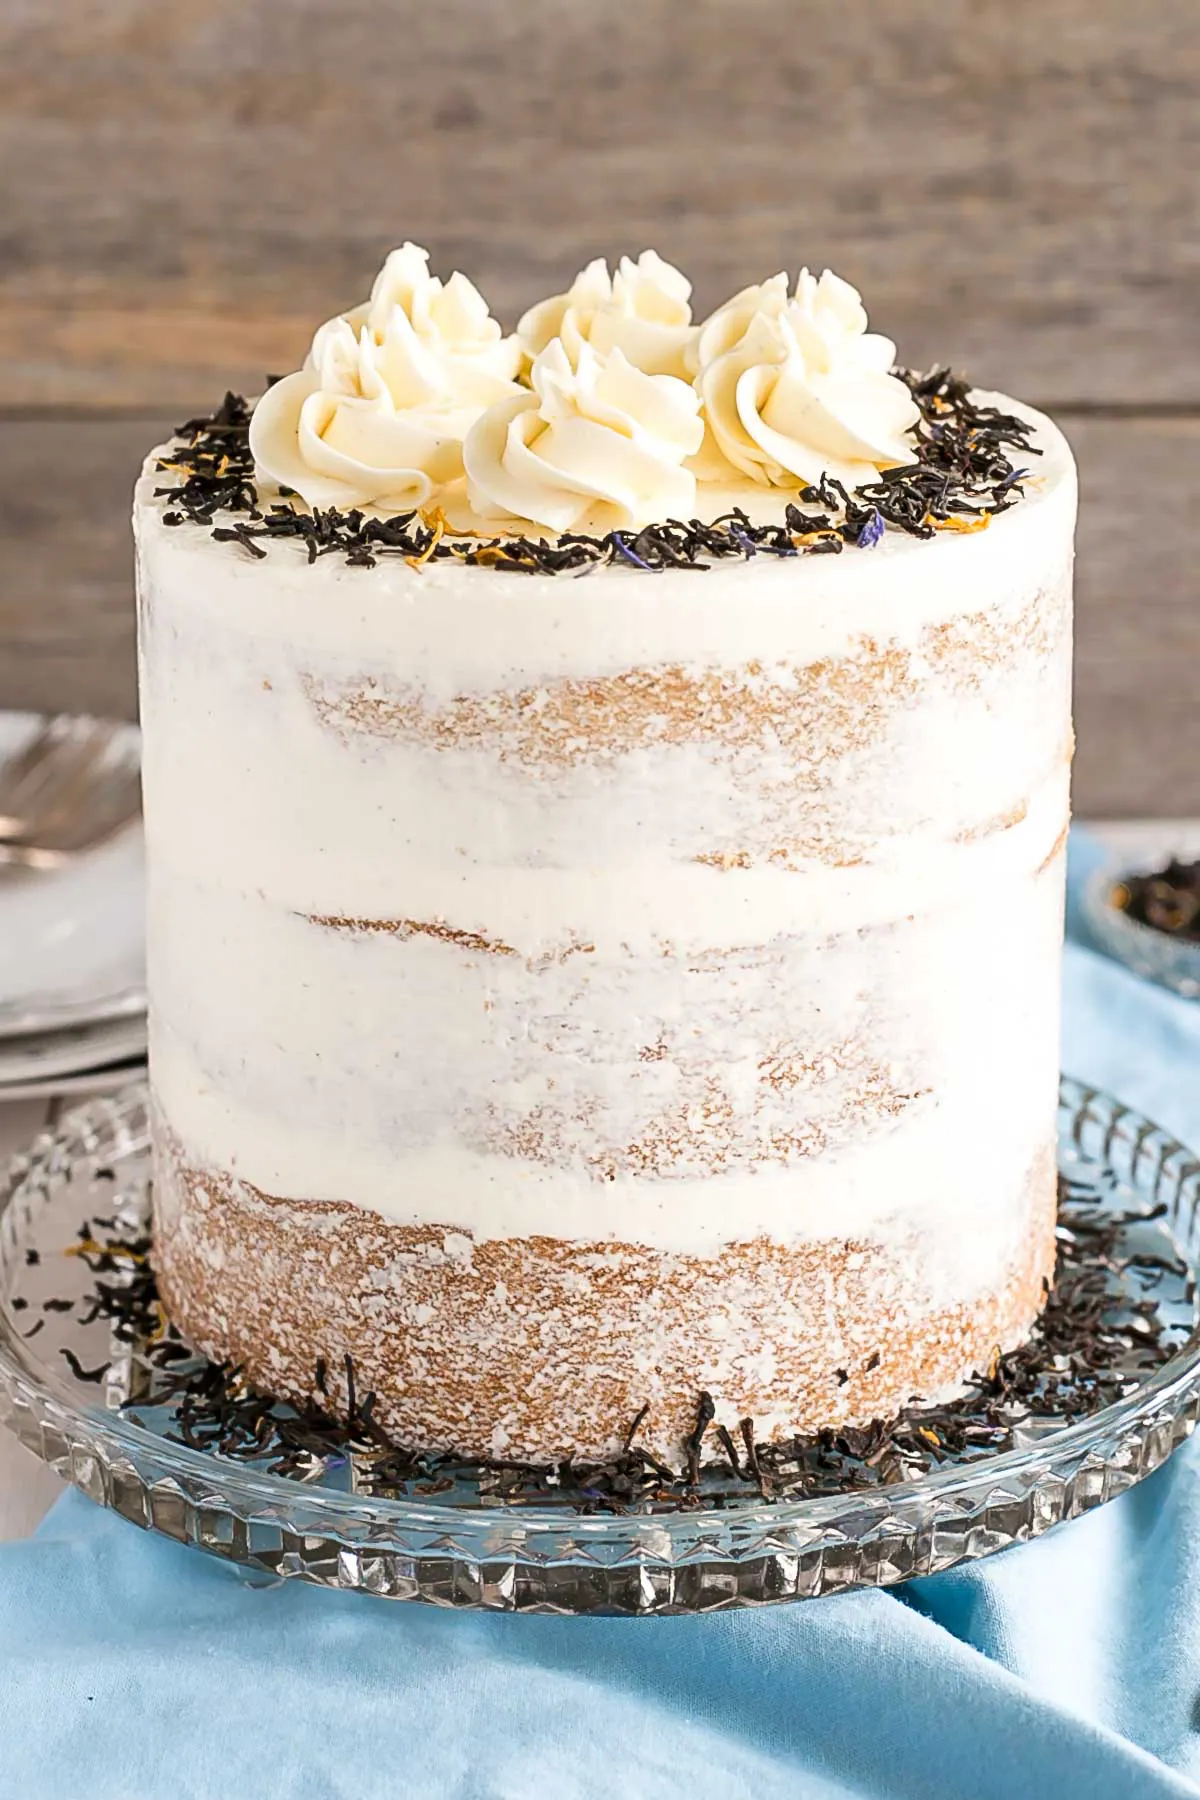
I’d had an Earl Grey Cake on my radar for a while now, but it seemed like more of a “Fall” type cake (cozy sweaters, warm tea, etc.), so I waited until it was closer to Fall season. The days are getting shorter and cooler (I’m actually wearing a sweater as I type this – insert happy face).
Earl Grey is traditionally a black tea that is flavored with bergamot (citrus). I say traditionally because you can now get rooibos and even green tea versions of Earl Grey. I prefer the traditional one, although mine has a bit of a twist too. My favorite is a Cream of Earl Grey which adds a hint of vanilla to the classic beverage. It really takes it to a whole ‘nother level of deliciousness. I used Cream of Earl Grey tea in the cake, but you can use any kind you like.
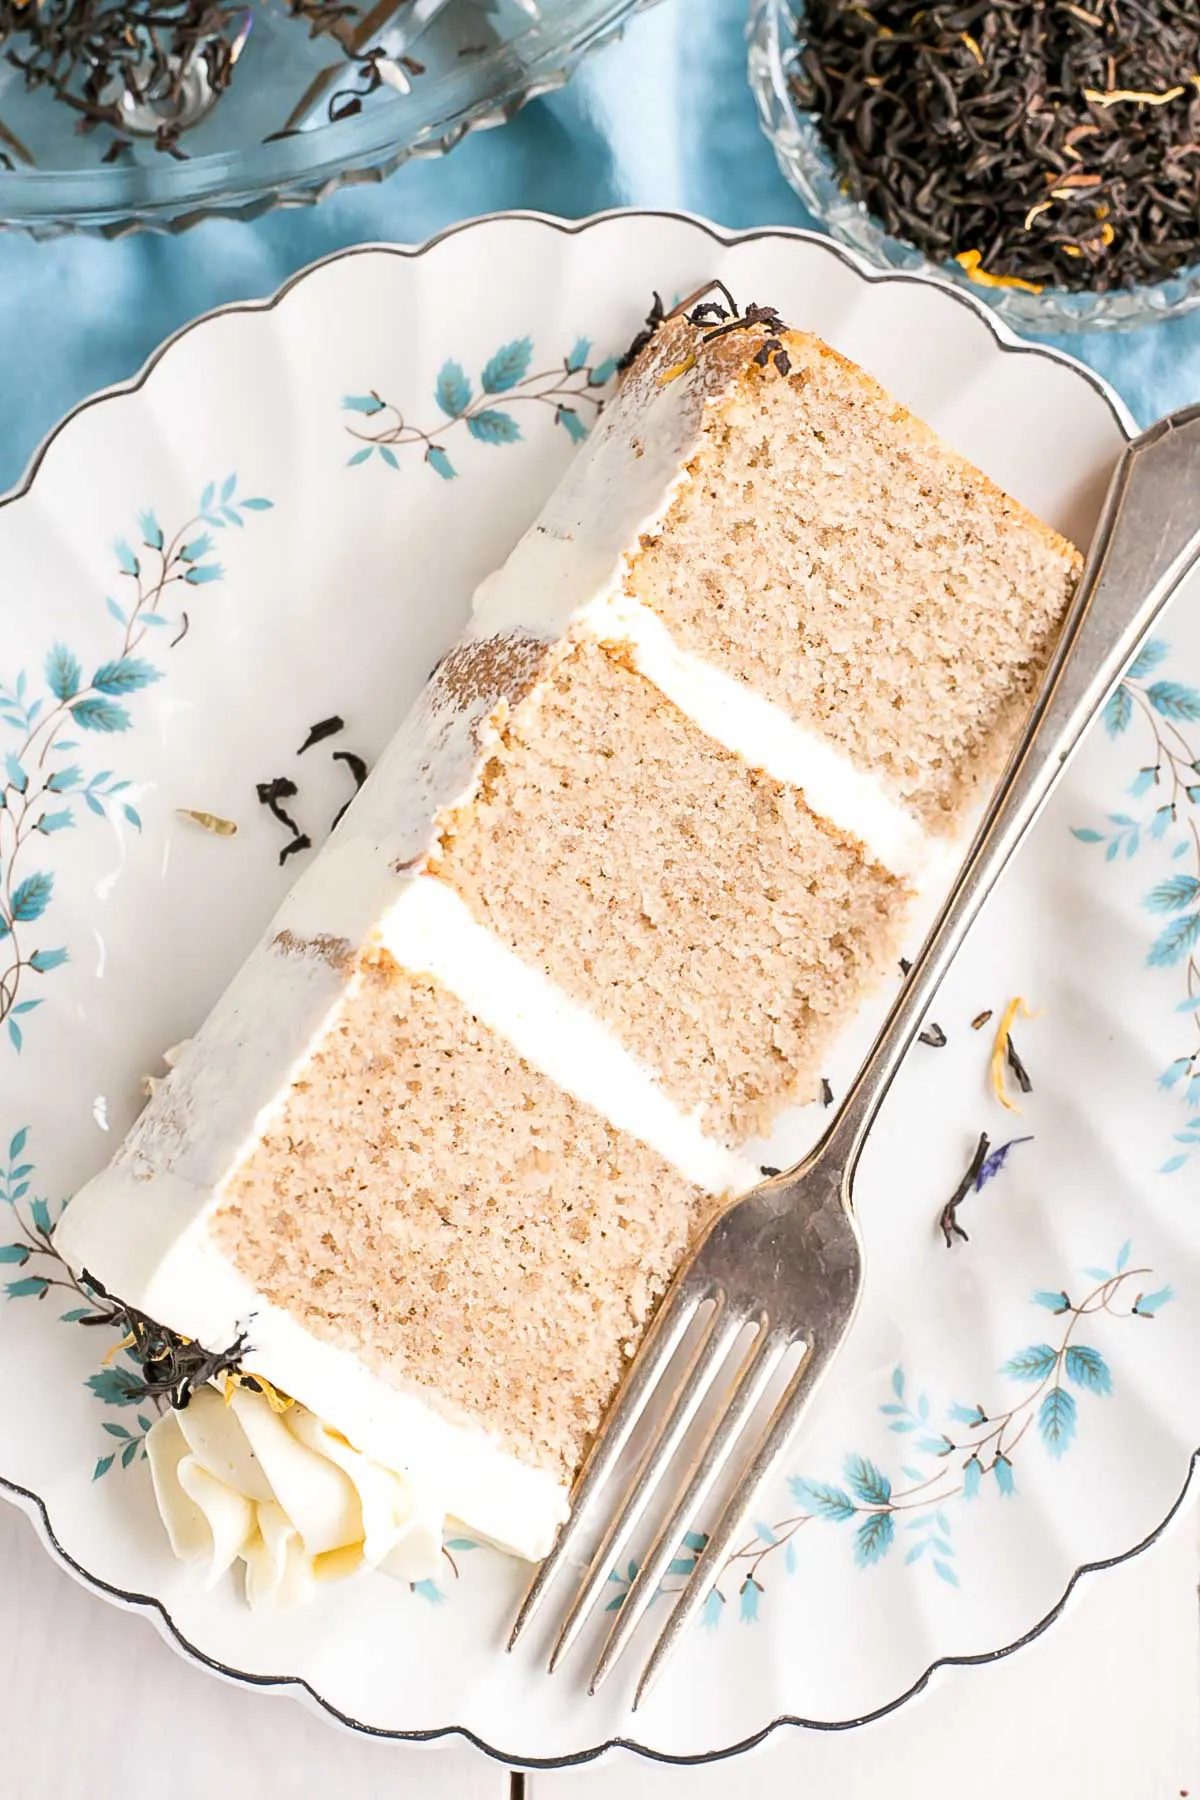
You don’t have to love tea to love this cake! Ryan is not a tea drinker at all, and he loved the unique flavor it has — though I will say that if you are not a fan of Earl Grey, it might not be up your alley. The Earl Grey tea is infused into the cake layers in many levels, so it is very prominent. I paired it with a simple vanilla bean buttercream to compliment the creamy Earl Grey flavors.
Tips for this Earl Grey Cake:
- If you don’t like Earl Grey tea, you can experiment with other tea flavors. I used Cream of Earl Grey for this cake.
- The Earl Grey syrup is optional (I forgot to add it even though I had it made), but it will enhance the flavor of the cake even more, and will add moisture.
- I used the tea leaves as garnish on the cake for the pictures, but do not recommend doing this as they are rather unpleasant to chew on!
- Be sure to check my Swiss Meringue Buttercream post for tips and troubleshooting.
- To help ensure your cake layers bake up nice and flat, see my Flat Top Cakes post.
Earl Grey Cake With Vanilla Bean Buttercream
Ingredients
Earl Grey Milk:
- 1 1/2 cup milk
- 1 Tbsp Earl Grey tea heaping, loose leaf
Cake:
- 2 1/4 cups all-purpose flour
- 2 tsp baking powder
- 1 tsp Earl Grey tea finely ground
- 3/4 tsp salt
- 3/4 cup unsalted butter room temperature
- 1 1/2 cup granulated sugar
- 3 large eggs room temperature
- 1 1/2 tsp vanilla extract
- 1 cup Earl Grey milk room temperature
Earl Grey Syrup (optional):
- 1/2 cup granulated sugar
- 1/2 cup water
- 1 Tbsp Earl Grey tea
Vanilla Bean Buttercream:
- 3 large egg whites
- 1 cup granulated sugar
- 1 1/2 cups unsalted butter room temperature
- 1 tsp vanilla bean paste
Instructions
Earl Grey Milk:
- Bring milk and tea to a boil in a small pot over med-high heat. Turn heat off and steep for 10mins. Strain and measure out 1 cup. Top up with milk if needed.
Cake:
- Preheat oven to 350F. Grease and flour three 6″ cake rounds and line with parchment.
- In a medium bowl, whisk flour, baking powder, tea,and salt until well combined. Set aside.
- Using a stand mixer fitted with a paddle attachment, cream butter and sugar on med-high until pale and fluffy (approx 3mins). Reduce speed and add eggs one at a time fully incorporating after each addition. Add vanilla.
- Alternate adding flour mixture and Earl Grey milk, beginning and ending with flour (3 additions of flour and 2 of milk). Fully incorporating after each addition.
- Bake for approx. 35mins or until a toothpick inserted into the center comes out mostly clean.
- Place cakes on wire rack to cool for 10mins then turn out onto wire rack. Allow cakes to cool completely.
Earl Grey Syrup:
- Place sugar, water, and tea into a small pot. Bring to a boil and simmer 2 mins. Remove from heat, steep for 5 mins. Strain and cool completely.
Vanilla Bean Buttercream:
- Place egg whites and sugar into the bowl of a stand mixer, whisk until combined.*
- Place bowl over a double boiler on the stove and whisk constantly until the mixture is hot (160F) and no longer grainy to the touch (approx. 3mins).
- Place bowl on your stand mixer and whisk on med-high until the meringue is stiff and cooled (the bowl is no longer warm to the touch (approx. 5-10mins)).
- Switch to paddle attachment. Slowly add cubed butter and mix until smooth.** Add vanilla bean paste and mix until incorporated.
Assembly:
- Place one layer of cake on a cake stand or serving plate. Brush with 2-3 Tbsp of the Earl Grey syrup.
- Top with approximately 2/3 cup of buttercream and spread evenly. Repeat with remaining layers. Frost and smooth the outside with a thin crumb coat. Chill for 20mins.
- Pipe rosettes on top of desired using a 1M tip.***
Notes
** The buttercream may look like it’s curdled at some point. Keep mixing until it is completely smooth.
*** I used tea leaves as garnish on the cake for the pictures, but do not recommend doing this as they are rather unpleasant to chew on!




Roy says
hi it’s me again!! i baked this a few days ago and i love it. i’ve never made a merengue before and i was blown away by how light and fluffy it is. the cake smelled (and tasted) like heaven too!
Olivia says
Hi Roy! So happy to hear you loved it! And yay to the meringue! It’s my favourite kind of frosting. Can’t wait to hear what you try next 🙂
Roy says
approximately how many cups of batter does this produce? i want to bake this using some pans i have with funny dimensions and i’m trying to work out the math in my head lol
Olivia says
Hi Roy! I’ve never measured it so I can’t say for sure but going by this site (https://www.joyofbaking.com/PanSizes.html) I’d say around 12 cups or so.
neyir says
Sorry that this isn’t a review. I want to make this cake (for my birthday actually). If I make it into two 7.5inch pans instead of three 6 inch ones, what should I be looking out for / adjust?
Olivia says
Hi Neyir! For ease I would 1.5x the recipe. It might make a bit too much batter (don’t fill the pans more than 2/3 – 3/4 full) but you can just make cupcakes with any extra. Let me know how you like it 🙂
Neyir says
It turned out amazing!
I increased the recipe by a third instead of half (3 -> 4 eggs) and it made a good amount of batter.
Loved by everyone.
Olivia says
Yay! So happy to hear.
Lauren says
I made this cake twice with a whipped cream frosting instead of the buttercream and everyone loved it both times! Will definitely be making this again
Olivia says
Hi Lauren! So glad to hear everyone loved it. Thanks for the feedback!
Nga says
Hi
I read comments and there are many mentioning about the cake is a little bit dry and dense while I prefer something more fluffy and moisture. Not sure if it is due to overbake by them or the recipe itself. In case I really want to make it more fluffy and moisture, should I use cake flour instead of all purpose one with same ratio and replace half of butter with oil?
Olivia says
Hi Nga! My cakes tend to be more on the dense side rather than light and fluffy, but it shouldn’t be unpleasantly dense, that can be due to a few factors. The dryness would be from overbaking. You can use cake flour if you prefer and be sure not to overmix the batter. You can also do the oil swap you suggested. Let me know how you like it 🙂
Julia says
I used this to make cupcakes, and they’re phenomenal! It made 18, which baked perfectly at 18 minutes. I used an ermine frosting with more of the earl grey milk, and it complemented it perfectly.
Olivia says
Hi Julia! Glad you loved it. Thank you for the feedback!
Ashelle says
I overbaked the cake a bit. The taste was still good. The frosting was not to my liking. It was way too sweet and buttery and overpowered the cake. I would make it again but in a smaller batch, as my family did not like it.
Olivia says
Hi Ashelle! Swiss meringue buttercream isn’t for everyone, especially if you’re used to more of an American style frosting. It shouldn’t taste too buttery though unless the frosting was made incorrectly. I have a detailed tutorial here: https://livforcake.com/swiss-meringue-buttercream-recipe/ Glad you liked the cake!
Courtney says
Do you think I could use cake flour or should I stick to the all purpose? (Trying to get rid of a bunch of cake flour I have)
Olivia says
Hi Courtney! Cake flour will work just fine.
Elisha F. says
Loved this cake! I was a little surprised at how small of a cake it made although it worked out. Baked in two 6-inch pans for about 50 minutes (as opposed to dividing into three pans). I think next time I might make 1.5 recipes for a 6-inch and maybe play with it if making a bigger cake. Flavor was so good and I might dream about the Earl Gray simple syrup. Thanks for this cake!
Olivia says
Hi Elisha! I’m so glad you loved it!
FREYA says
Hey Olivia,
I’d really like to incorporate blackberries into this cake. Would I be able to just mix some into the batter before oven-baking, or would that somehow ruin the cake ? Not sure how delicate the recipe is when it comes to unexpected moisture etc. What do you think ?
Olivia says
Hi Freya! I think it would be fine to fold some in gently at the very end. I would toss them in some flour first to help ensure they don’t sink. The blackberries will add to the volume of batter though so I’d make sure the cake tins are 3″ tall.
TJ says
The cake is wonderful! (I didn’t do the syrup or the buttercream, just the cake itself.) It is flavorful and moist! I did it as cupcakes (about 25min in the oven) and they turned out beautifully. I also, carefully and attentively, heated the milk tea in the microwave, rather than the stove, and that worked well too. I’ve been eating the cupcakes cut in half and toasted with a smear of lemon curd, and the cake holds up very well!
Olivia says
Hi TJ! So glad you liked it. Thanks for your tips!
Lee says
The cake was so delicious, I’ve tried it with different teas as well and it works great! 🙂
Olivia says
Hi Lee! Thanks for the feedback, I’m glad you liked it 🙂
Valerie says
Truly wonderful! I just made this for a friend’s birthday. I doubled the recipe (which I should not have done lol-the initial recipe would have been plenty for my cake) but anyway I made a 3 tier 6-inch cake. Each layer took closer to 50 minutes to bake and the cake was a bit more dense than I was expecting (certainly not a bad thing, it made each layer sturdier when it came time to stack). It was LOVELY!! I let 3 tea bags steep in oat milk overnight and I thought the addition of the earl grey syrup was a smart way to bring out the overall flavor of the earl grey.
The cake itself was fantastic, I can’t comment on the buttercream because I didn’t use this buttercream recipe, but I was very impressed by the flavor of the cake 🙂
Olivia says
So happy you loved it, Valerie! 🙂
Hayden says
So for this being my first not from a box cake this might’ve bit off more than I can chew. Was I supposed to multiply the recipe by three to bake three cakes? 😅😅
Olivia says
Hi Hayden! No, the recipe as written makes three 6″ cake layers 🙂
Hayden says
I live in middle of no where Alaska, I can’t get my hands on loose leaf tea, would I be able to use tea bags instead?
Olivia says
Hi Hayden! For sure! Just cut the tea bags open to grind it. For the milk you can just steep the whole teabag in it.
Amy says
I made this cake gf/df and it was delicious! I was wondering if it would work well as a cupcake or if I would need to change anything about it?
Olivia says
Hi Amy! It will work fine as cupcakes. I should make 18-24 depending on size.