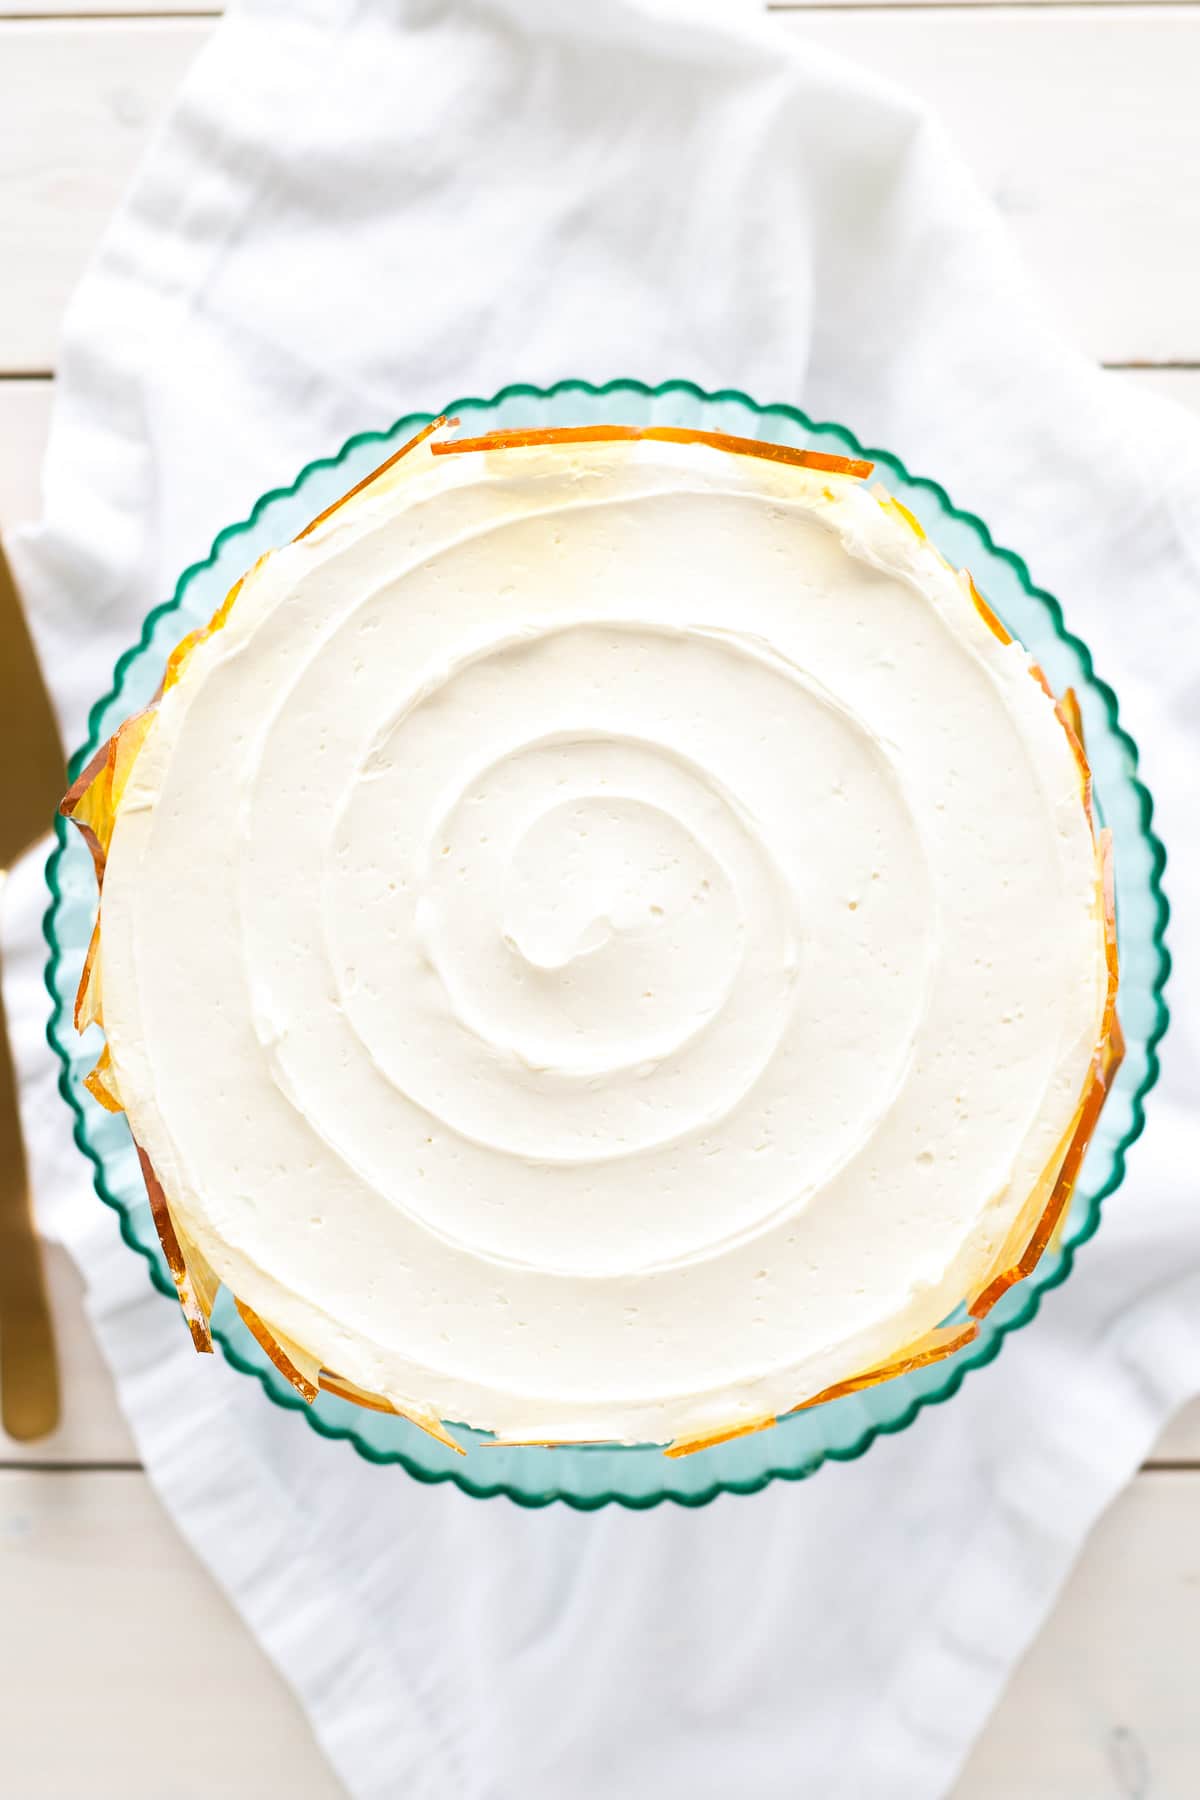
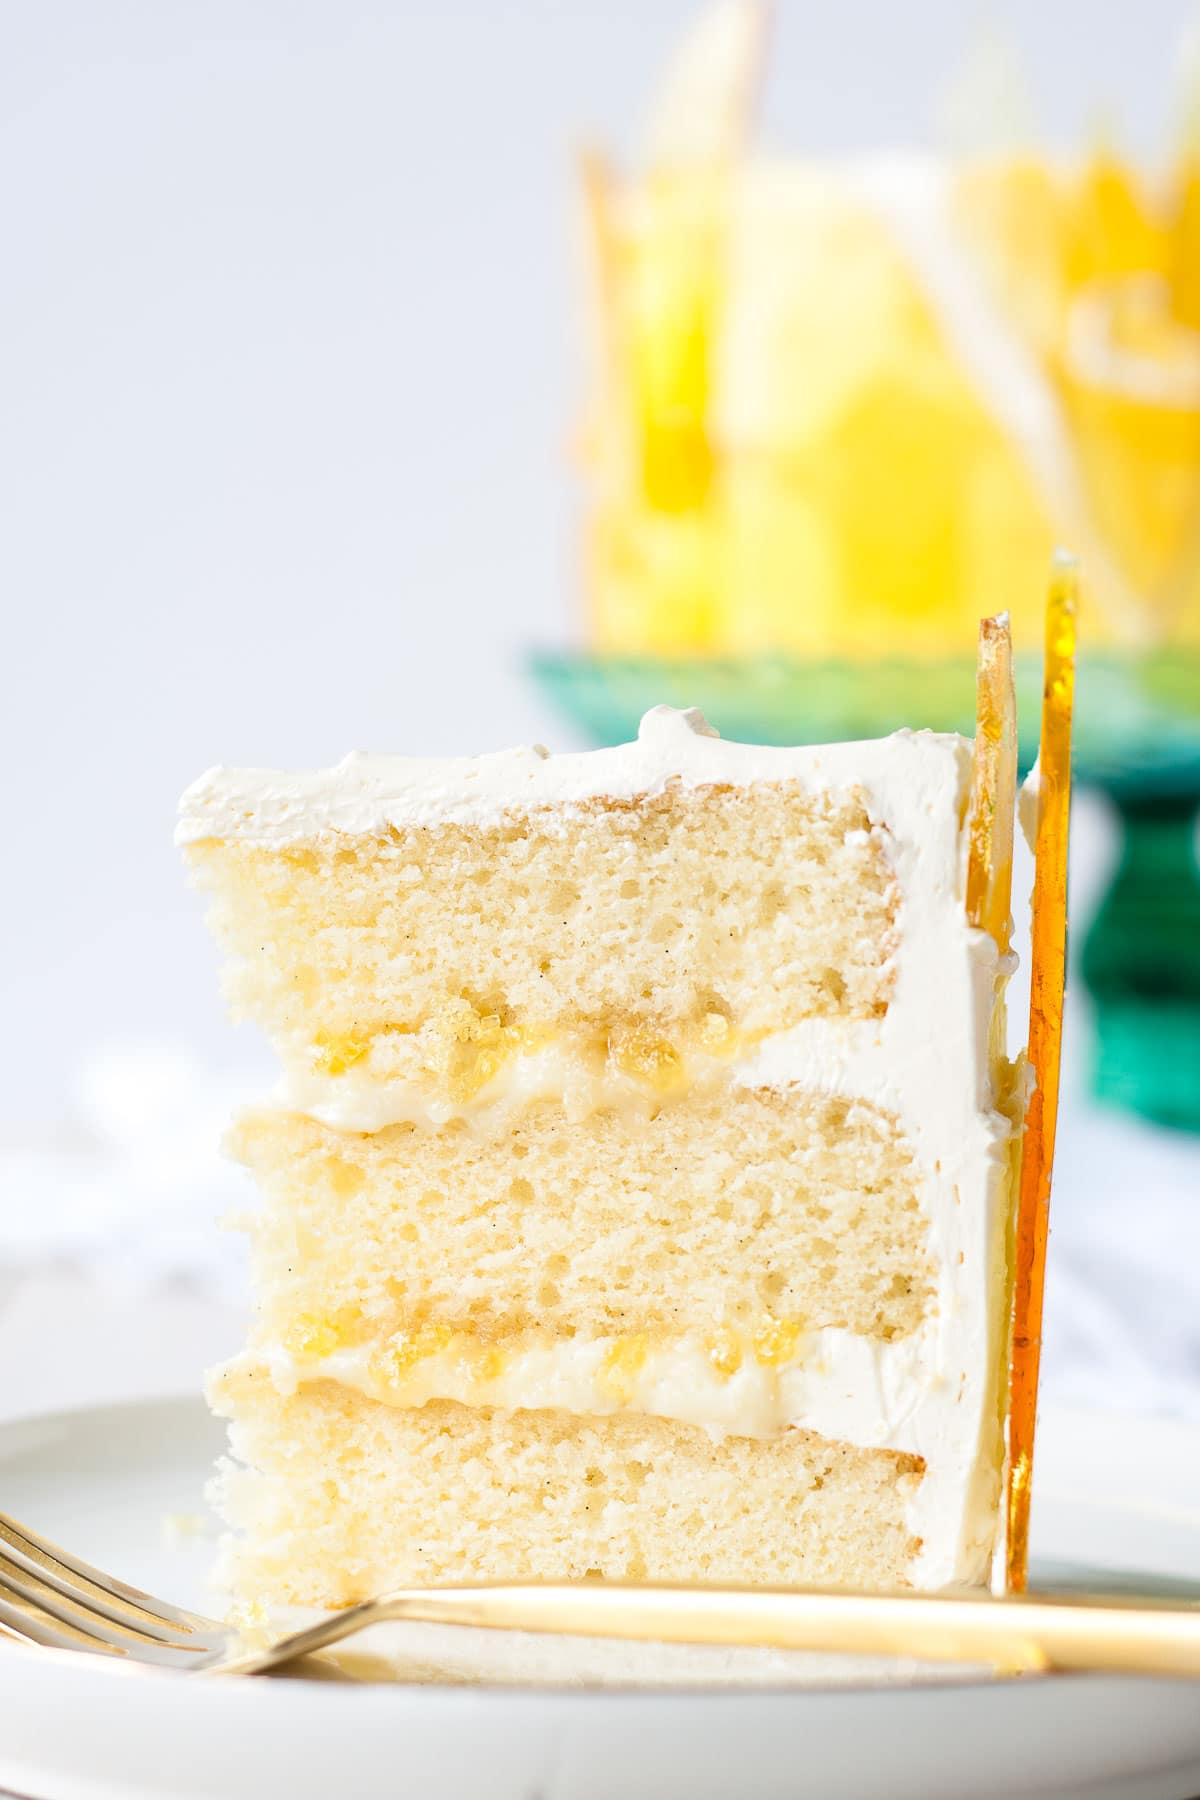
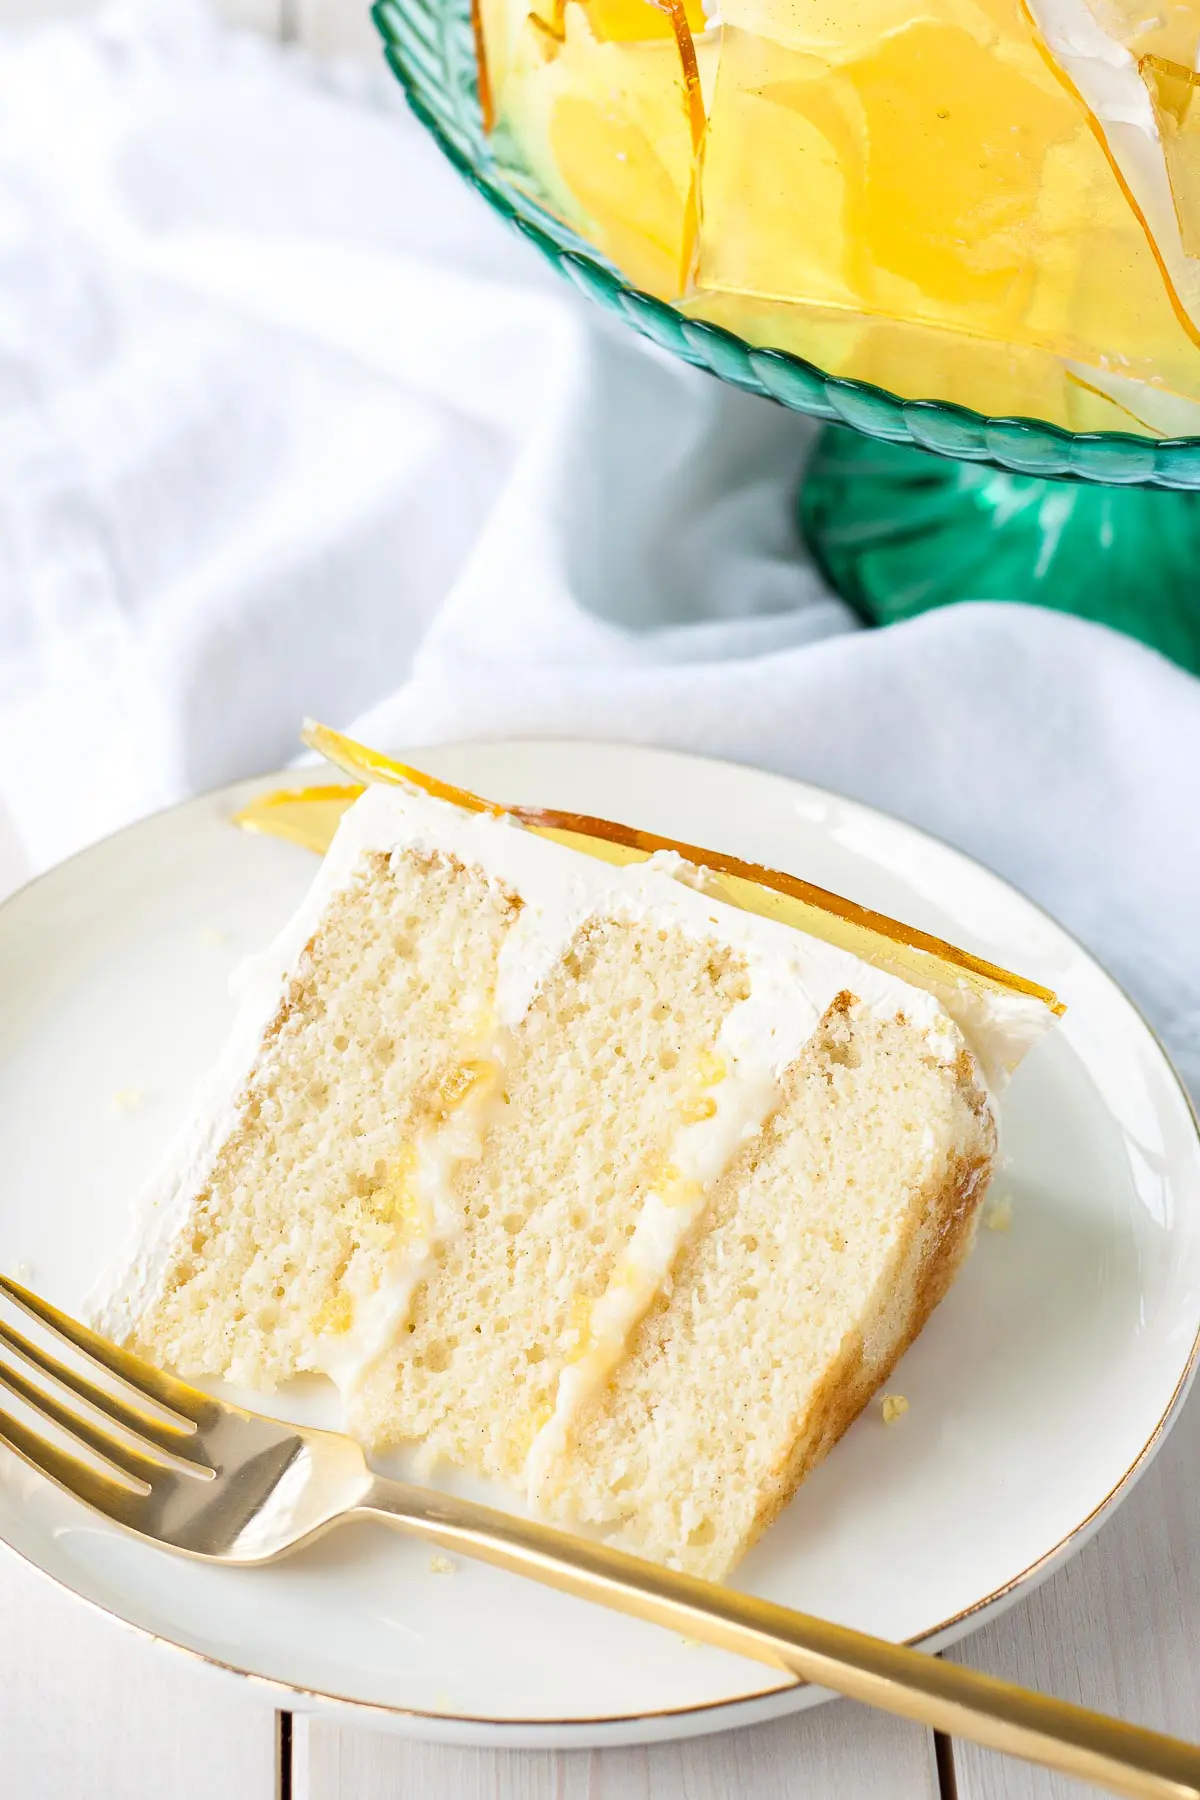
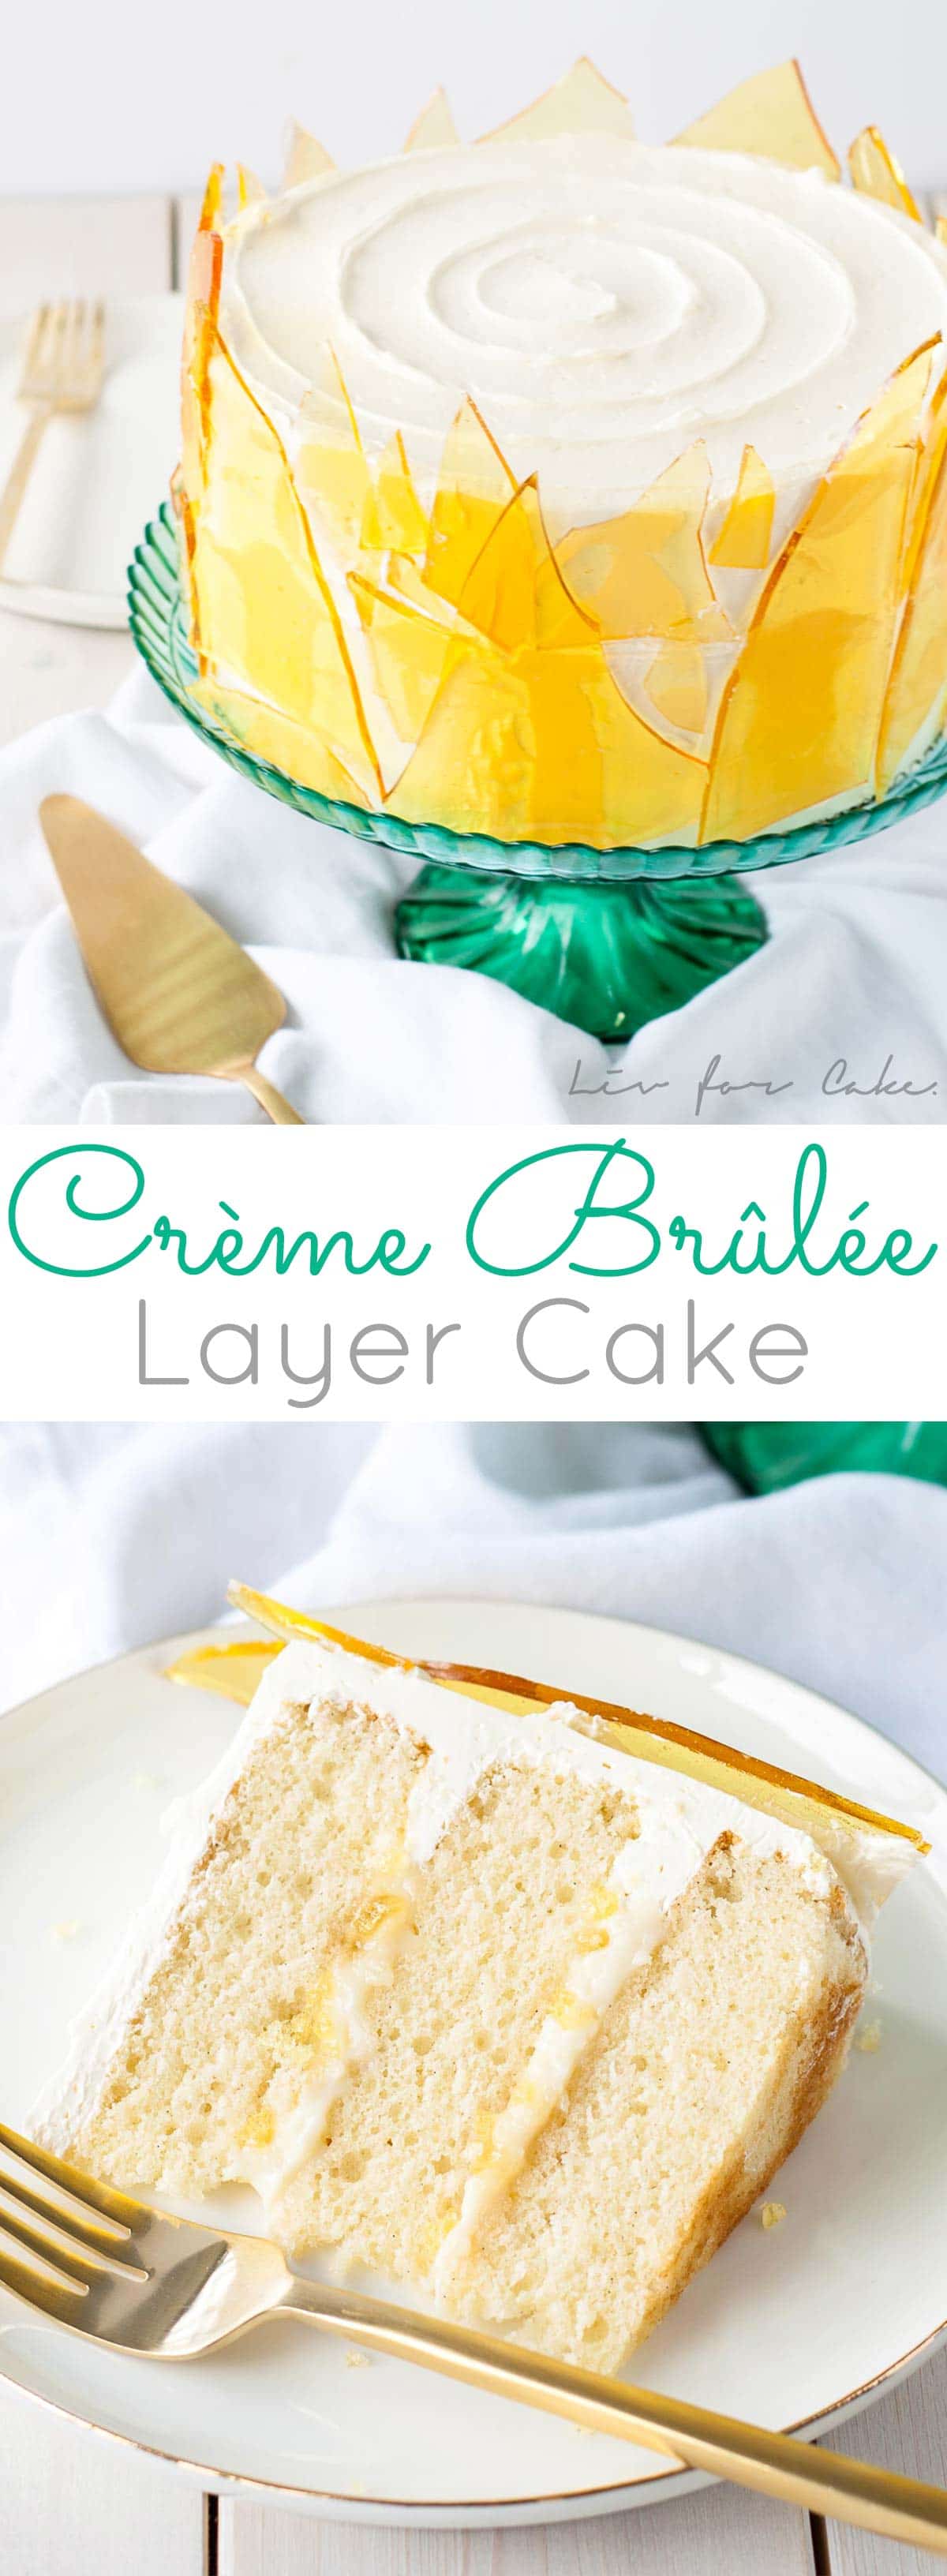
A classic vanilla dessert gets a major makeover with this decadent Crème Brûlée Cake!
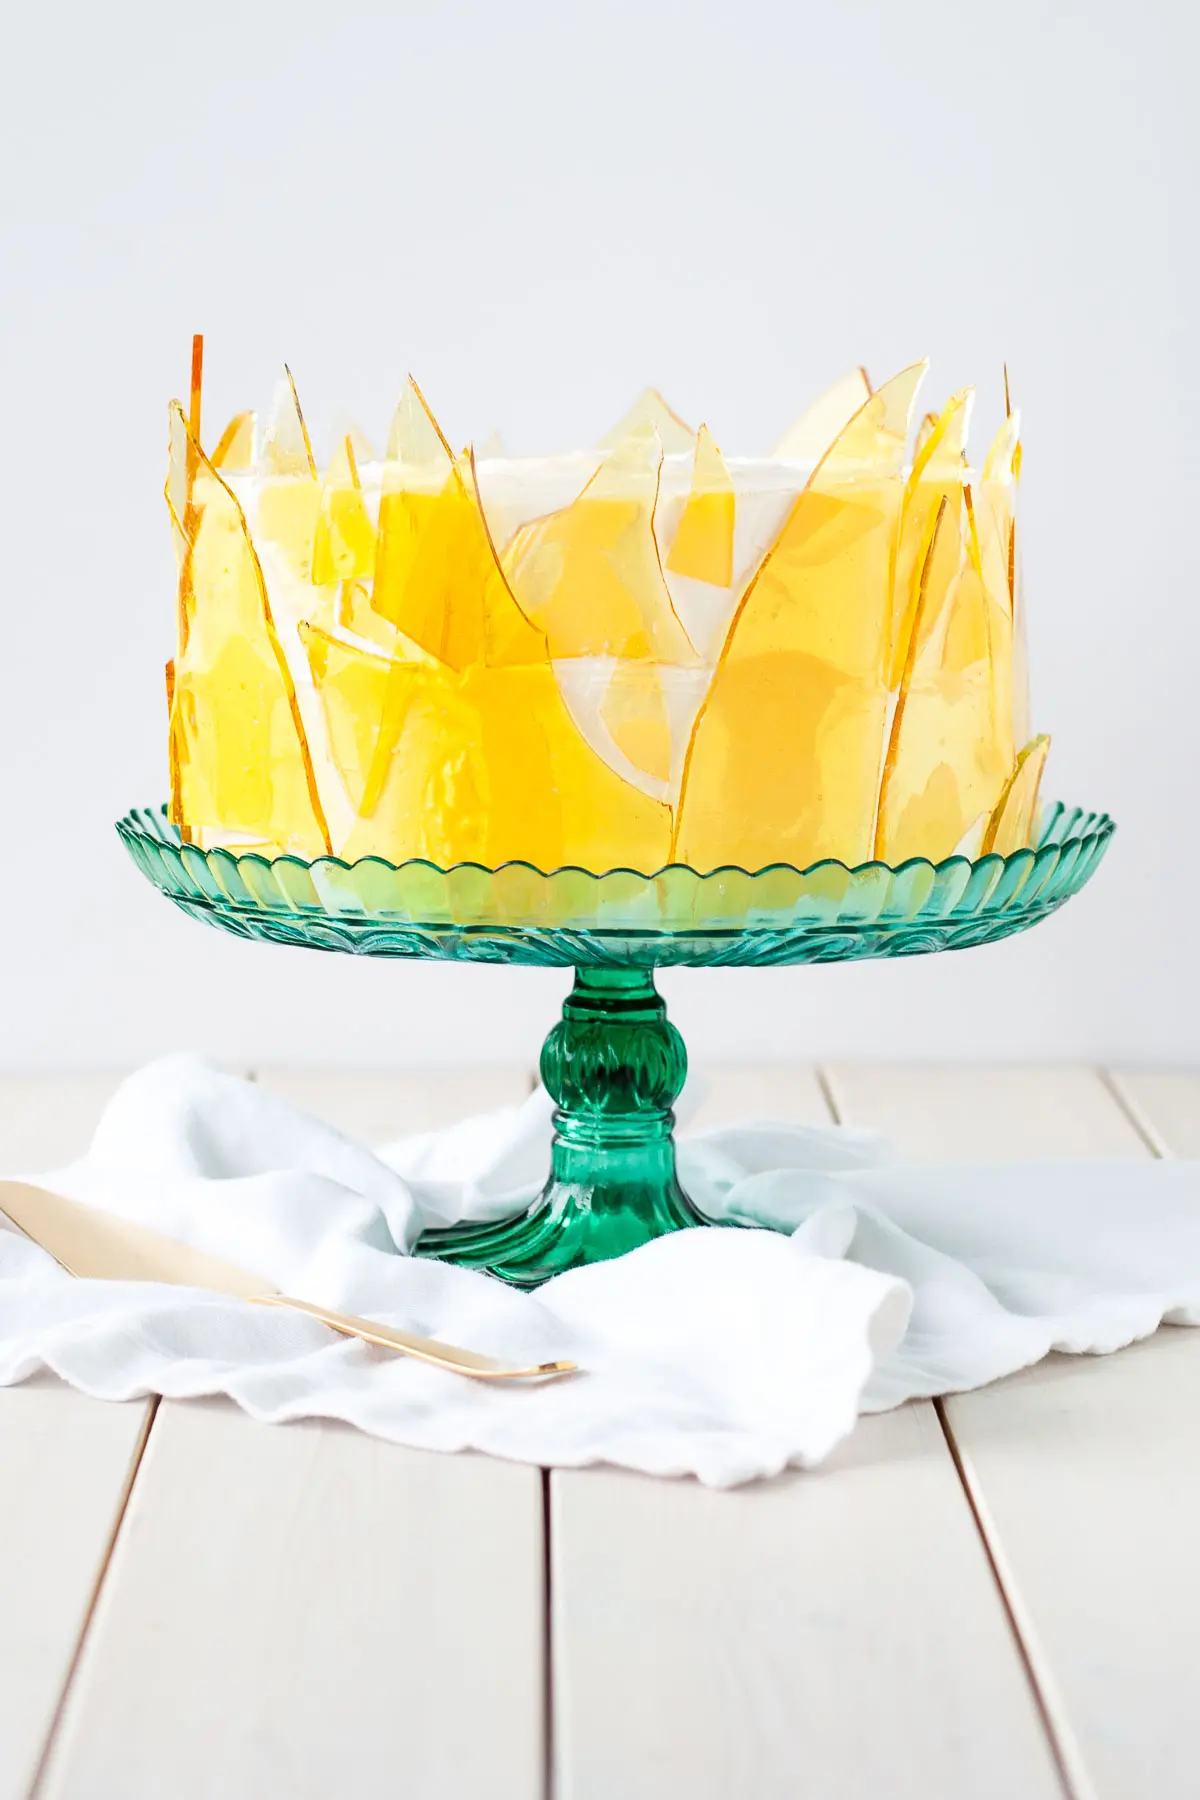
Crème Brûlée Cake, aka the cake that almost killed me. Literally. I’m exaggerating (a bit), but it could have gone very, very badly. Typical me, doing stupid shit without researching it first. Clearly I need to be monitored at all times.
I had a general idea of how I wanted this Crème Brûlée Cake to look. Namely, I wanted to do the caramel sugar shards around the outside to represent the “brûlée” part. Caramelized sugar doesn’t stand up too well to moisture, so I knew that doing a thin layer on top or in the middle would quickly dissolve, so this was my solution.
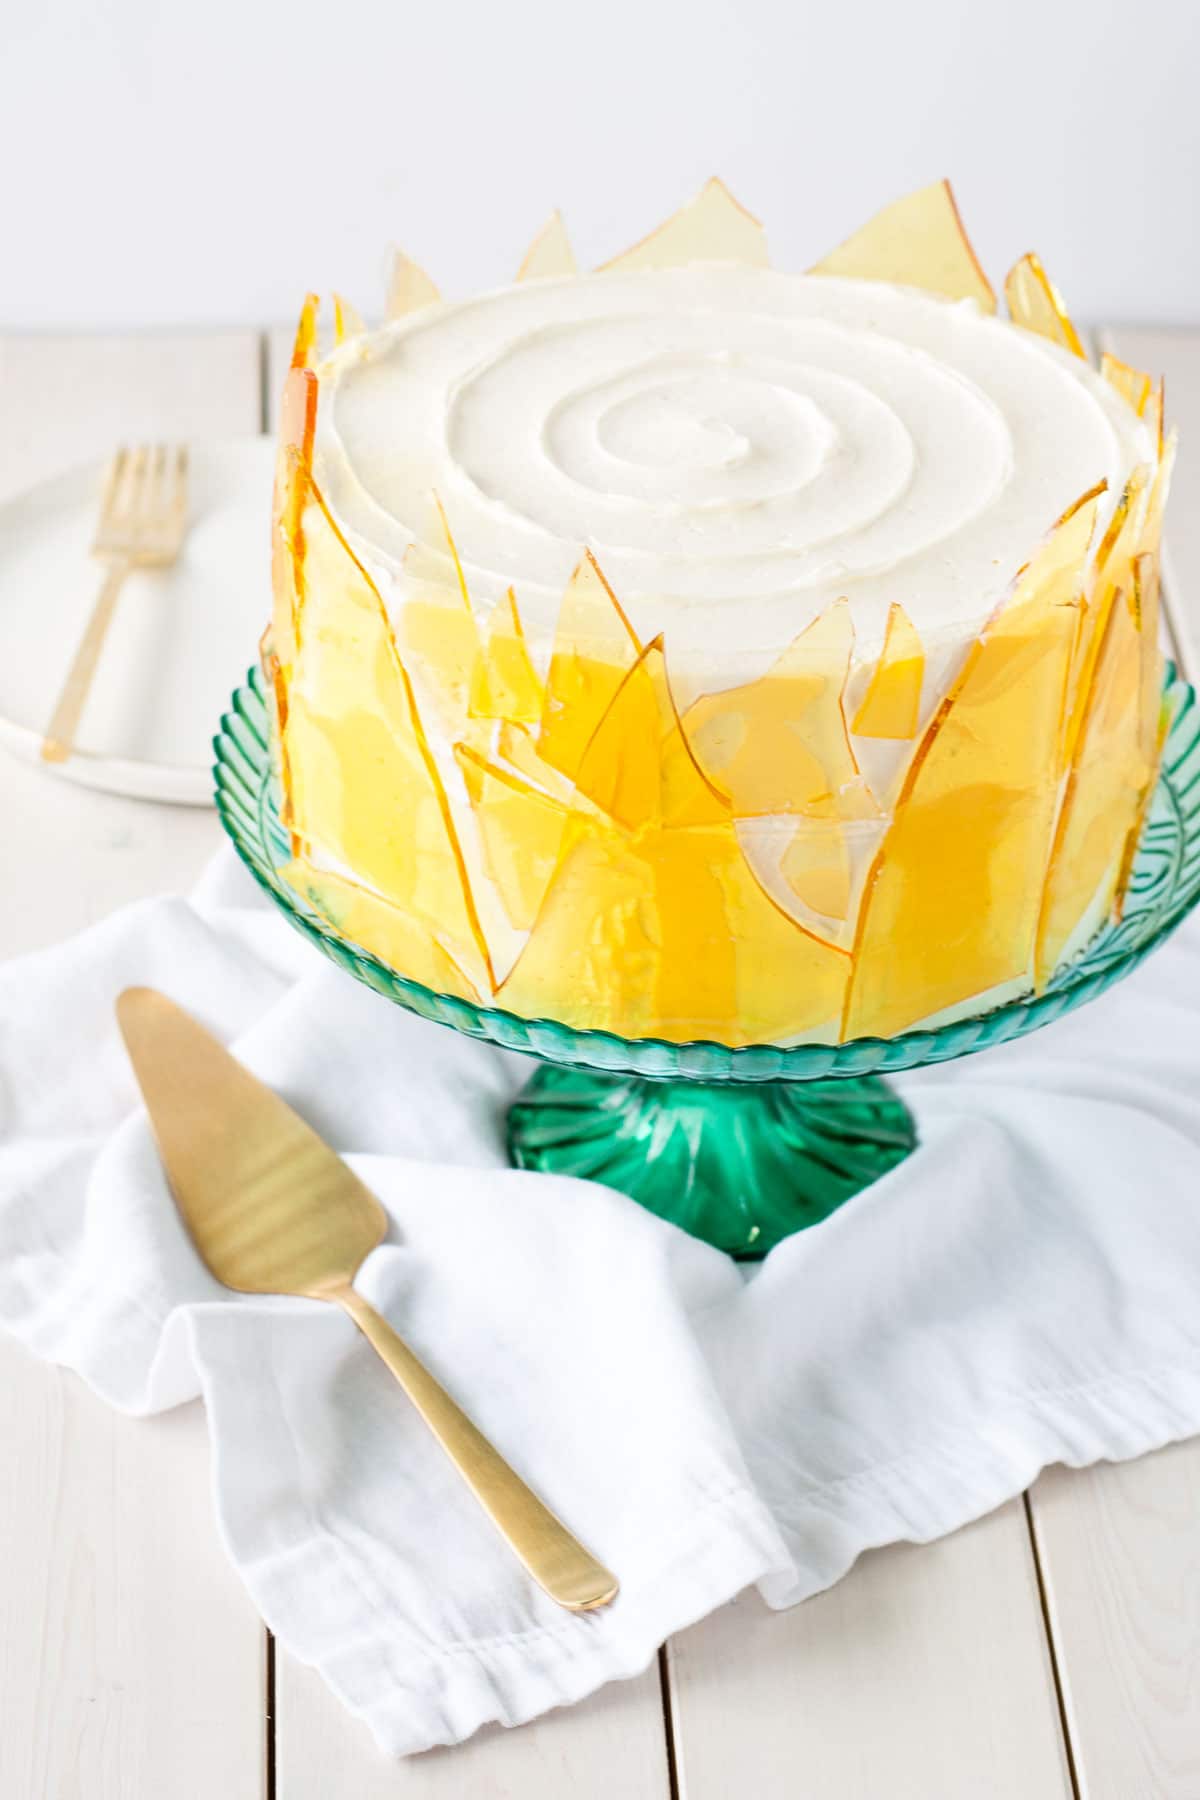
I hadn’t done sugar work since pastry school, so I needed to test out my vision for the shards to see if it would work. I caramelized some sugar, poured it out over a couple sheet pans lined with silicone mats, let it cool a bit, then broke it into shards.
Success!
Except that the silicone mats left funny little ripples on the shards and I wanted them clean and clear. Sigh. Redo.
So once again, I caramelized some sugar, but this time I lined the pans with tin foil instead. This was a bit trickier to pull off of the sugar afterwards, but the results, overall, were nice and smooth and clear.
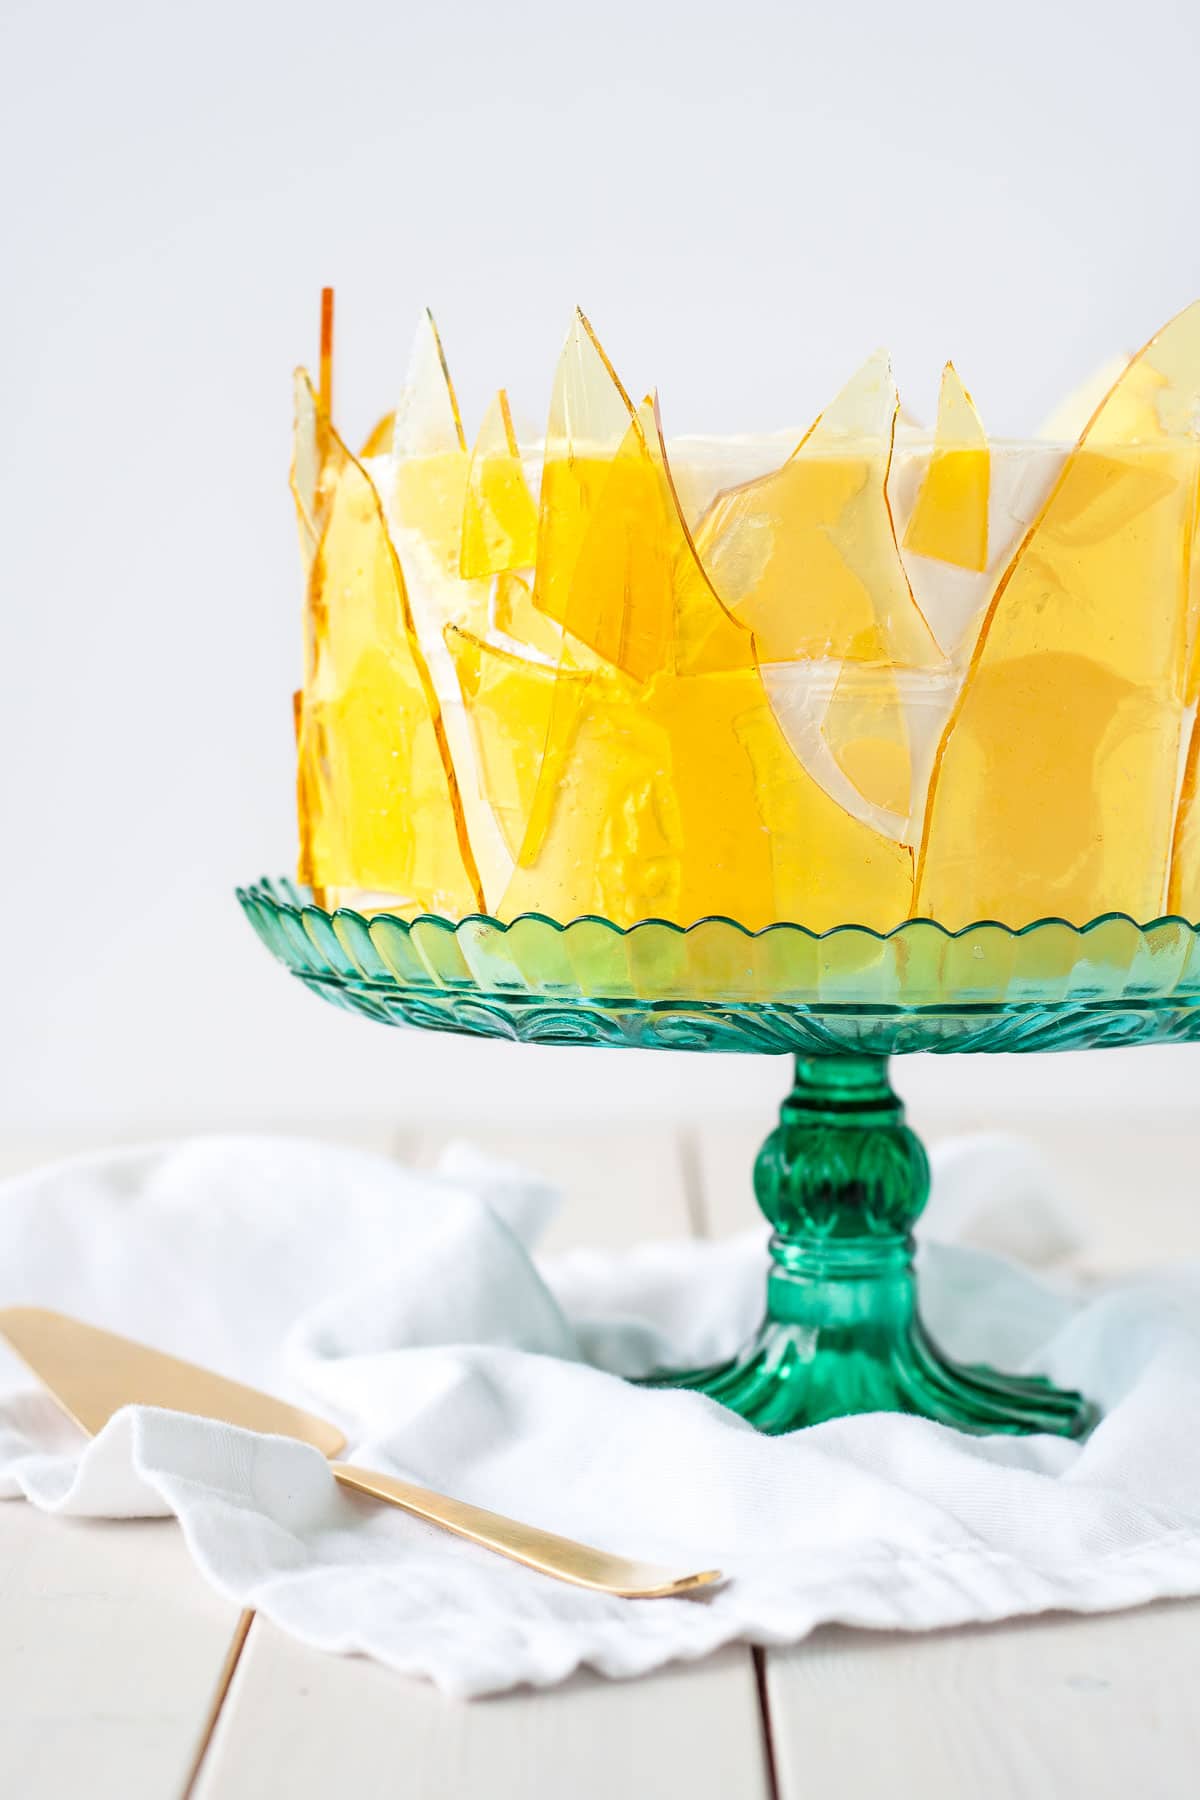
In my experience, I knew this sugar likely wouldn’t last until the next day, which is when I was finishing the cake, but I hoped that I could maybe still use it (aka, be lazy and not redo it a third time). I laid the shards neatly onto parchment and hoped for the best.
Next day rolls around and I go to check on the shards. They had gotten sticky, which I had expected, but what I hadn’t anticipated was that they would stick to the parchment. UGH. When I peeled them off they were cloudy in the parts that stuck. This was clearly not going to work.
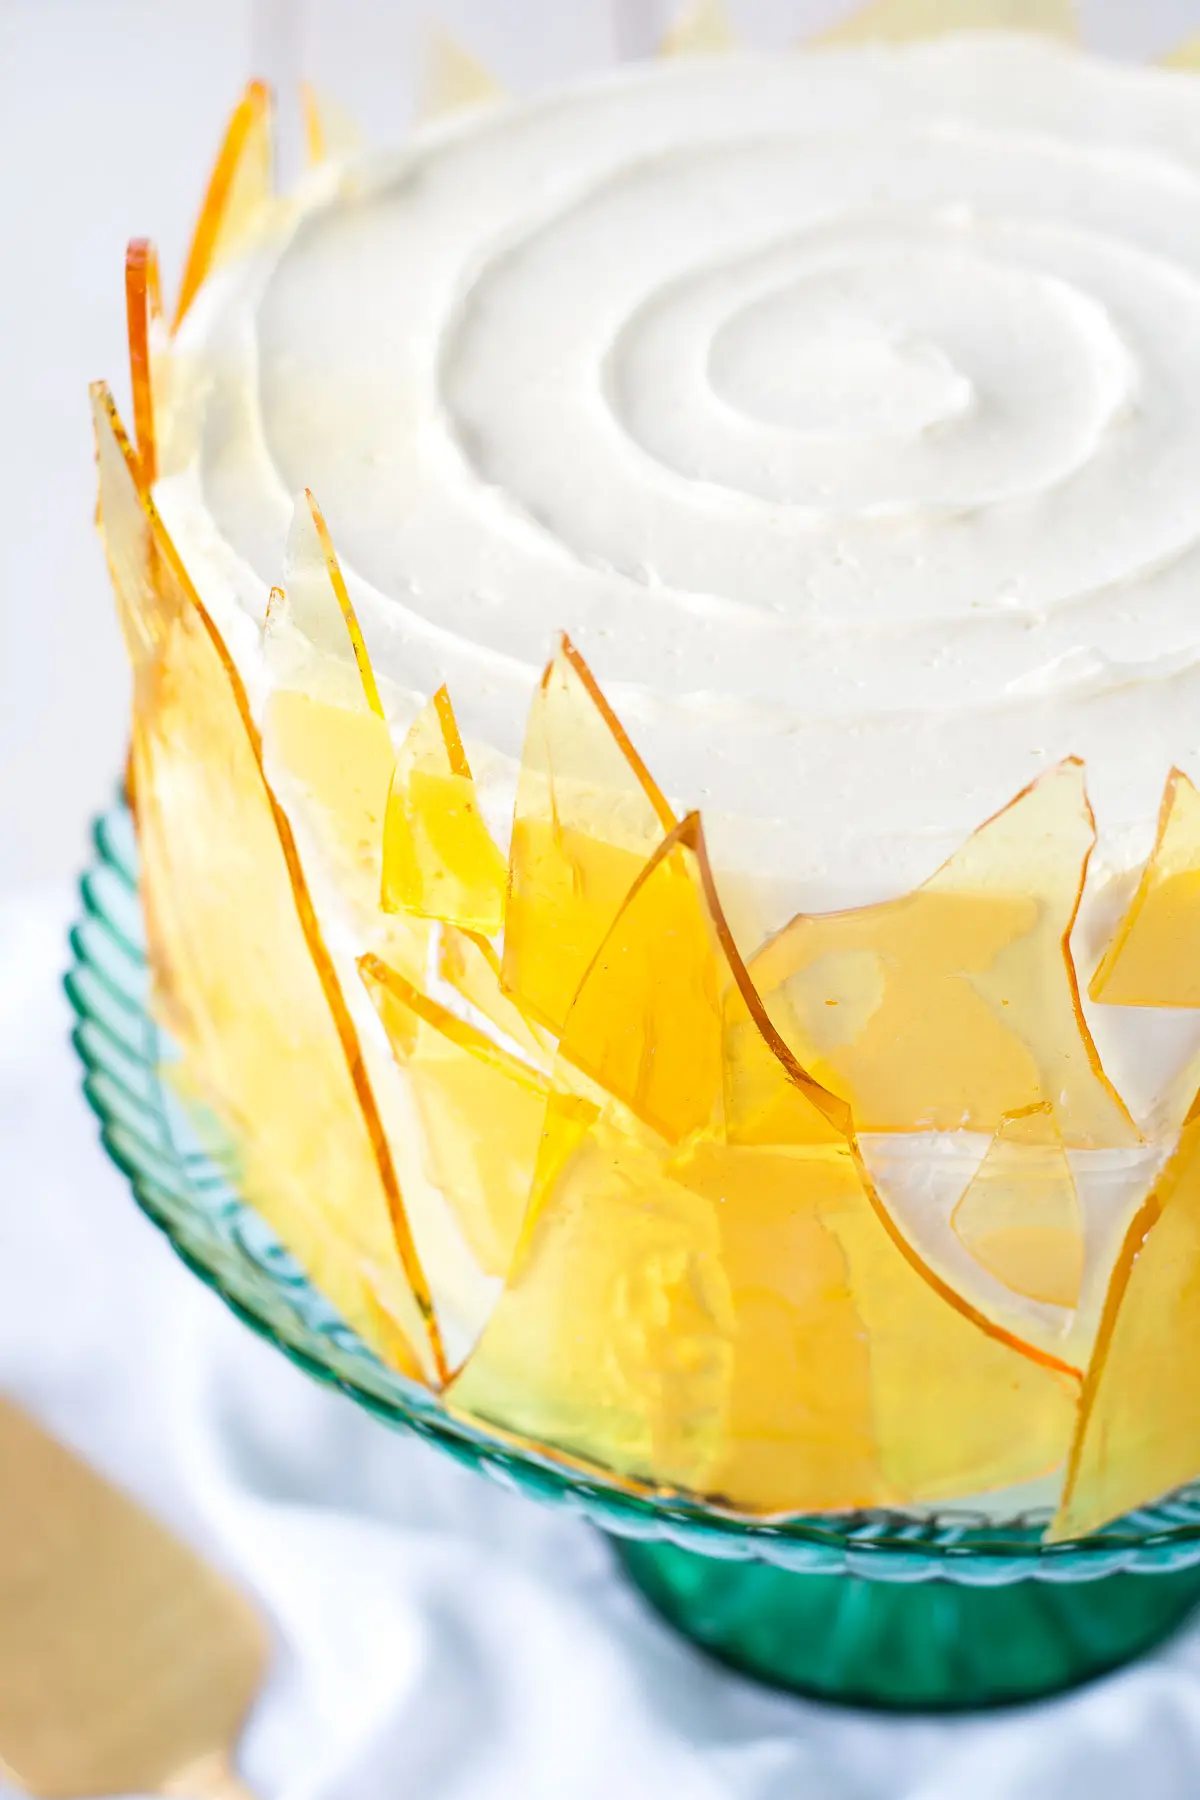
If you’ve been reading this blog for some time, you know that I’m a bit of a lazy baker. That’s what this blog should have been called. I know it might not seem like it, with the elaborate cakes that I make, but I honestly don’t like to do things more than once. I did NOT want to redo this sugar for a third time.
So, I had the bright idea of heating up the sugar shards to see if I could melt away the cloudy sections. I tried a hair dryer first (true story, and not the first time I’ve used one in the kitchen), but that didn’t work, so I grabbed my kitchen torch. A quick test showed that it was a success (woohoo!) except that my torch was out of fuel… maybe you can see where this is going.
Ryan had refilled it for me before, but I hadn’t really paid attention. How hard could it be?? I should have done like 30 seconds of research on it, but I told you I was lazy. So I went ahead and refilled it directly over the sink and then tested it immediately after. Both of which you are NOT supposed to do. Butane gas sinks apparently, so they say specifically to NOT fill it over a sink. They also say to let the gas settle for 1 minute before using.
I’d like to say that the next few moments were a blur, but I remember it vividly and likely will until the day I die. As I lit the torch, the entire sink (that was now filled with butane gas) lit up in a flash of flames. As did my hair, eyebrows, and eyelashes. LOL I kid you not. I didn’t realize it at the time. At first I was all like WTF just happened and then I smelled burnt hair and ran to the bathroom in a panic.
Thankfully, everything was just singed and I still had my eyebrows in place. My eyelashes were noticeably shorter though. Thank God I was wearing glasses! My knuckles got badly burned too, even through I was wearing latex gloves and didn’t notice at the time. One of the blisters took a full two weeks to heal and hurt like hell the entire time whenever I tried to bend my finger.
I’m laughing about it now (kinda), but it was honestly terrifying. Not so much the explosion itself, but the thought of what could have happened and my own stupidity. What if the whole torch exploded in my hand? Or lit the entire place on fire?? UGH. I try not to think about it. I have not touched that torch since, and likely won’t for a good little bit.
Needless to say, I redid the god damn sugar. I should have just done that from the start and saved myself time, stress, and hair damage. It does not pay to be lazy, people!
Anyhow, I hope you thoroughly enjoyed the drama that is my baking life and learned a lesson or two.
Head on over to The Cake Blog for the recipe and details of this Crème Brûlée Cake!




Sophia says
Will the sugar shards soften inside the cake
Olivia says
Hi Sophia! Yes, they will soften and melt over time.
Romina says
Omg Olivia, I cant remember single thing you said about caramelised sugar or anything sort, but u burning 🥵. Honestly I couldn’t put the breath down, please take care.
I hardly comment here as I have left the comment on the cakes I have tried and I keep doing the same recipes again and again. Though I read the blog.. Thanks for such wonderful recipes and PLEASE be safe..
Olivia says
Hi Romina! I still can’t believe how stupid I was to do this! It will never happen again, believe me. I’m so happy to hear you’re an avid reader and follower 🙂 <3
nancy watson says
Thank you
nancy watson says
How high should the cakes rise.
Olivia says
Hi Nancy! The cakes aren’t super tall, maybe about 1 1/2-2″ in height.
nancy says
Hello, I want to make this for Christmas Eve, how much can I make day ahead? Can i make the shards for the filling day before and then a second batch of shards for the outside on Day of serving? I am thinking I can make the cake, frosting and filling day before? get frosting to room temperature and assemble day of? Thank you for your insight.
Olivia says
Hi Nancy! The sugar shards inside will soften completely if they sit for a whole day, but really, they soften so fast that it wouldn’t make too much of a difference. Don’t expect a crunch inside, at any rate, but the flavour will be there! So yes, you can make that a day ahead. As for the ones outside, I did them the night before, but the longer they sit, the stickier they get — moreso if some place humid, so just keep that in mind when you’re handling them. For ease, I would make and assemble the whole cake a day before, but stick the shards on shortly before serving. I hope that helps. Let me know how it turns out!
Diana L. says
My goodness, that sounds like a terrifying experience! Glad to hear you’re ok, if a bit singed.
The cake IS beautiful so well worth the effort, but hopefully its without the fire next time. 🙂
Olivia says
Haha thanks Diana! Definitely staying away from flames for a while ;).
Linda Bick says
Beautiful cake!!!! Great story!!!! My girlfriend sent me here for your marshmallows fluff recipe!!! I’m definitely staying for all of the decadent goodies! I’m glad you’re alright! New follower!!!!
Olivia says
Hi Linda! Thanks so much, glad to have you as a new follower!! <3 🙂
Alli @ Tornadough Alli says
Oh no whay a tragic thing to happen!! But I’ve been there…thinking something was out of butane and lighting it next to my ear to truly check…and it wasn’t out, lesson learned. This cake is absolutely gorgeous!!
Olivia says
Ack! That sounds pretty bad too. Not fun lessons to learn, right? And thanks Alli! 😀
jacquee | i sugar coat it says
You know I love this cake, but HOLY SHIT you were not kidding about almost killing yourself!! So glad you are ok. I’ve had mishaps with my torch, but nothing quite as dramatic. Will keep this in mind the next time I refill.
Olivia says
I know! Seriously worst thing ever. It still stresses me out when I think of it! <3
Kristen Chidsey says
I am so glad you lived to share this cake with us–Stunning!
Olivia says
Haha, thank you Kristen!
Medeja says
Looks so beautiful.. And that slice is just irresistible!
Olivia says
Thank you Medeja! 🙂
olga says
OMG Olivia!!!!!!!!!!! I was reading and it was like a film… I was telling “do not do that…. do not do that….” as when you are watching a terror film and you says “do not go that way…. Do not go that way….”
I am glad that you are OK, and the result of this history is awesome. I think this cake is soooooo original
Kisses
Olivia says
I know, it was so bad!! I’m glad I was ok too, haha. Thank you!! <3
laura@motherwouldknow says
Olivia, The cake is beyond gorgeous, but the story makes my hair stand on end. Yikes! Unfortunately, I think we’re peas in a pod, as I’ve done some equally dumb things in the kitchen – so glad you’re safe and not too much worse for the wear.
Olivia says
Glad to know I’m not alone! 😀 Thanks so much Laura! <3
Mary Ann | The Beach House Kitchen says
OMG Olivia!! Thank God you’re OK!! Sounds like you were very lucky and won’t be attempting that again any time soon! This cake is just stunning (as usual!!) Those sugar shards are amazing and worth the effort! Well done!
Olivia says
I know, it was so scary! I was pretty shaken up right after but I had no time to think about it because I needed to finish the cake, lol. Thanks Mary Ann <3
Elizabeth Vlug says
ps. When I started to read this post, I thought maybe you had jabbed yourself in the eye with one of those shards.
Olivia says
It WAS terrifying. I was pretty shaken up for a while there. And LOL true story… one of the shards did cut me when I was breaking them. Like a paper cut, it stung. Just added fuel to the fire! Haha
Maggie in Michigan says
OMG you are to be commended for not using more profane language, if it had been me my post would have been replete with lots of very specific language, I can only imagine; most important you were not seriously injured and you are right it could have or should have been worse than it was, hmmm, is the universe trying to send you a message here do you think? anyhow this cake looks beyond gorgeous it looks like a presentation to be shown on the Ina Garten program or even Martha though am sure it would curl Martha’s toes if you showed up on her doorstep with something this incredible and of course she would never expose herself to the possible harm, she’d have one of her minions do that for her, so what you have to do y dear, down the road is hire some of those for just this type project – minions, lots and lots of them to your bidding; i went back and reread your post and that time had a great chuckle over it and how you described it, oh my, the stuff we do for the stuff we want to do!
am going to try the cake recipe and leave off the fire portion for sure!
Olivia says
Hi Maggie!! Lol I totally had to censor a bit. The expletives that I was actually throwing around would not have been so appropriate here ;). It is totally the universe telling me to SLOW DOWN. And calm down, probably. I’m pretty frantic when I’m baking and the kitchen is a disaster area. I need to not rush things so much and take a little bit of time to do some research. Especially with things that can explode! Seriously. And lol, I totally need minions! Lots of them, like you said. Would certainly make my life easier ;). I’m glad you got a chuckle out of it! The cake is delicious, I hope you like it! But yes, leave the torch out of it. <3
Elizabeth Vlug says
OMG…..that must have been terrifying. And something I can so relate to. I have been wanting to get a kitchen torch for awhile….guess I better pay attention to how to refill it.
But your cakes….Lovely once again. Thank you.
Nancy Shaw says
I’m so glad you’ll be OK. It is a beautiful cake but I don’t want to lose a friend. I read your blogs every time and yes I even make the cakes too-well, at least when I feel brave.
Olivia says
Thanks so much Nancy! I need to be more careful and not rush things as much. It was my own stupid fault! I need to learn to slow down 🙂 Thank you for reading my blog! I’m so glad that you make cakes too 🙂
Maura says
Once again you made a cake too beautiful to eat!!!!
Olivia says
Thanks so much Maura! 🙂