

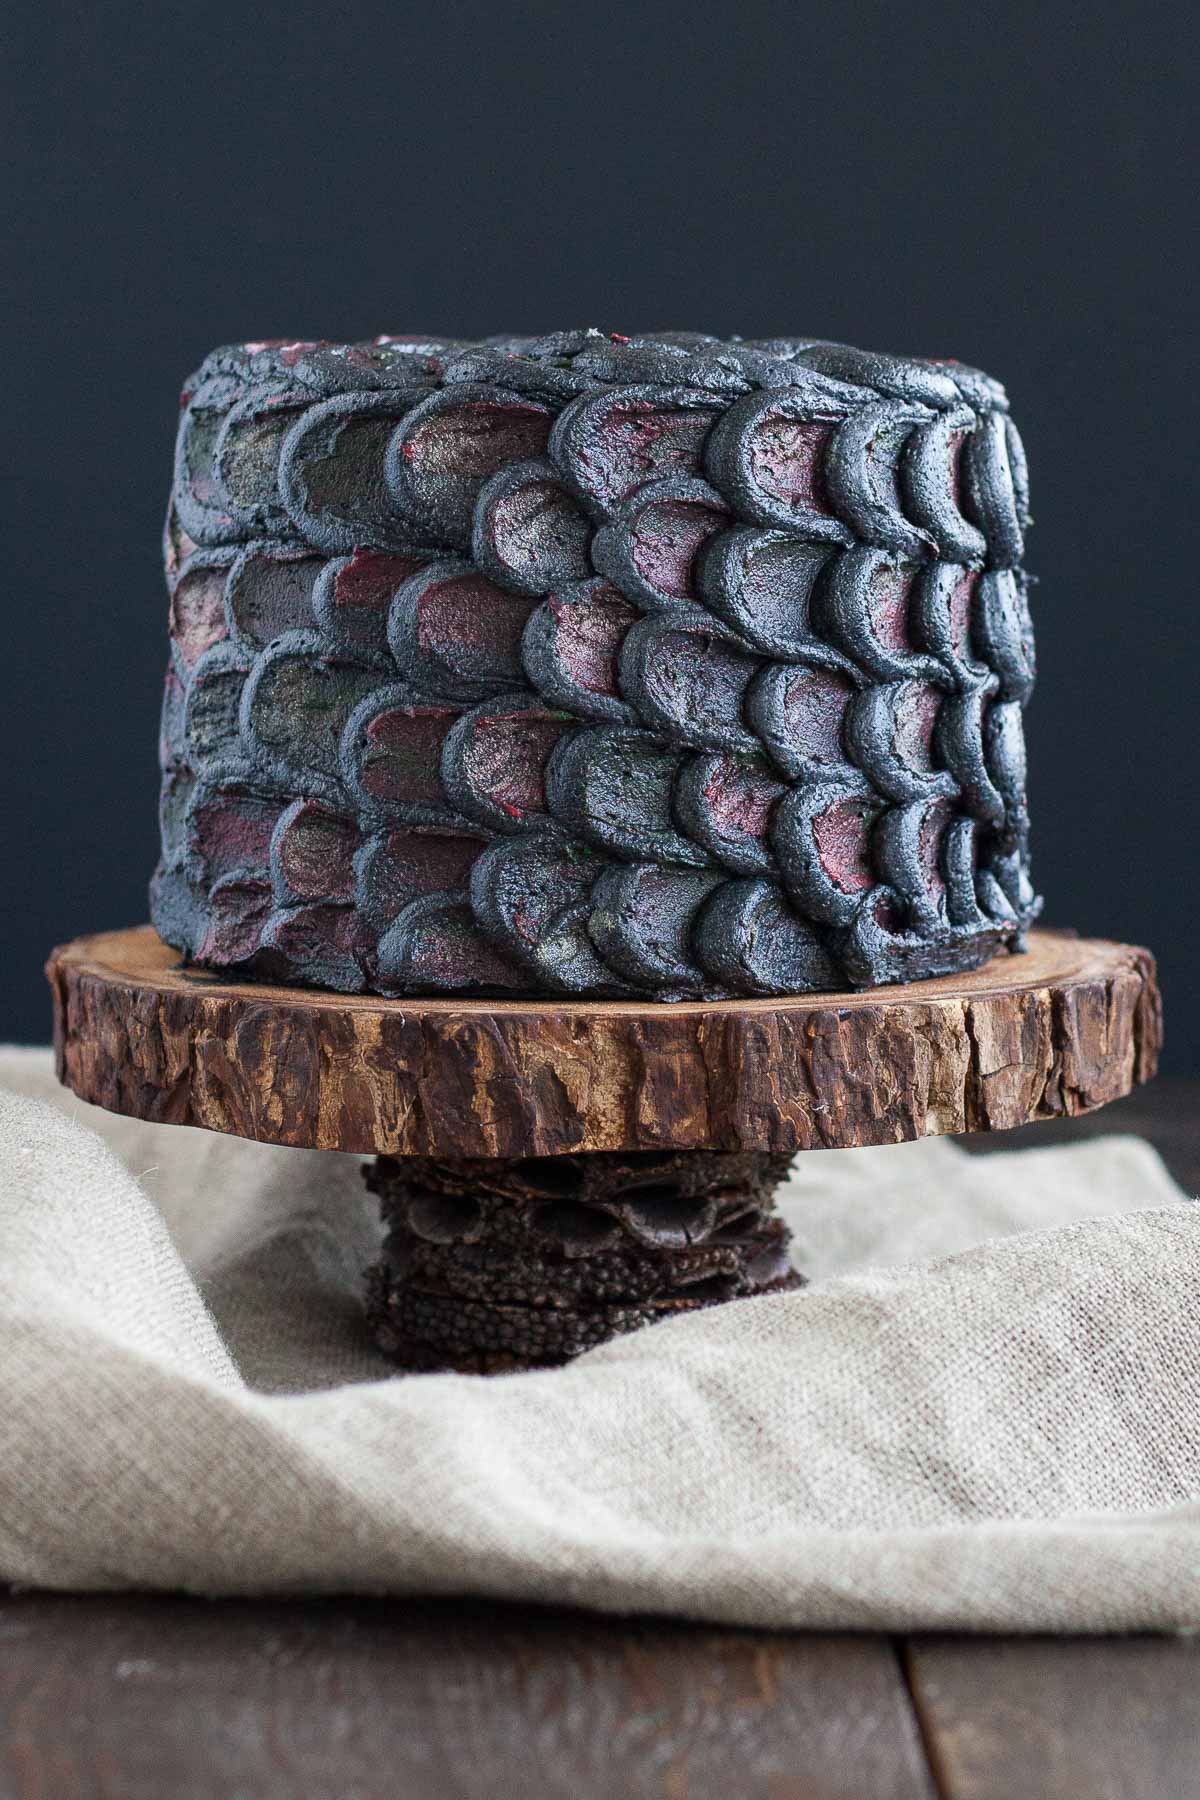
Use this simple decorating technique to create the perfect red velvet Dragonscale Cake!
It’s that time of year again… the sun is shining, the birds are singing, and you’re looking forward to the premiere of one of the darkest shows on tv. A show that consistently crushes your soul, your dreams, your will to live, and yet you keep coming back for more. Those familiar with the Game of Thrones series will know exactly what I’m talking about. I’m still not over the whole Oberyn thing — I almost swore off the series at that point. Crushed.
So, in celebration of the season 6 premiere, I’ve collaborated with some fabulous bloggers to bring you some Game of Thrones themed recipes and crafts. Be sure to check out their links at the bottom of this post for some serious showstoppers!!

I didn’t get my act together to make something until this past Tuesday. I wanted to participate, but I was uninspired and couldn’t think of a thing to make. Then I came across this stunner, which was my inspiration for today’s Dragonscale Cake.
Not gonna lie, I got excited pretty quickly. In true Olivia fashion, I left myself almost no time to get my act together to research, plan, and make this. The poor rhubarb recipe I was intending to make got cast aside, as did the rhubarb itself. Hopefully it survives a few more days in the back of my fridge.
I decided to make the cakes and the frosting that same day, since I knew I’d need to space things out to have enough time to decorate (aka maintain some sanity). I wanted to do a red velvet cake for the inside, as I thought it would go well with the blood/dragon theme I was going for. A few quick modifications to the recipe I used for my Coffee & Baileys cake, and the red velvet cake was born. I used about 2 tsp of red color gel to get it to the color I wanted.

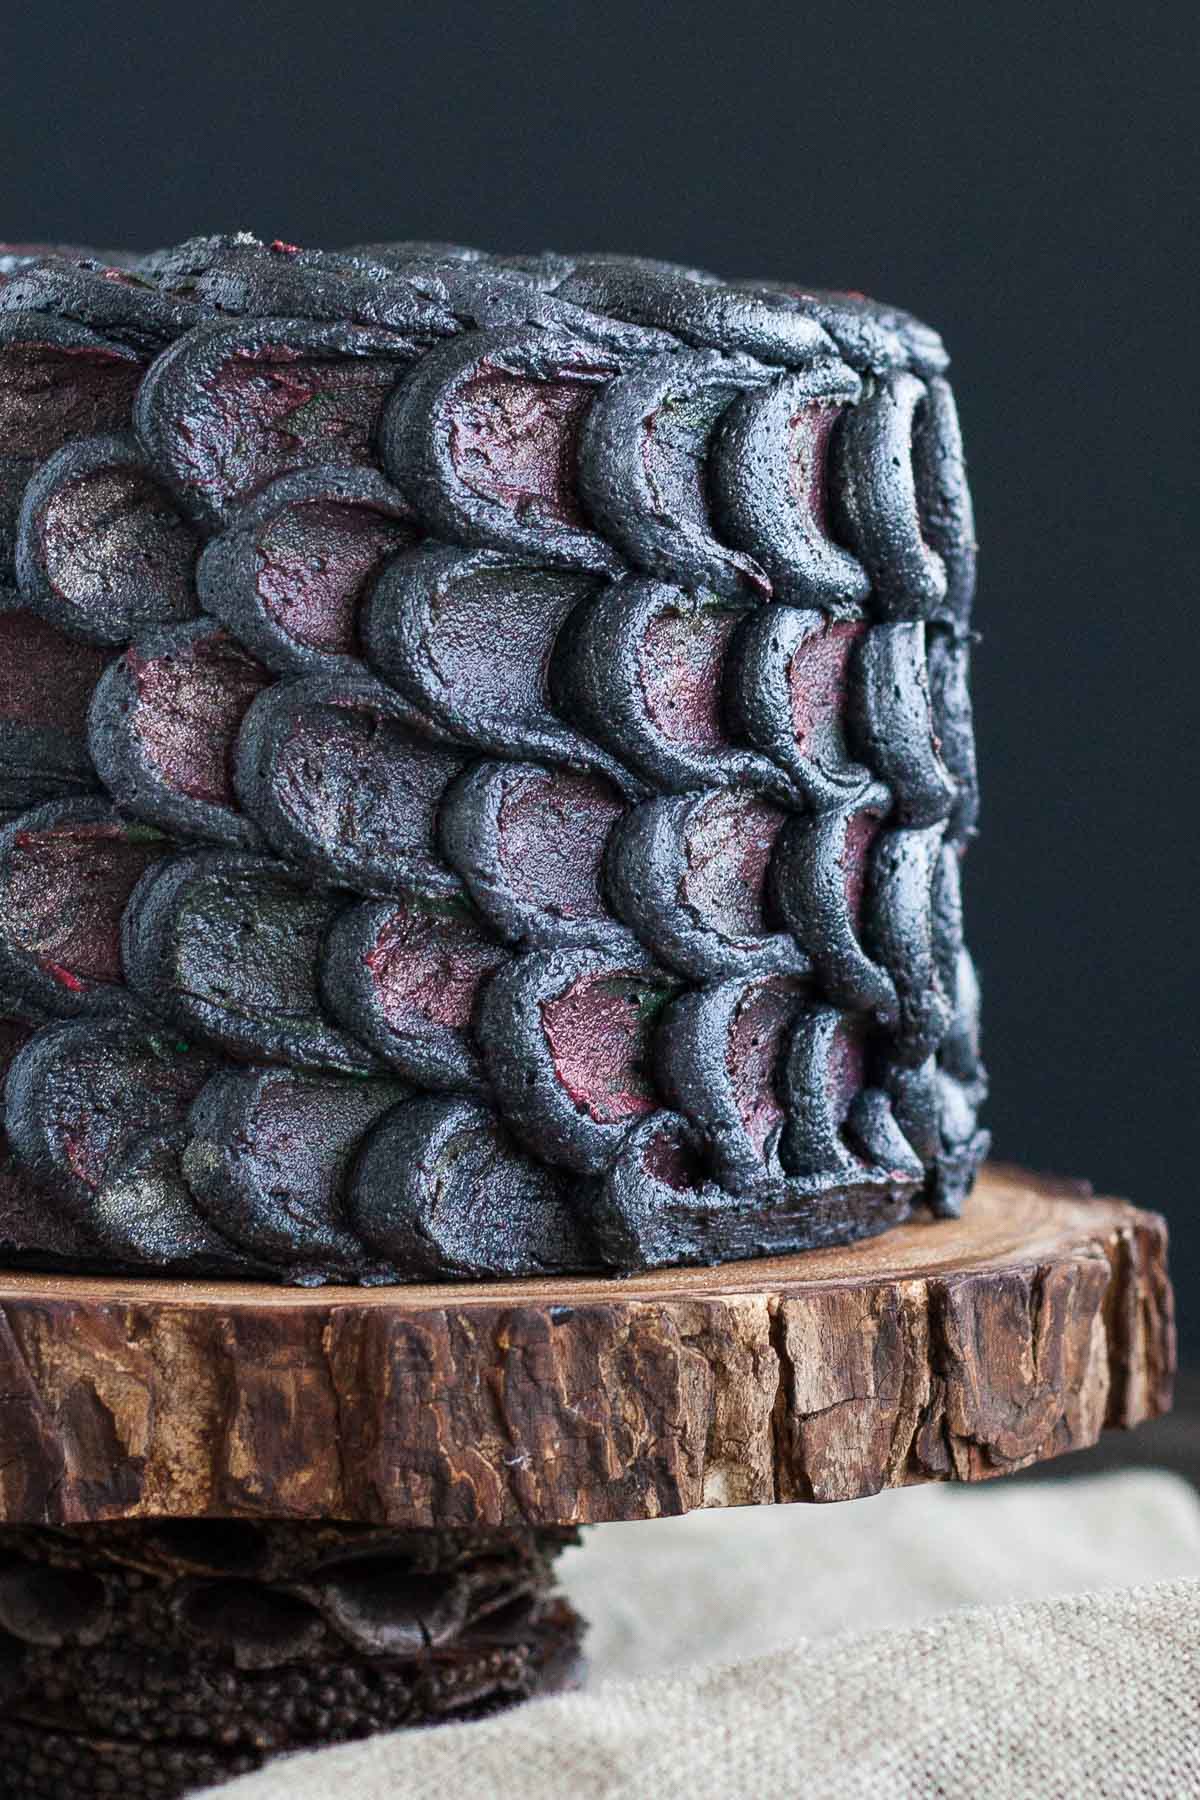
For the frosting, I used my Vanilla Buttercream recipe with a couple of modifications. I frosted and crumb coated the cake that day, stuck it in the fridge to set, and spent the rest of the afternoon figuring out techniques and color schemes. I won’t bore you with the details of that, but I eventually decided to go with 3 shades of dark grey with red and green accents.
Except the colors darkened as they set, and you can’t even tell that there are 3 different shades of grey on there (sigh). I knew they would darken up, but I thought you’d still be able to tell a subtle difference. Well, you can’t. So maybe save yourself the time and energy and just do one dark shade.
Oh, and I used an entire bottle of black color gel to get it to that shade. Word to the wise — that dark grey frosting will dye everything. Lips, teeth, you name it. Let’s just say I’m glad I went with the white icing on the inside.

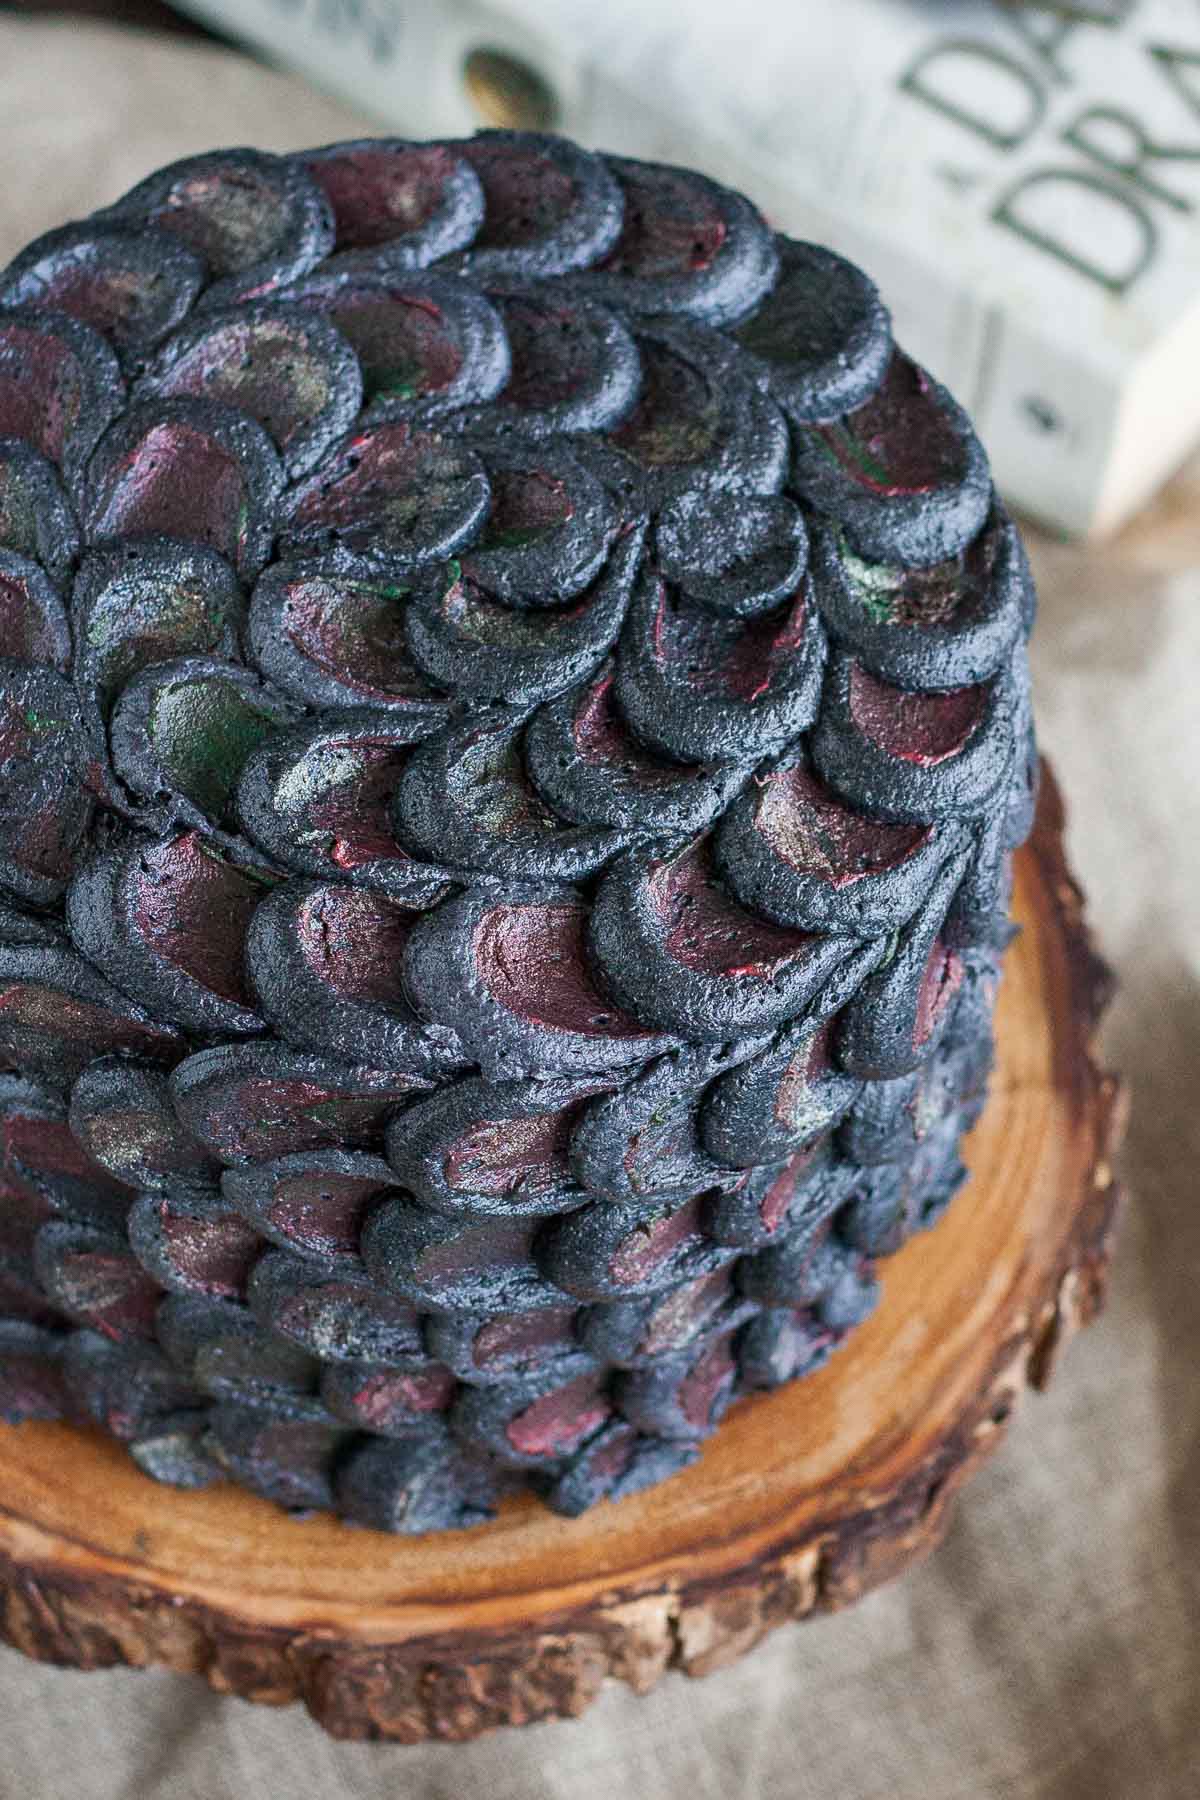
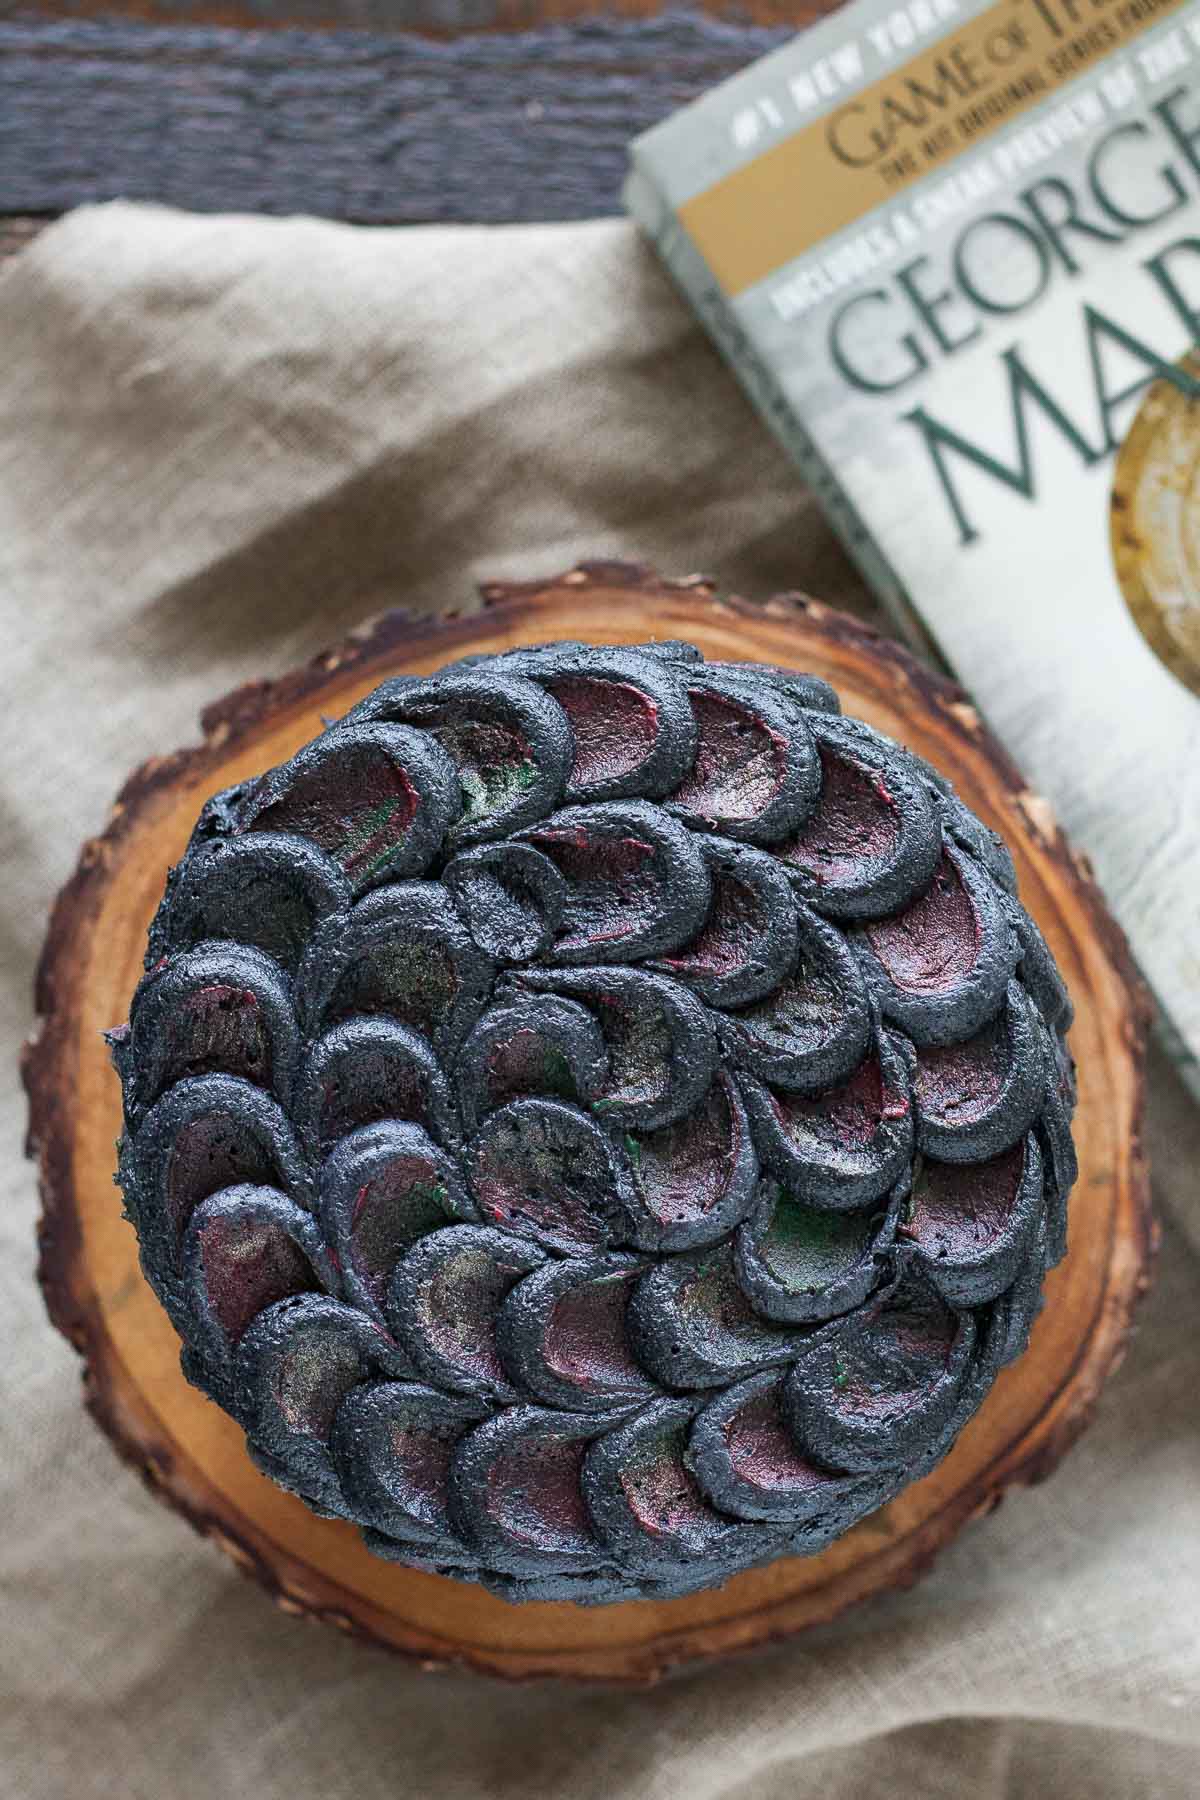
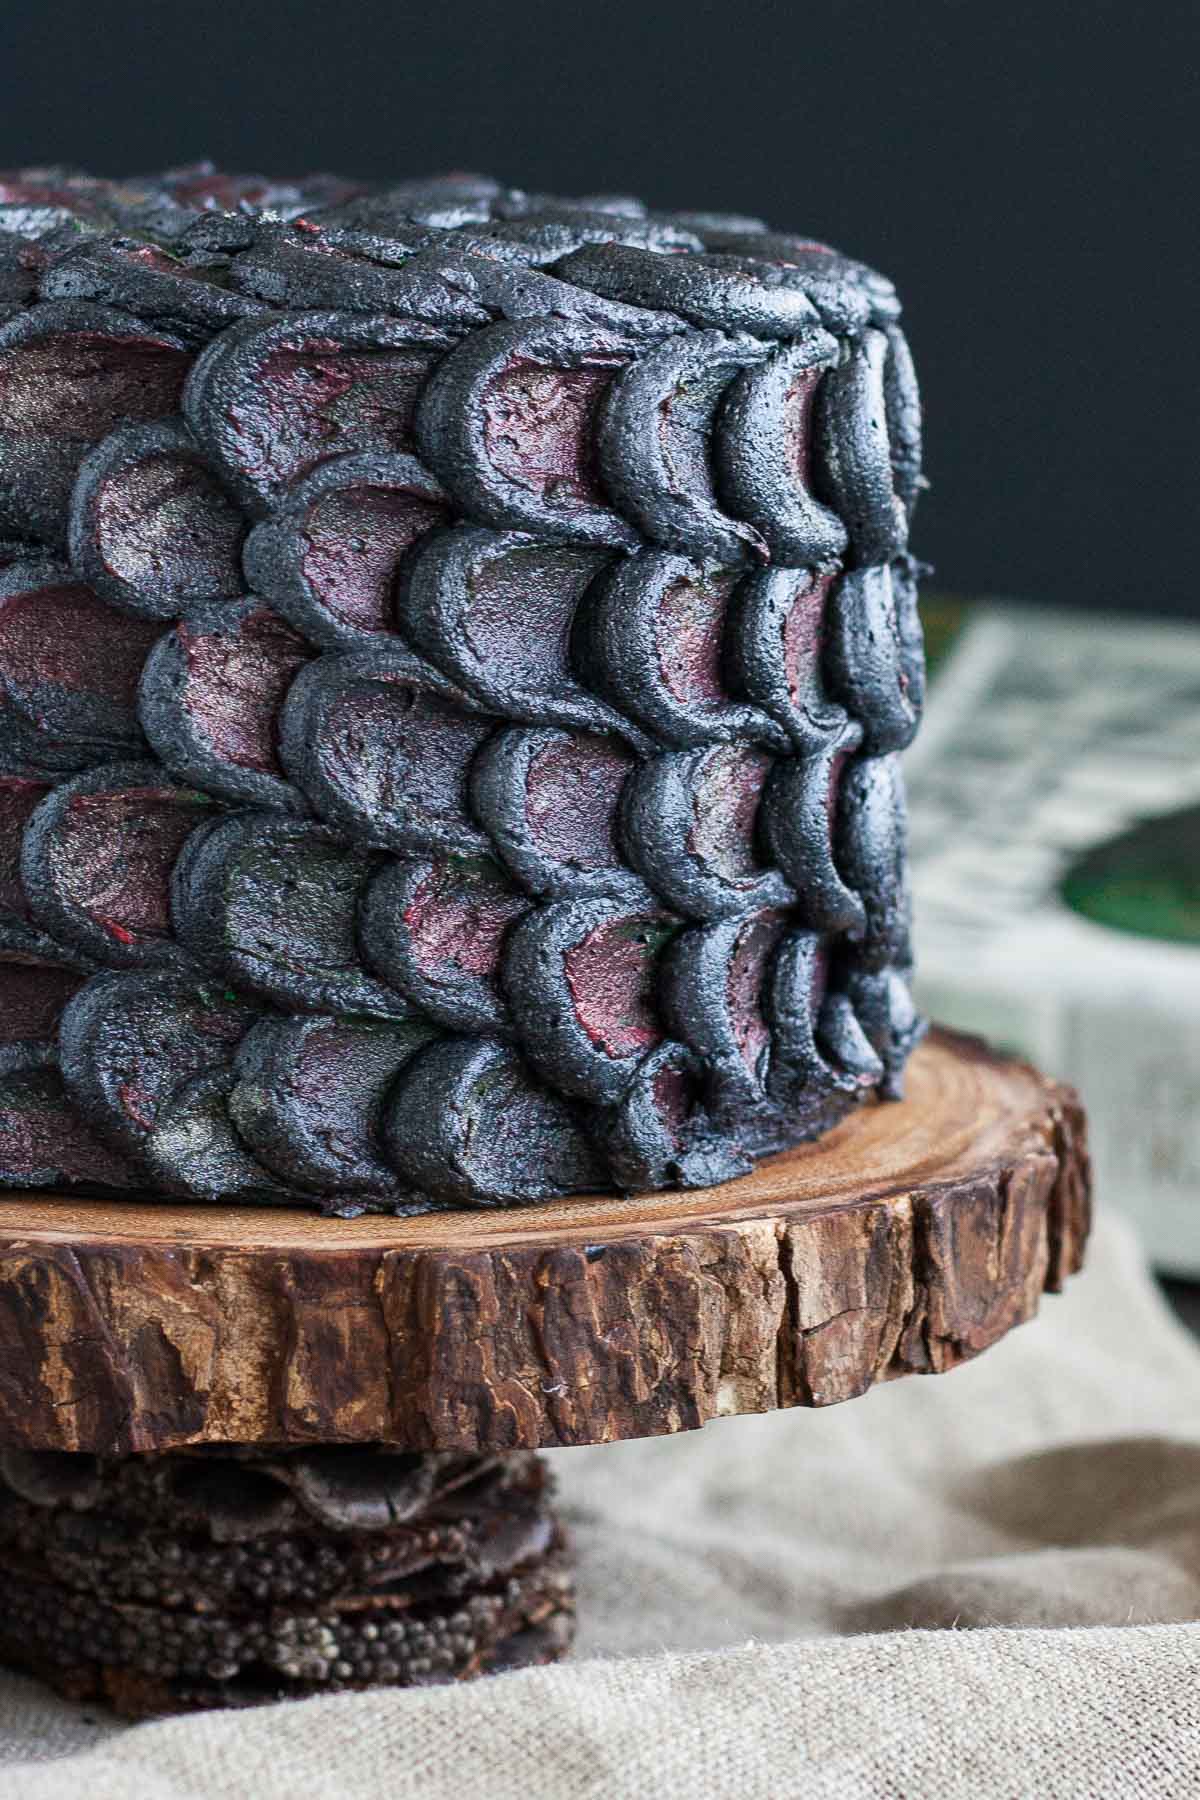
For the red and green, I created a palette of sorts so that the colors would look blended. From there, the technique I used to create each dragonscale was actually really simple to do — pipe a dot of frosting, scrape some color onto your offset spatula (or spoon), then press and smear the dot. Do that about 100 times around the sides of the cake and then do the top. I offset the dots, but you could align them if you prefer.

The trickiest part is getting back to the start, since you can’t really smear those last dots easily. I left them as dots and hid them at the back of the cake. For the top, I just did the best I could so that there wasn’t a lone dot sticking out. Once all the “scales” were in place, I brushed on some gold pearl dust to accent some of them.
I’d say the decorating this Dragonscale cake took me… maybe an hour? But there was some trial and error, and I am a perfectionist, so next time I’m sure it would go quicker.
Despite choosing to make a dragonscale cake, the Daenerys storyline is actually one of my least favorites of the series. I find it mind-numbingly boring (except for her dragons, which are awesome). Ryan says it’s better in the books (I haven’t read them), but blahhh. I am not a fan. I’m sure I’m in the minority here, but I would not be upset if she met an untimely demise. Which means she’ll probably stick it out till the end.
Arya’s storyline, on the other hand, is my favorite by far. I’m so intrigued! Plus, let’s be honest here, Jaqen H’ghar is kind of a hottie. It’s that whole mysterious thing he’s got going for him. Tyrion and Sansa are up there as well. Sansa’s becoming a badass and I love it. The whole thing that got me hooked on the series in the first place was the White Walkers, so I’m excited to see more of them. And OMG will the crazy witch lady save Jon Snow?? Pleeeeease! Fingers crossed on that one.
So yeah… if you didn’t already know from my About page, I can hardcore nerd out on some things — Harry Potter, Disney, (certain) video games (hello Witcher 3 expansion, where are you?!?), and apparently Game of Thrones. Admittedly I’m not as hard core on GoT as others are, but I love watching the show.
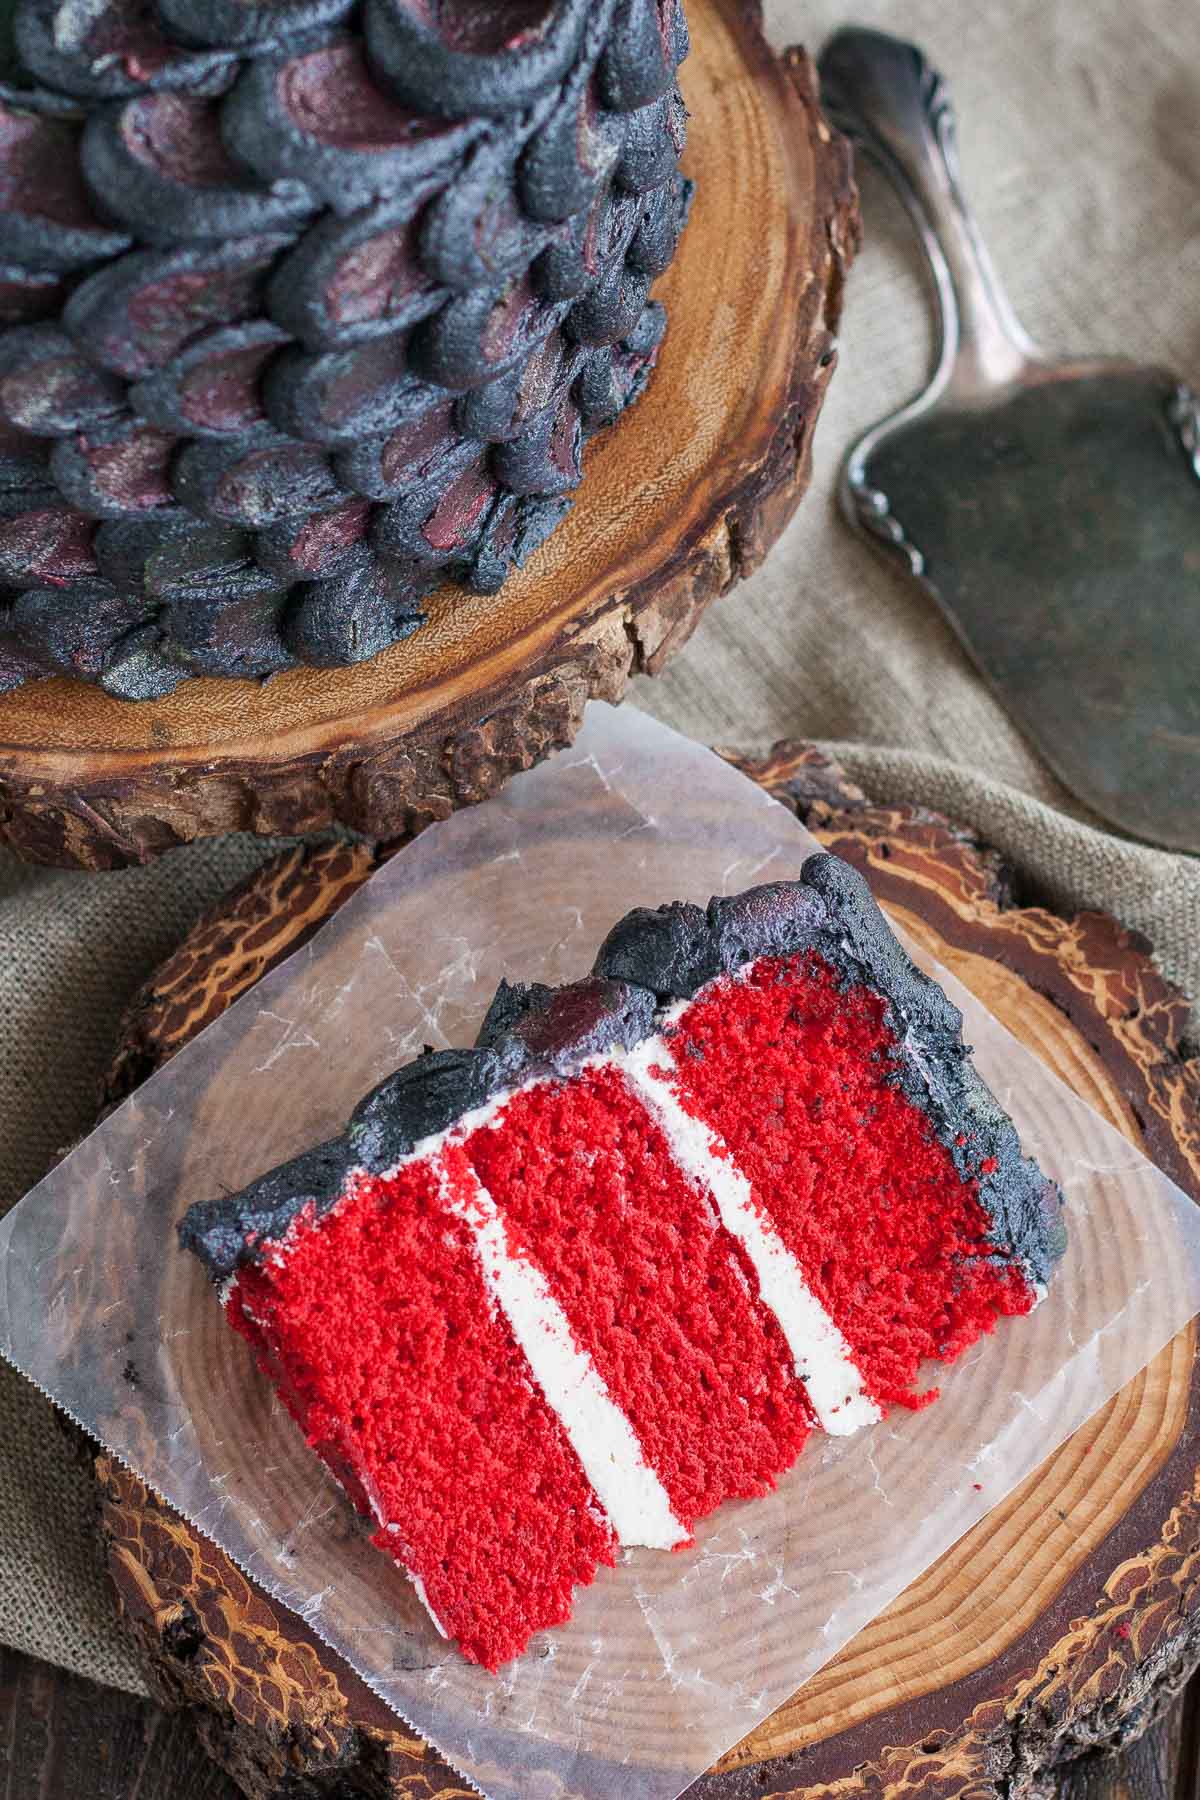
The Dragonscale Cake turned out perfectly color/flavor/texture-wise. It has a subtle chocolate taste from the cocoa powder, which pairs well with the simple vanilla buttercream. If you’ve got some Game of Thrones parties coming up, this cake would be the perfect way to wow your guests! Oh, and I chronicled the whole decorating process on Snapchat – you can find me there as livforcake.
Be sure to check out the posts from my blogger friends below — some great Game of Thrones themed recipes and crafts!
Tips for this Dragonscale Cake:
- All of the colors will darken over time. So much so that you can’t really tell that I have 3 different shades of grey. You may want to save some time and just do one dark shade.
- You can use grey frosting for the inside of the cake — I think I would probably do that next time.
- Ideally, serve same day, but it will keep quite well in the fridge for 2-3 days.
- Serve at room temperature.
- To help ensure your cake layers bake up nice and flat, see my tips here.
Red Velvet Dragonscale Cake
Ingredients
Red Velvet Cake:
- 1 1/2 cups all-purpose flour
- 1 Tbsp unsweetened cocoa powder
- 2 tsp baking powder
- 1/2 tsp salt
- 1/2 cup unsalted butter room temperature
- 1 cup granulated sugar
- 2 large eggs room temperature
- 1 tsp vanilla extract
- 2-3 tsp super red color gel
- 1/2 tsp white vinegar
- 3/4 cup buttermilk room temperature
Buttercream:
- 6 cups powdered sugar sifted
- 2 cups unsalted butter room temperature
- 2 tsp vanilla extract or flavoring of your choice
- 1 Tbsp heavy whipping cream
- black color gel
- red color gel
- moss green color gel
- gold pearl dust
Instructions
Red Velvet Cake:
- Preheat oven to 350F. Grease and flour three 6″ cake rounds, line with parchment.
- In a medium bowl, whisk flour, baking powder, salt, and cocoa powder. Set aside.
- Using a stand mixer fitted with the paddle attachment, beat butter until smooth. Add sugar and beat on med-high until pale and fluffy (2-3mins).
- Reduce speed and add eggs one at a time, fully incorporating after each addition. Add vanilla, red color gel, and vinegar.
- Alternate adding flour mixture and buttermilk, starting and ending with flour (3 additions of flour and 2 of milk). Fully incorporating after each addition. Do not overmix.
- Spread batter evenly into prepared pans. Smooth the top with a spatula.
- Bake for approx. 30mins or until a toothpick inserted into the center comes out mostly clean.
- Place cakes on wire rack to cool for 10mins then turn out onto wire rack to cool completely.
Buttercream:
- Prepare a stand mixer with a whisk attachment. Whisk butter until creamy. Reduce speed to low and add in icing sugar 1 cup at a time until well blended. Increase speed to med and beat for 3 minutes.
- Add vanilla and 1 Tbsp cream and continue to beat on medium for 1 minute.
- – Reserve 1.5 cups of the white frosting to frost the inside layers and crumb coat the cake.
- – Reserve 1/4 cup of the white frosting to color red.
- – Reserve 1/4 cup of the white frosting to color green.
- For the remaining frosting, add enough color get to get it to the desired shade(s) of dark grey. I ended up using the entire bottle to get 3 different shades. Once it got to a dark enough grey shade, I removed 1/4 of the buttercream, then I added more black and did the same one more time. With the remaining buttercream I added the rest of the color gel for the darkest shade.*
- See tutorial pictures above for decorating technique.
Notes
Inspired by this House Targaryen Cake.
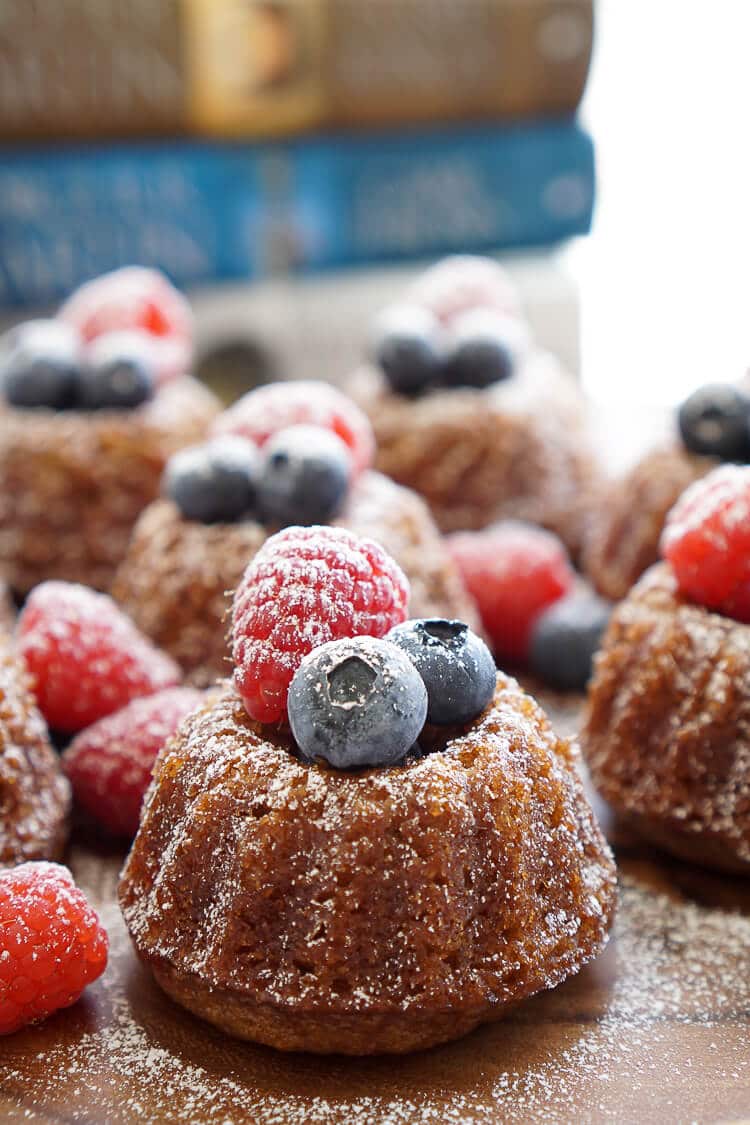
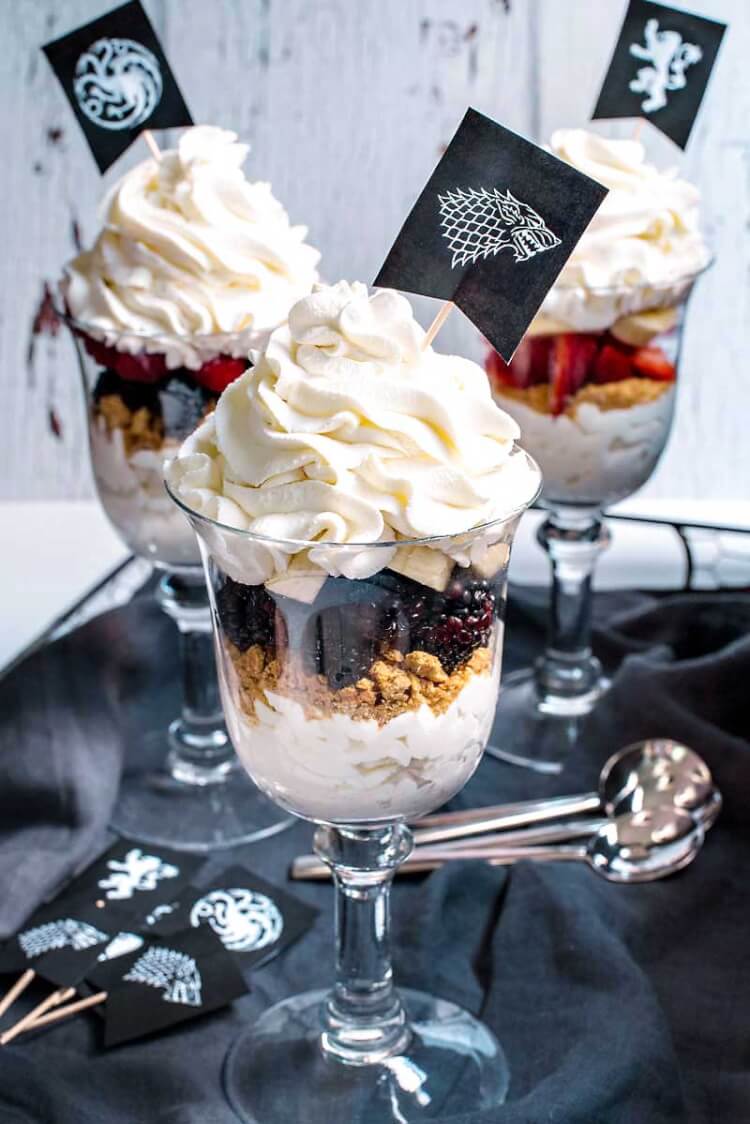
Game of Thrones Honey Cake by Sugar & Soul
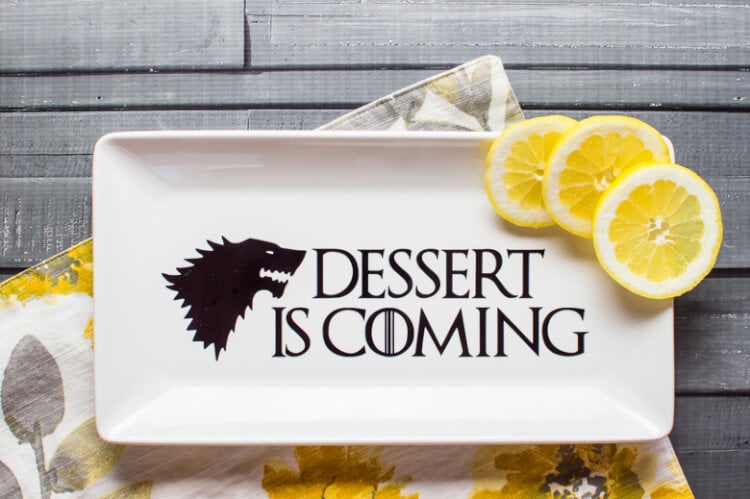
Game of Thrones Dessert Plate by Simply Made Fun


Janet says
Hello I love how this looks it’s exactly what I have been looking for. My question is how do I pipe the dot to have the red and green colors in the center?
Thank you
Olivia says
Hi Janet! The post has all the details on this including photos.
Eve says
Could you show video or photos of how you made those scales please??
Olivia says
Hi Eve! There are detailed photos in the post with the technique I used.
Cheryl says
Thank you for your icing instructions! We bought some dragon decorations for the kids birthdays & it showed this cake on the picture. You were right about the colours getting darker. We used black Wilton gel colouring for dark gray & it was black by the next day when we served it. Next time we’ll try even lighter gray. We also used purple & blue for the scales which turned out very cool looking. It was definitely a hit! Thanks again!
Olivia says
Hi Cheryl! So happy it was a hit. Thanks for the feedback! 🙂
Laura says
Hey Liv,
Just to let you know that your recipes do not match up. The recipe converter said that 1 1/2 cups of flour is 187 grams. It is actually 250g.
Olivia says
Hi Laura! 1.5 cups of flour is actually 187g, not 250g.
Grams says
Made this gorgeous cake today for a grandson-in-laws 30th birthday party tomorrow. But, it had to be vegan. Found a wonderful recipe online for vegan red velvet cake and baked in two 9″ cake pans. Then split the cakes in half to make a four layer cake. Made a vegan buttercream and thought I was having trouble with coloring the icing – but in fact, the rough texture and sort of brindle look of the frostings made for perfectly wild looking dragon scales !! I even had gold dust to paint around here and there. My granddaughter bought a GoT cake topper and I think it’s going to be a real show stopper at the party tomorrow. Thanks for your great photos and description on how to create the dragon scale frosting and how to apply it.
Olivia says
Hi Grams! SO happy to hear you found the tutorial helpful. I hope he loves it!!
Mary says
How did you incorparate the red and green buttercream with the dark grey frosting? I see you piped the dark grey but did you add the red and green frosting by hand to the grey scales or did you mix all 3 colors together in one bag? Directions above are not very clear on how you added the red and green. Could you please be more specific? The cake is amazing and I want to replicate but need more clarification on how to pipe on the frosting.
Olivia says
Hi Mary! There is a photo tutorial with details in the blog post. I used a spatula to add the colors.
C says
I made this tonight! In cupcake form! The only part that didn’t work was that the black gel icing I bought turned purple!!! 🙁 I am so crushed. They look more like flower cupcakes than dragonscale cupcakes lol.
But I loved your recipe! The cake was tender and not too sweet. I added a dash of cinnamon and cayenne to make it a little spicy. 🙂 (dragons breathe fire after all, don’t they?)
Thank you for such a wonderful and creative recipe.
Olivia says
Hi there! So glad you loved it but bummer about the purple! Did you buy premade icing or make your own using black color gel? It does take a while for the colors to develop (darkens over time) and you need a lot of the gel. Love the addition of cinnamon and cayenne! I’ll have to try that 🙂
Maria says
I have not made this cake YET, but am going to in about 3 weeks for my daughters graduation/birthday. I just spent about an hour watching videos on making swiss buttercream which I think may hold up to travel since I need to transport the cake. Do you think swiss buttercream will work for the scales or should I just stick to the american buttercream? Thank you so much for posting the recipe the cake looks AMAZING and I can’t wait to make this!
Olivia says
Hi Maria! SMBC will work for doing the scales no problem, but it doesn’t take color as well as ABC. It’s hard to get a really deep dark color with SMBC. I guess it depends on if you want it to look the same as the one I have here. Alternatively, you can use black cocoa powder to help color your SMBC in addition to color gel. I haven’t done that myself but it’s an option. It would add a chocolate flavour to the buttercream though.
maria concilio says
Thanks Olivia. I am going to try to use activated charcoal for the grey and black. I will experiment before with some different frostings, this will be a fun and delicious project!
Olivia says
Ohh interesting! Let me know how it turns out 🙂
Kristy says
I’ve had this page bookmarked so I can make it for the season premiere tomorrow. Did some of the content change? I am asking because I thought there were links to other kingdom-themed cakes by you, like a chocolate cake with spearmint frosting to represent Winterfell. Was I dreaming this? Would love to make the other cakes also!
Olivia says
Hi Kristy! No content changed here but you’re not dreaming! The cakes you’re thinking about I think came from here: http://www.smartcookiebakes.com/2014/06/game-of-thrones-house-targaryen-cake.html I linked to her site as inspiration for my cake and she has a couple other GoT themed cakes on there!
Nancy says
Hi Olivia, you are a very clever baker! I plan on making thiis cake for my daughter’s 30th birthday. Can I make the cake ahead of time a weeek ahead and freeze it? Would I have to defrost it first? And if I wanted to make 3 8 inch cakes, would doubling the recipe be a good idea? Thank you !
Olivia says
Hi Nancy! Thank you! You can for sure freeze the cake either completely decorated or the components. If you freeze just the cake layers, bring them to room temp before frostings (or just a bit cold still, not frozen). And yes, doubling for three 8″ should be fine! Just dont fill the pans more than 2/3 full or so.
Natasha says
Love love this cake. Was just wondering how did you add on the dust to the cake?
Olivia says
Hi Natasha! Details are in the post. I used a small paint brush and brushed it on.
Martha Cashman says
I just made this cake for my sons 6th birthday! He wanted a dragon cake the whole family loved it! I have made a few of your cakes now and i love that the cake is always super tasty! A lot of times you follow someone’s directions and end up with a beautiful but boring cake!
Also, would a Swiss meringue buttercream work for this cake? My husband and I prefer the taste/texture but I didn’t want to risk it without asking someone who knows what they are talking about!
Olivia says
Hi Martha! Thanks for the great feedback, glad everyone and your son loved it! I think a Swiss Meringue would work great! I also prefer it, to be honest. It is harder to color though, if you were going to do the same design.
Emmi says
Made this recipe (slightly different). I took out the white vinegar.
Added 1 tsp baking soda.
Used 2 TBS cocoa power for a richer/darker cake color.
Used (2)- 6 inch cake pans…. got a ton of “rise” out of the cakes with ZERO overflow batter.
I HALVED the buttercream frosting recipe because I did not need that much for my simple green velvet cake. I added 3 tsp McCormick green food coloring dye.
Tastes amazing. Though I’d love to know how to actually “reduce” the crumb on this little cake. I like “cake crumbs” but not a plethora.
To the Original Poster….. how could I reduce the “cake crumb” in the final result ?
Olivia says
Hi Emmi! I’m not sure what you mean about reducing the cake crumb, can you clarify? I think perhaps your adjustments impacted the structure of the cake.
Emmi says
By reduce the cake crumb, I mean get rid of so much of the crumbs that fall from the cake while slicing or moving or eating or decorating it. The structure of the cake seems fine. Just tons crumbs.
I wonder if adding a bit of neutral oil might help like vegetable oil.
My cake looks and tastes great! I posted a photo on the Pinterest post to this recipe, in case ou wanted to look.
Olivia says
Hmm, I’m not sure :\ The only time my cakes are really crumby is if I’ve overmixed the batter a lot. I’ll see if I can find the photo!
kemala hayati says
do you still remember the height of this cake pleaseeee? thanks
Olivia says
Hi there! I didn’t measure it but maybe about 6″?
Kate K. says
Oh my gosh, this is amazing! I *love* the scales!
Olivia says
Thanks!!
Evan says
just finished a Harry Potter themed birthday party at work and made a butter beer cake, next will be this dragonscale cake for a game of thrones themed party in May. that said I have a question, why the vinegar? I am a beginner at baking and have not seen it used in cake until now.
Olivia says
Hi Evan! The vinegar is used to react with the cocoa powder — it’s what gives the red velvet cakes their color. I added some color gel though to intensify it.
Evan Futch says
I made the dragon scale cake for a game of thrones theme party this last Monday at work. It was perfect 🙂 it was well received, thanks for the recipe.
Olivia says
Yay! So glad to hear that 🙂
Jenny says
Hi Olivia,
I would like to make this cake recipe in two 9-in round cake pans. Would you recommend doubling the recipe? What temperature and time would you suggest I bake it at then? Thanks so much! Can’t wait to try it! (My 13 year old niece made your vanilla cake for our family Christmas dinner and it was amazing!).
Olivia says
Hi Jenny! Yes, I would double the recipe, but don’t fill the pans more than 2/3rds or so full. If there is extra batter you can always use it for cupcakes 🙂 Oven temperature should stay the same. Baking time will vary slightly depending on how much batter is in your pans. I would start checking them at 25mins and see how they’re doing. Let me know how it turns out!
Sandra says
Hi Olivia!
You make lovely cakes! I’m going to attempt a GoT cake today for my daughter’s party. This is probably a silly question..But when you make the scales for the top of the cake, do you start in the middle and go out or start from the ends and end in the middle?
Olivia says
Thanks so much Sandra! That is not a silly question, I should have clarified that. I started on the outside and worked my way in. I think either way would probably work, but this one made most sense to me. Let me know how it turns out!
Casey says
I love making your cakes but this is the first one I haven’t gotten to turn out right. The cake just didn’t rise. I went back over the instructions and I don’t think I missed anything… any ideas as to what may have caused my flat cake 🙁
Olivia says
Hi Casey! So sorry to hear about your cake rising issues… Did it not rise at all? This recipe formula is very similar to all of the ones I use, so if you’ve made my other cakes, this one shouldn’t have been far off 🙁 This one makes a bit less batter though and layers aren’t super thick — maybe like 1.5″ max, but if they were much flatter than that then all I can think of is expired baking powder or possibly overmixing?
Samantha says
I just made this today and have to say I think I did a pretty good job….everyone said it looked just like the photo you have up!!! Thanks for thorough instructions and a simple recipe to follow…it was a major hit at the premiere party I went to!!!
Olivia says
Ohh yay! So happy to hear that!! Send me a pic, I’d love to see it 😀